Alarm Notifications
To receive notifications from KloudMate about incidents in your infrastructure, you need to set up notification channels and notification policies. A notification policy configures how and where you get notified for alarms or issues, while notification channels are the communication platforms where those notifications are sent.
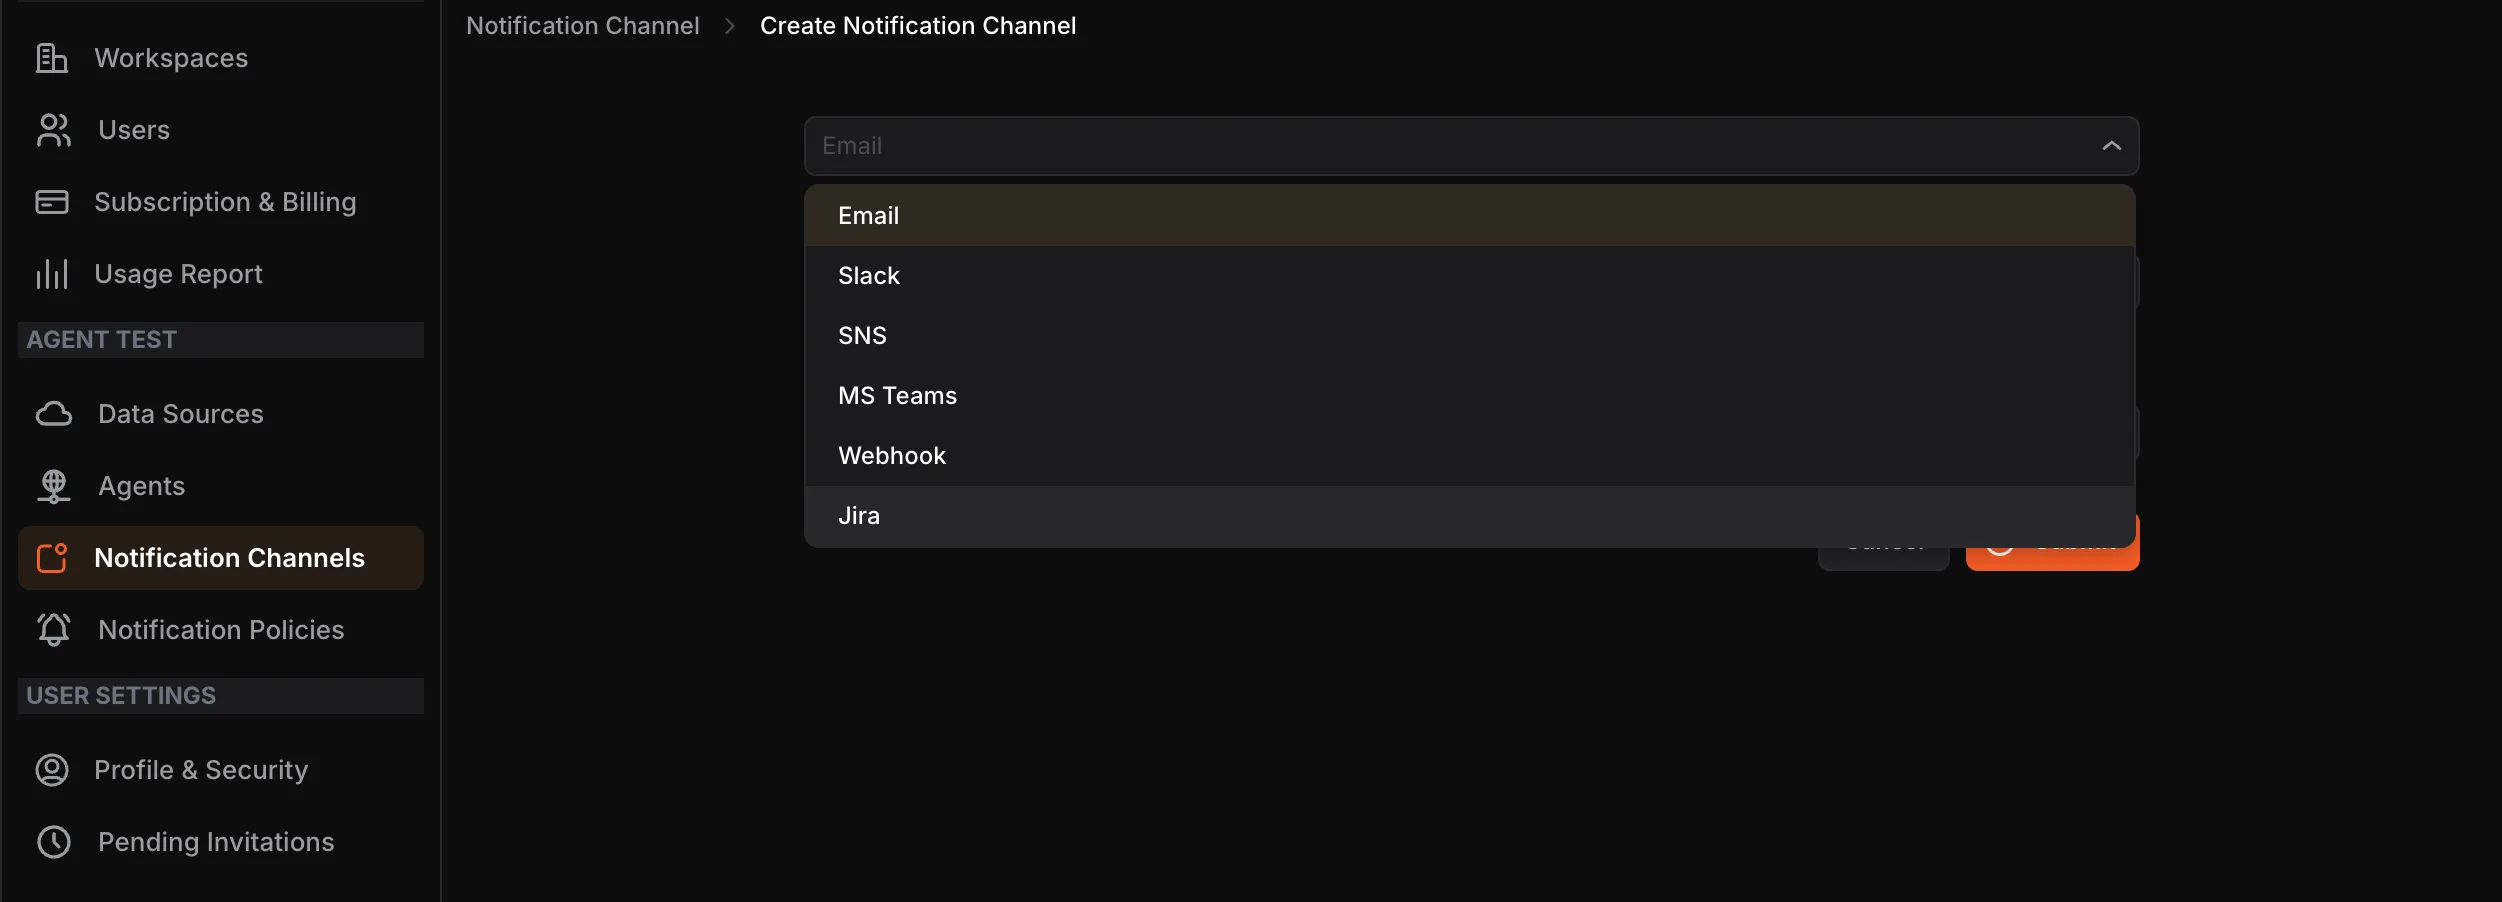
KloudMate supports the following notification channels:
- Slack
- SNS
- MS Teams
- Webhook
- Jira
In the case of multiple workspaces and AWS accounts, you must set up notifications for each account in their respective Settings.
How Notifications Work
Section titled “How Notifications Work”- The user creates KloudMate alarms.
- The user configures their preferred notification channels such as Email, Slack, MS Teams, and more.
- The user creates a notification policy, adding the alarm and the channel where they want to be notified.
- When an alarm is triggered, the notification policy determines which notifications are sent via which channels.
Setting Up Notification Policies
Section titled “Setting Up Notification Policies”Navigate to Settings > Notification Policies. The screen displays all existing policies with their name, assigned channels, conditions, and enabled status.

- Click the Create button at the top-right corner.
- Enter a Policy name.
- Select one or more Notification channels from the dropdown. The dropdown displays channels created for the same workspace you are currently working in.
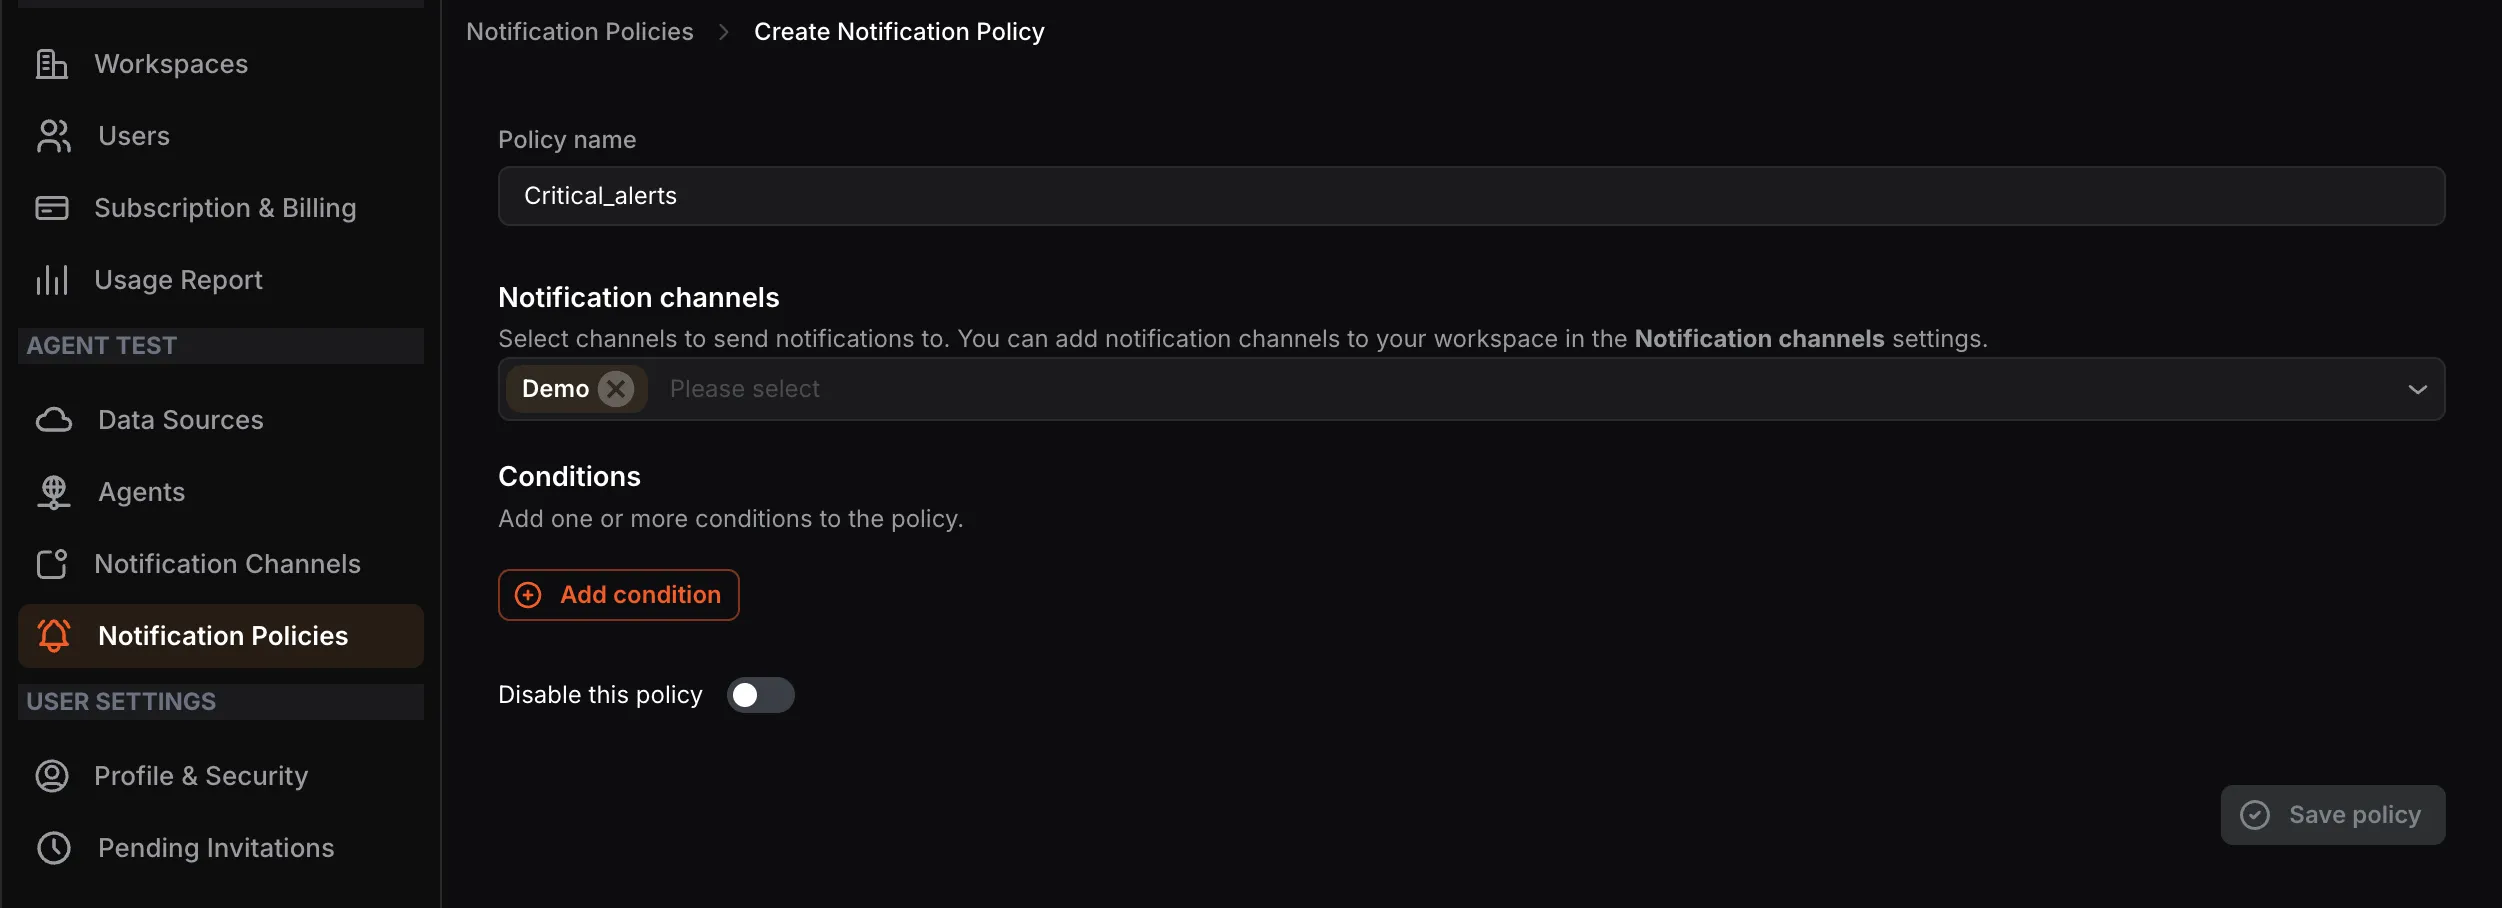
- Click Add condition to define when this policy should trigger. You can add multiple conditions to a single policy.
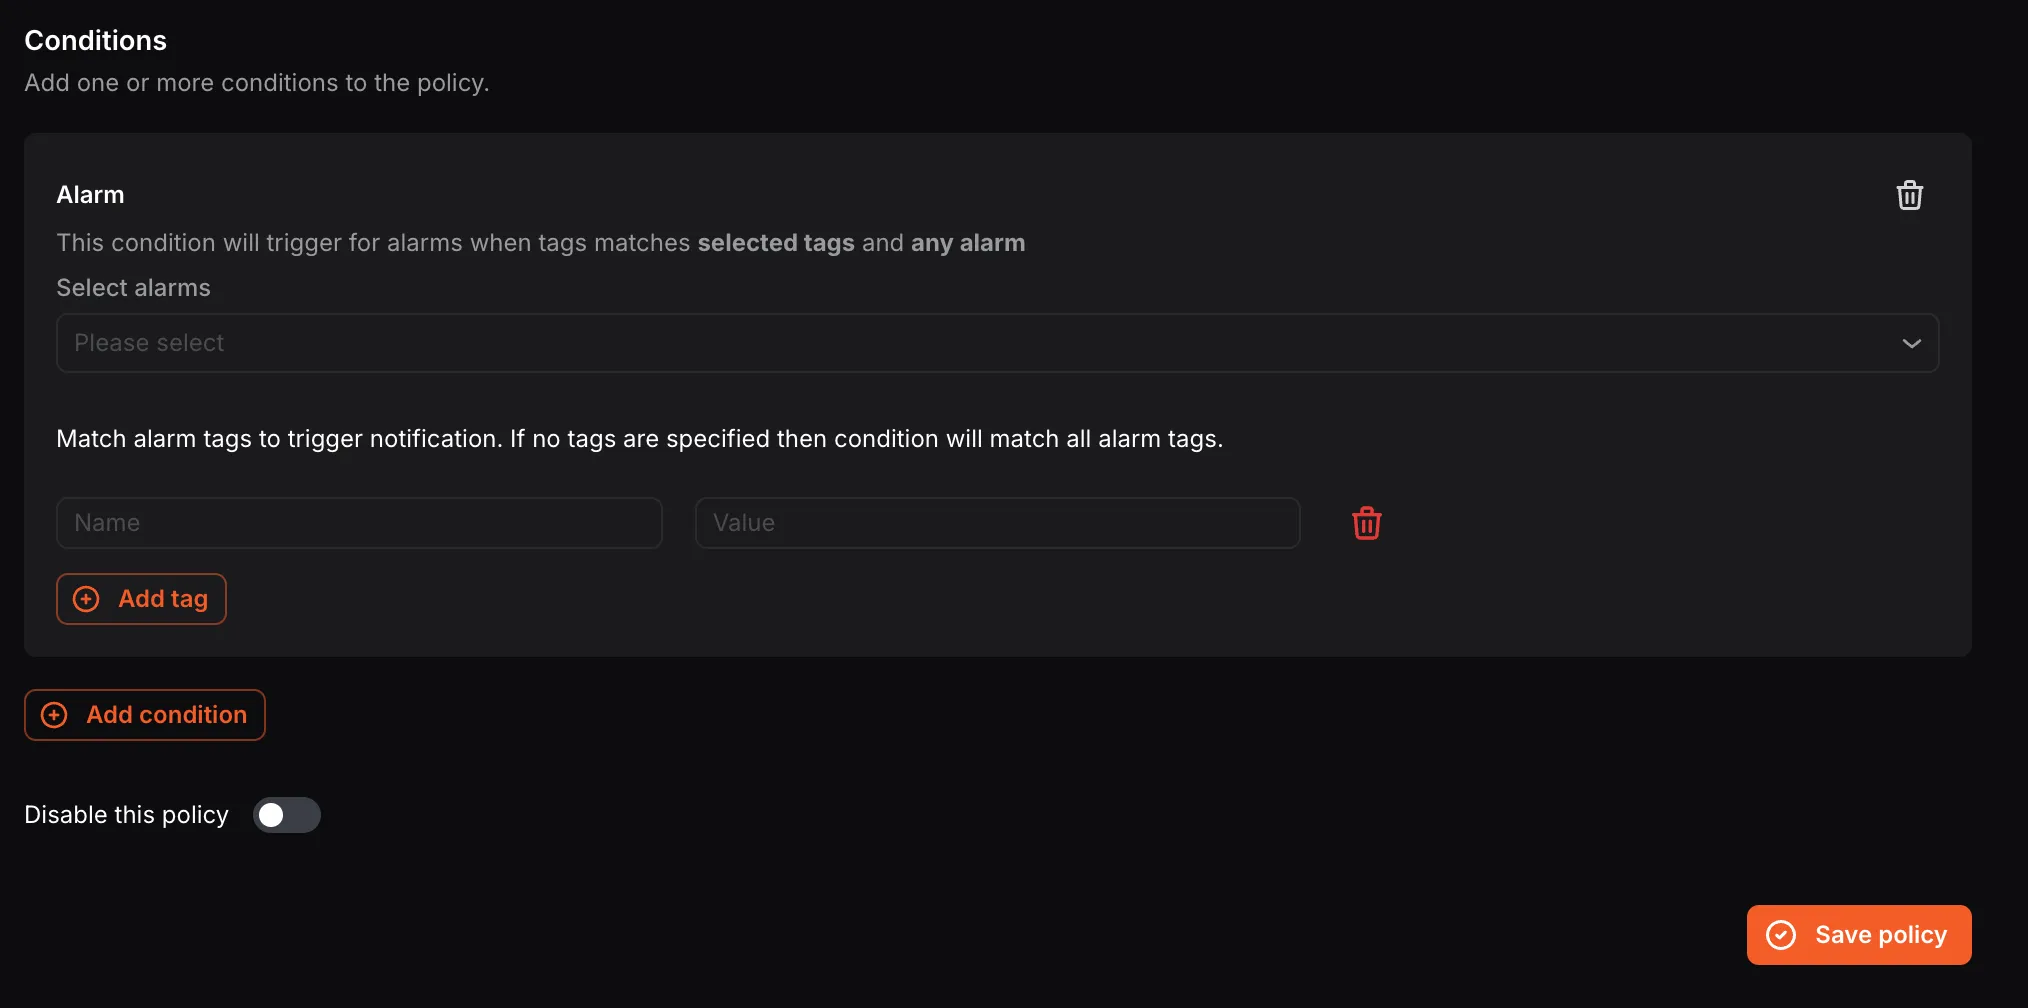
For Alarm conditions:
- Select the alarm(s) from the Select alarms dropdown.
- Optionally add tags (Name and Value) to match specific alarm tags. If no tags are specified, the condition will match all alarm tags.
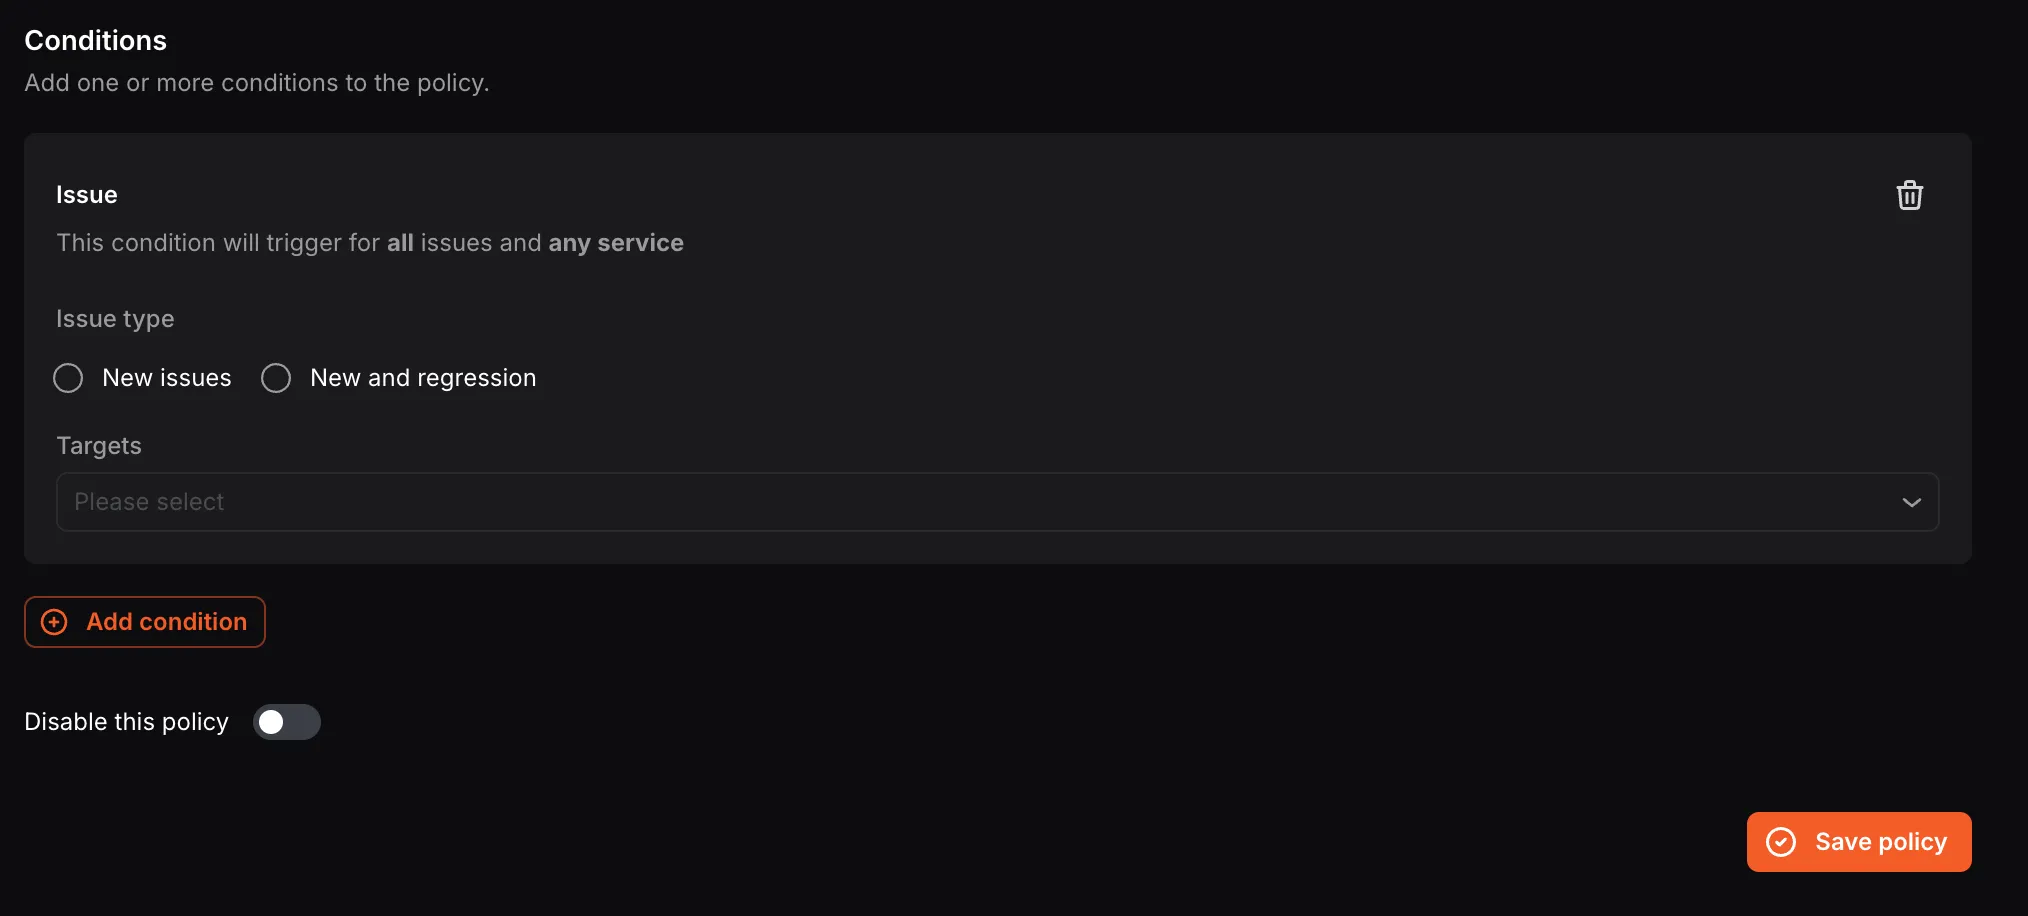
For Issue conditions:
- Select the Issue type — New issues or New and regression.
- Select the Target issue(s) from the dropdown.
- Use the Disable this policy toggle if you want to save the policy without activating it immediately.
- Click Save policy.
You can add multiple notification channels and multiple conditions in a single notification policy.
Setting Up Notification Channels
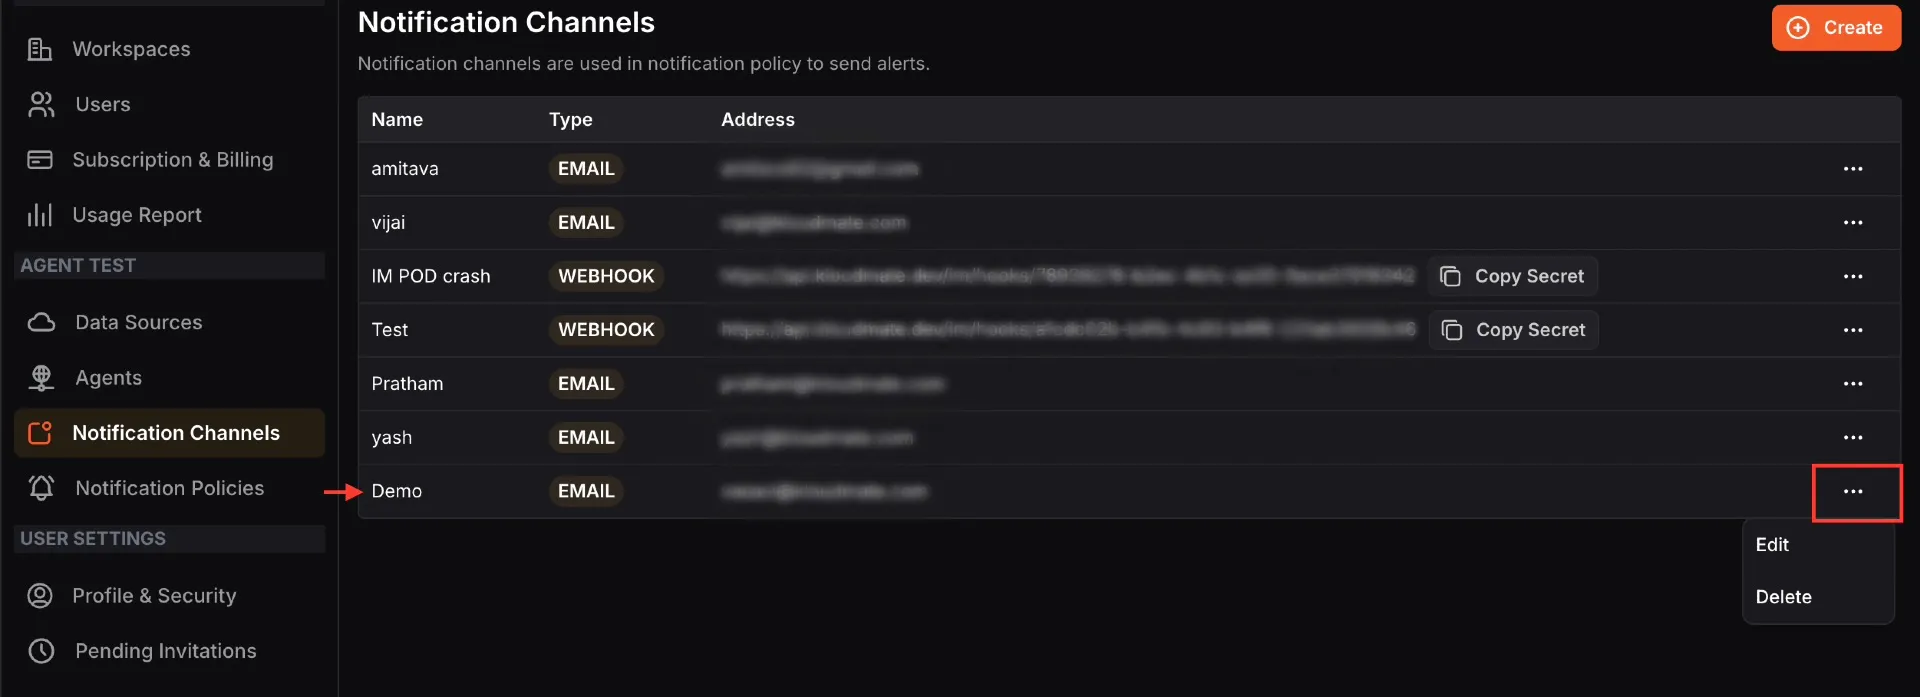
Section titled “Setting Up Notification Channels”Navigate to Settings > Notification Channels. The screen displays all existing channels with their name, type, and address.
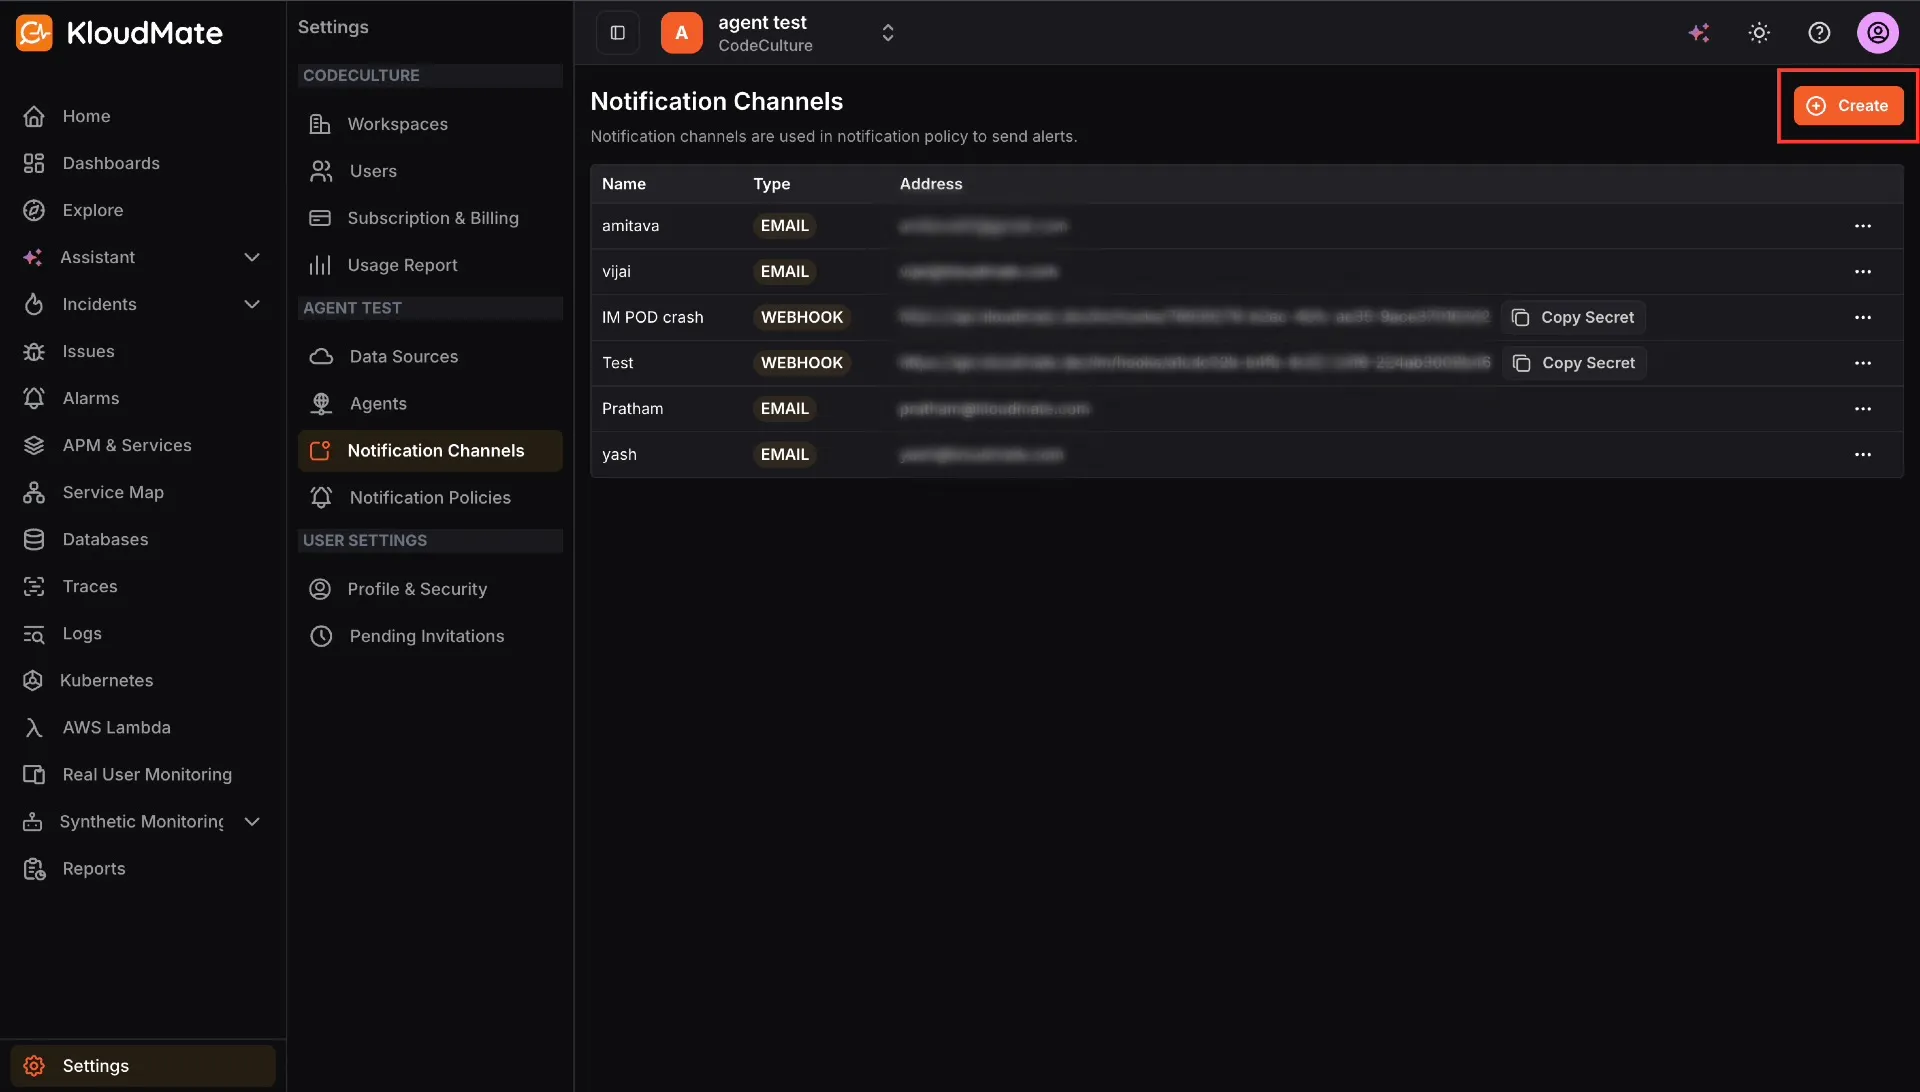
- Click the Create button at the top-right corner.
- Select the desired channel type from the dropdown.
Once created, the channel appears in the list. You can Edit or Delete any channel using the more options (⋯) icon.
Below are the configuration steps for each specific channel type:
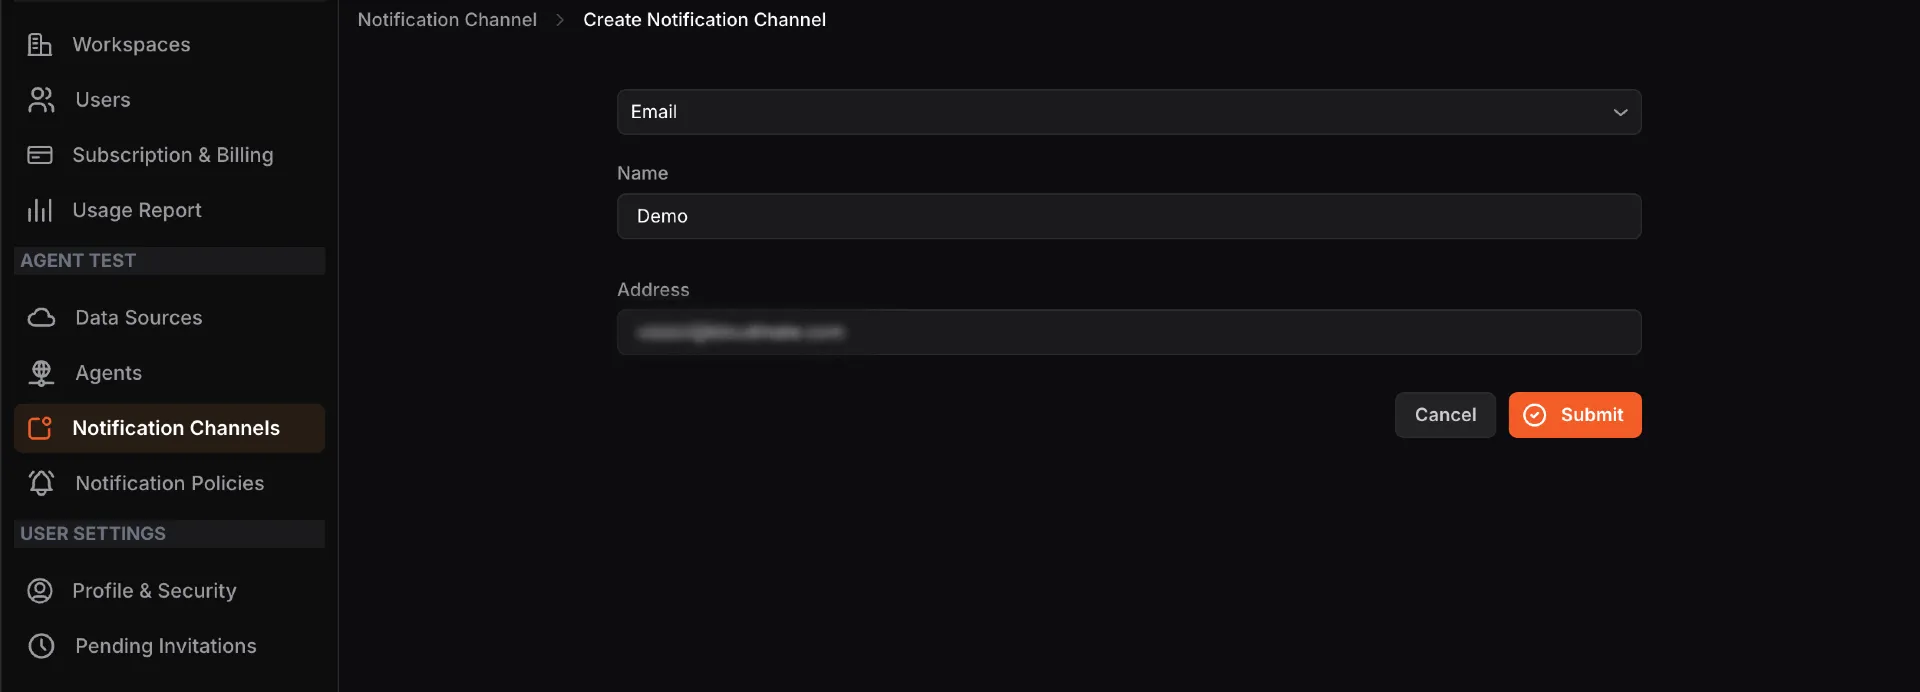
- Select Email from the dropdown menu.
- Enter a Name for the channel (e.g., demo) and your email address in the Address field.
- Click Submit.
- Select Slack from the dropdown menu, then click the Add to Slack button.
- You will be redirected to the Slack integrations page. Follow the on-screen instructions, add a message for your App Manager, then click Submit.

MS Teams
Section titled “MS Teams”- Select MS Teams from the dropdown menu.
- Create an incoming webhook URL from Microsoft Teams by going to Channel > Connectors > Incoming Webhooks in the Microsoft Teams Apps.
- Enter the Team Channel Name and the Webhook Address in their respective fields.
- Click Submit.
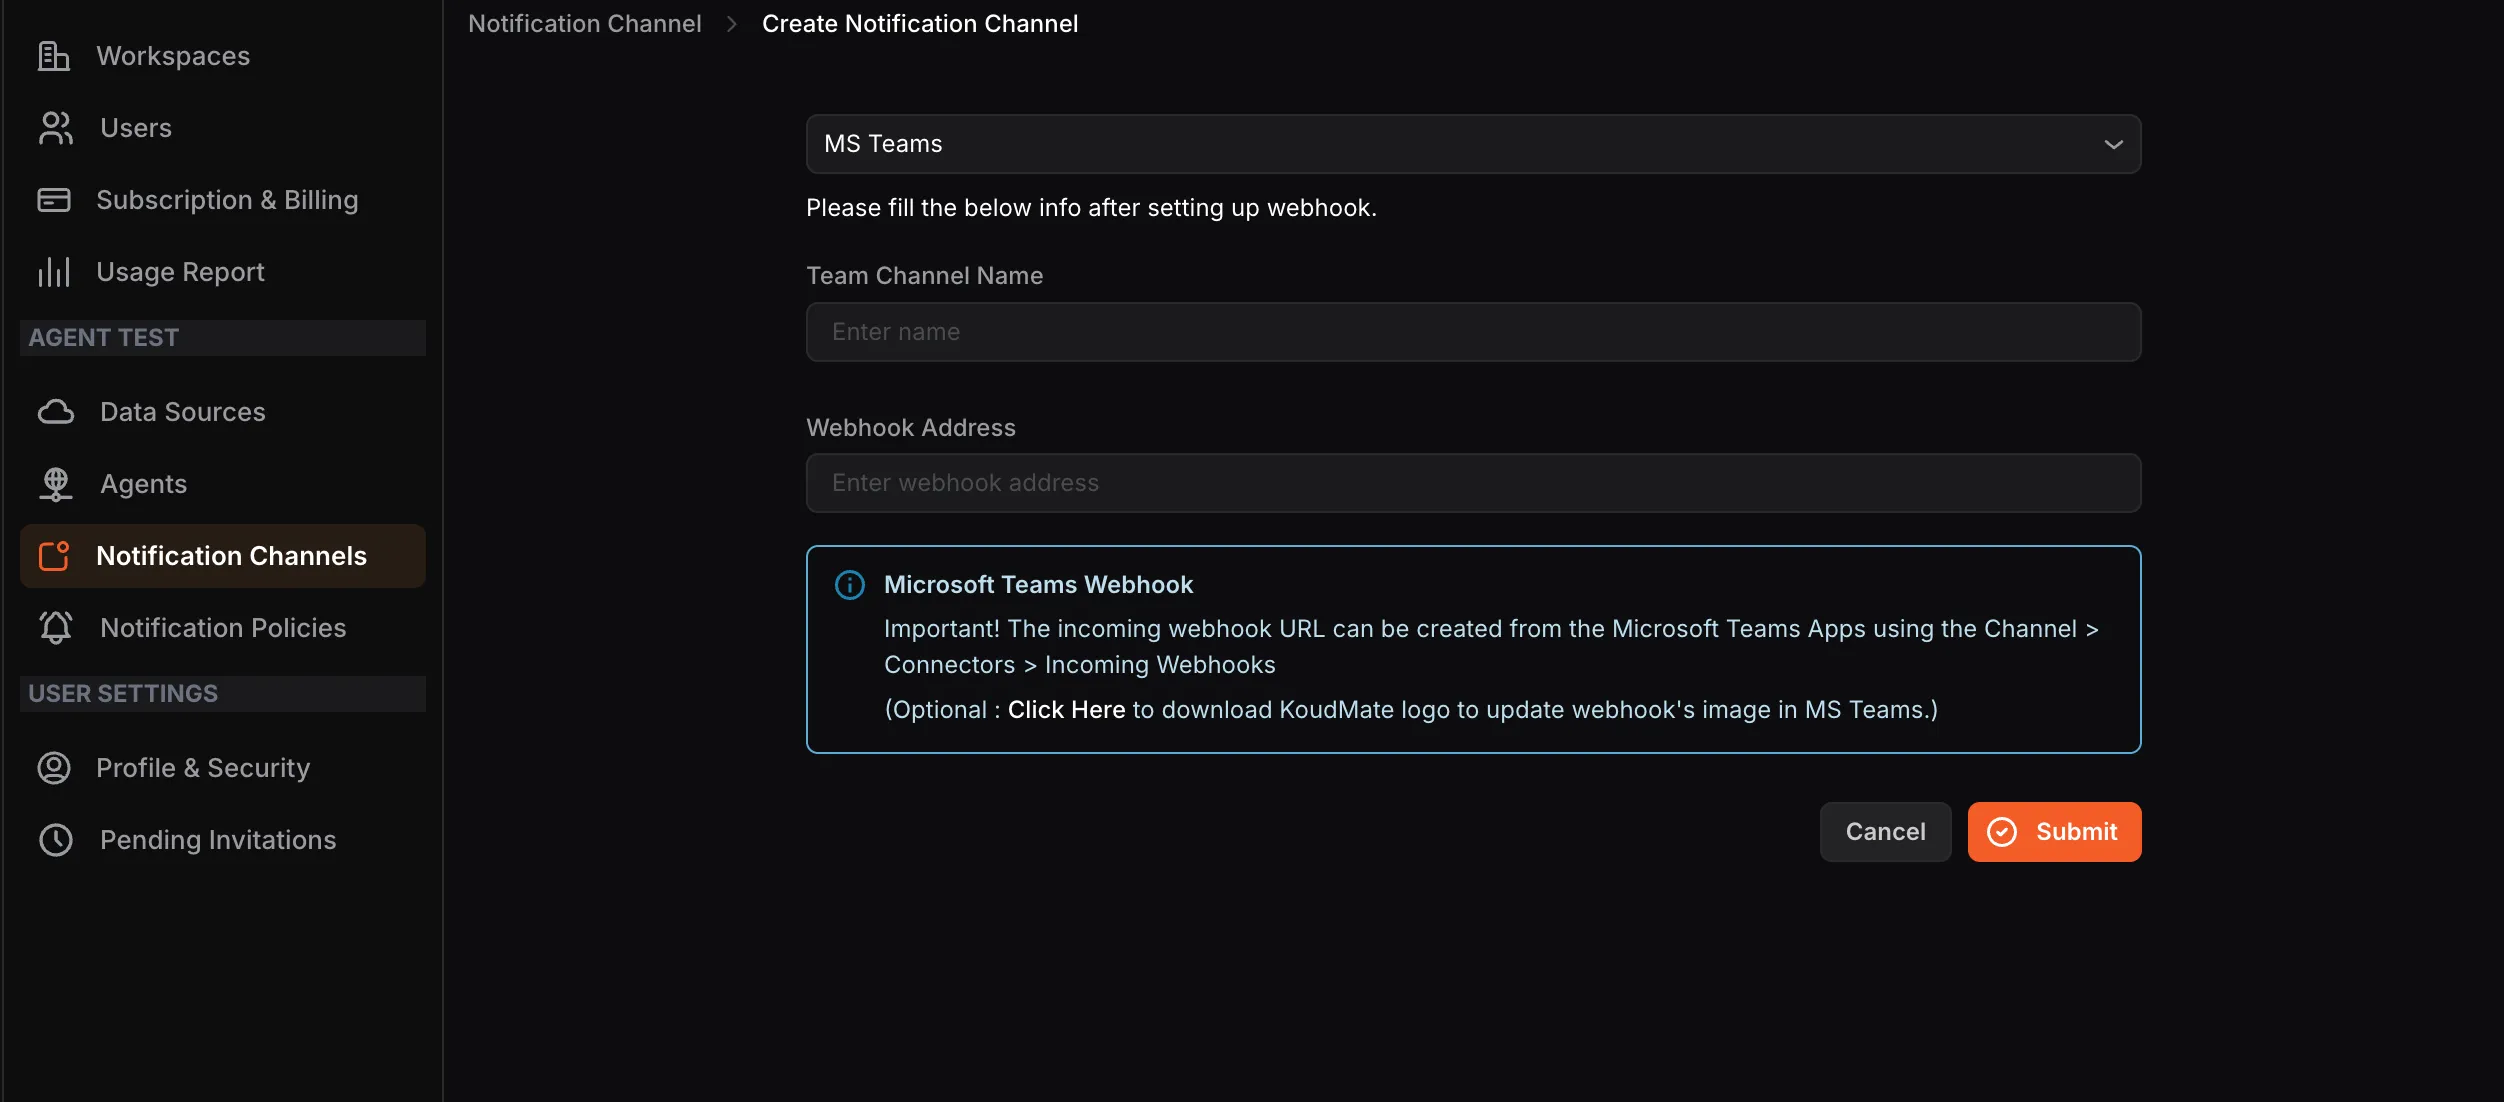
Optionally, you can download the KloudMate logo from the link provided on the screen to update the webhook’s image in MS Teams.
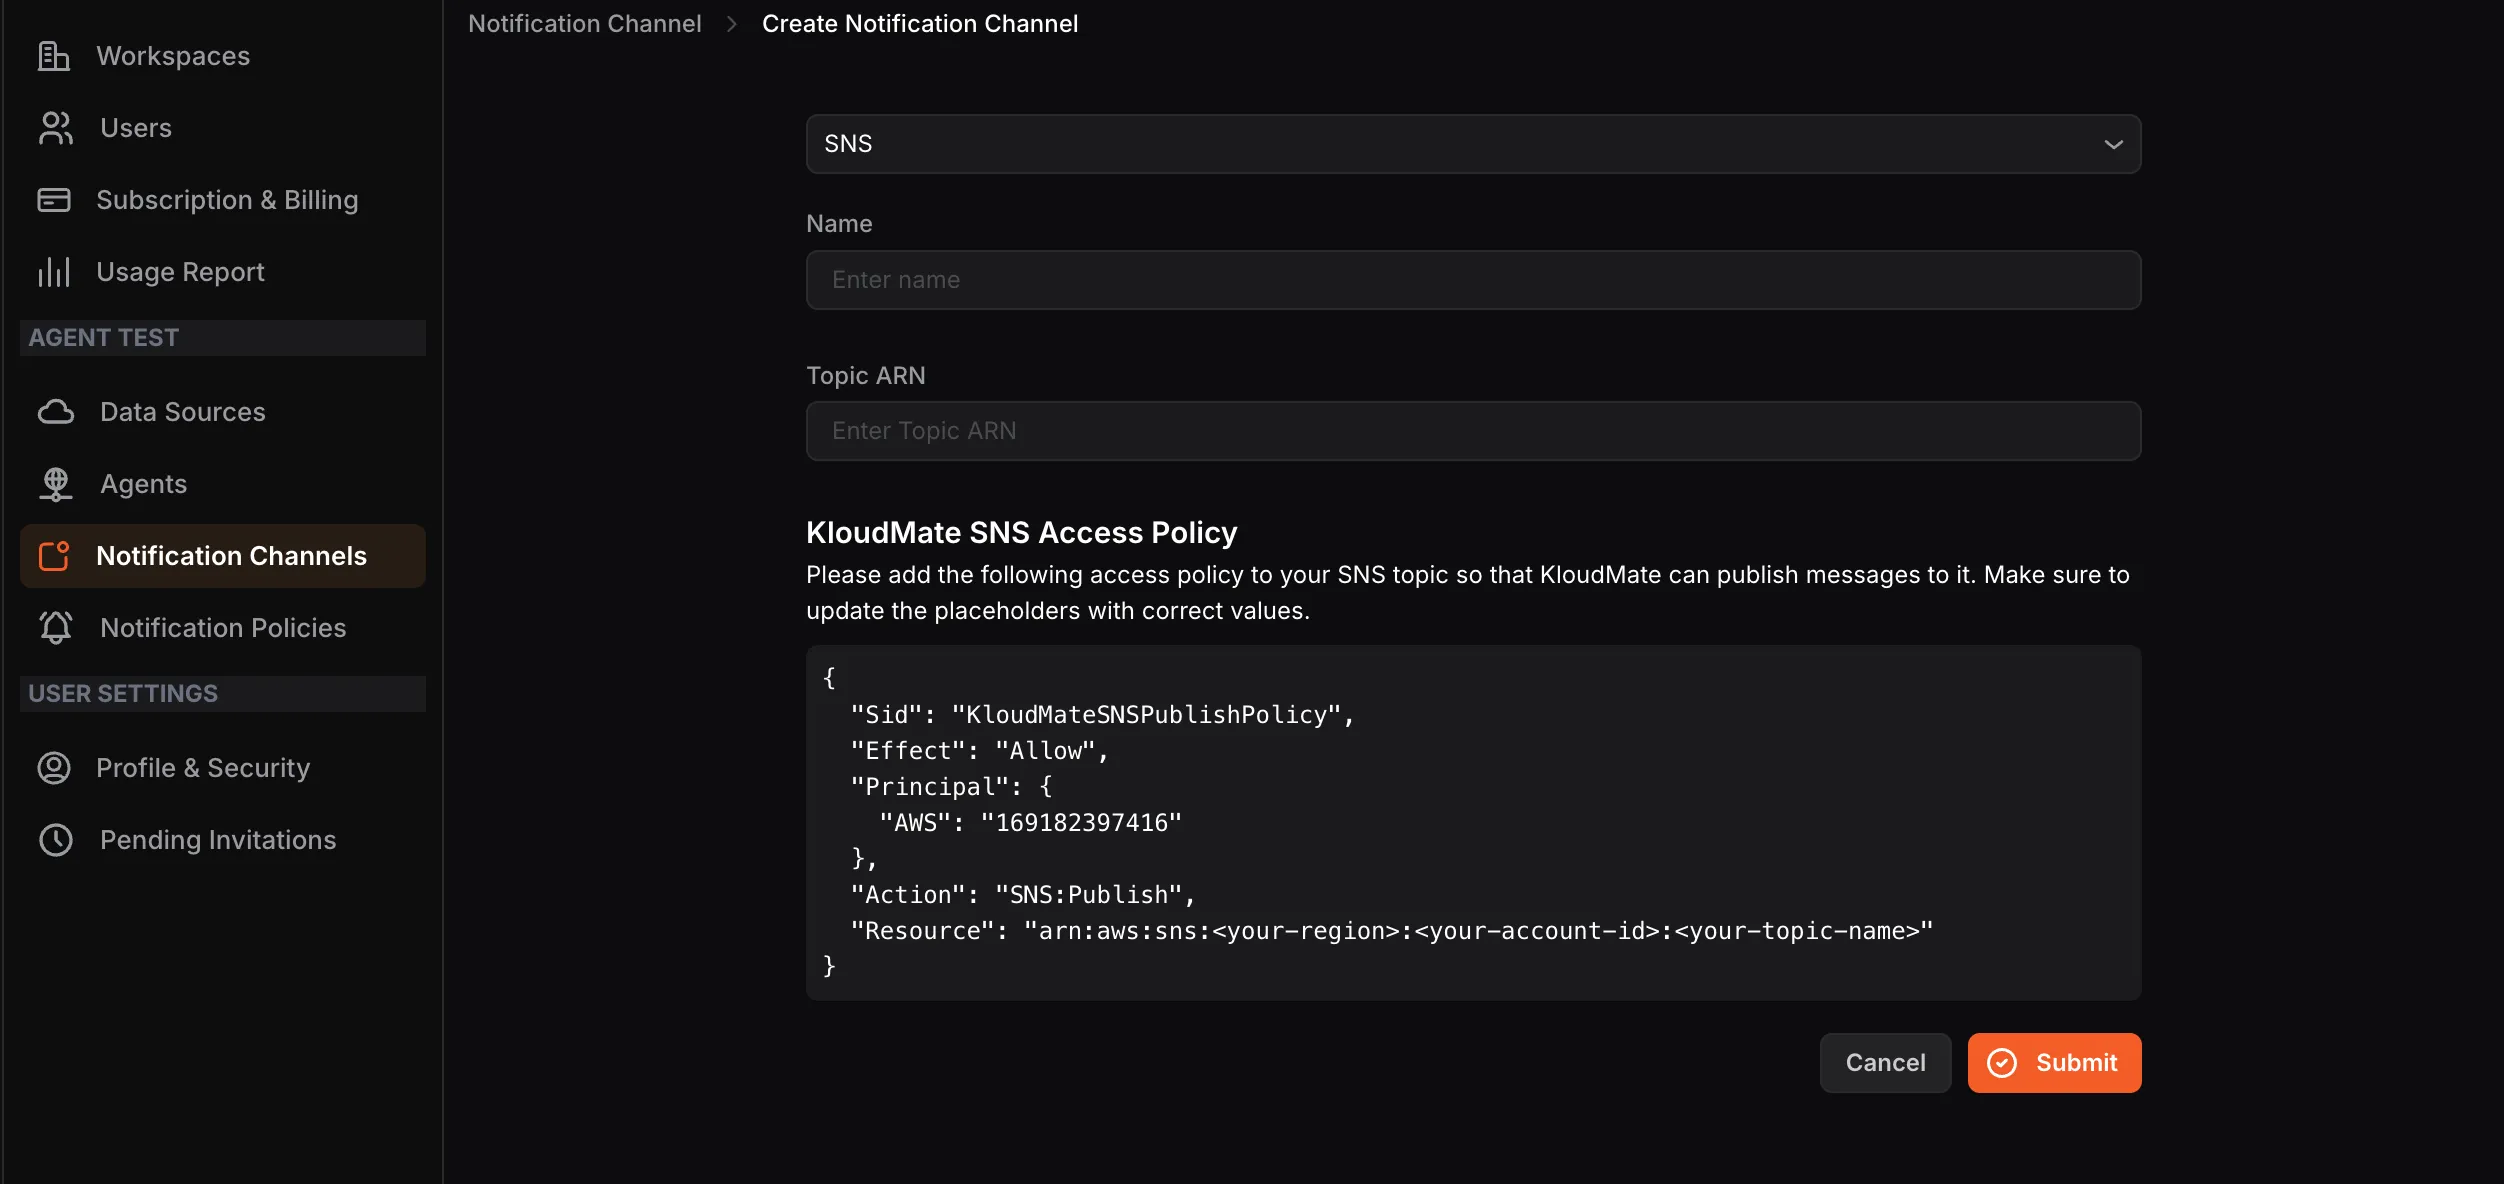
- Select SNS from the dropdown menu.
- Copy the KloudMate SNS Access Policy displayed on the screen. Navigate to your AWS Console and paste the policy into your SNS topic. Update the placeholders in the policy with the correct values.
- Return to KloudMate, enter a Name and your Topic ARN in their respective fields.
- Click Submit.
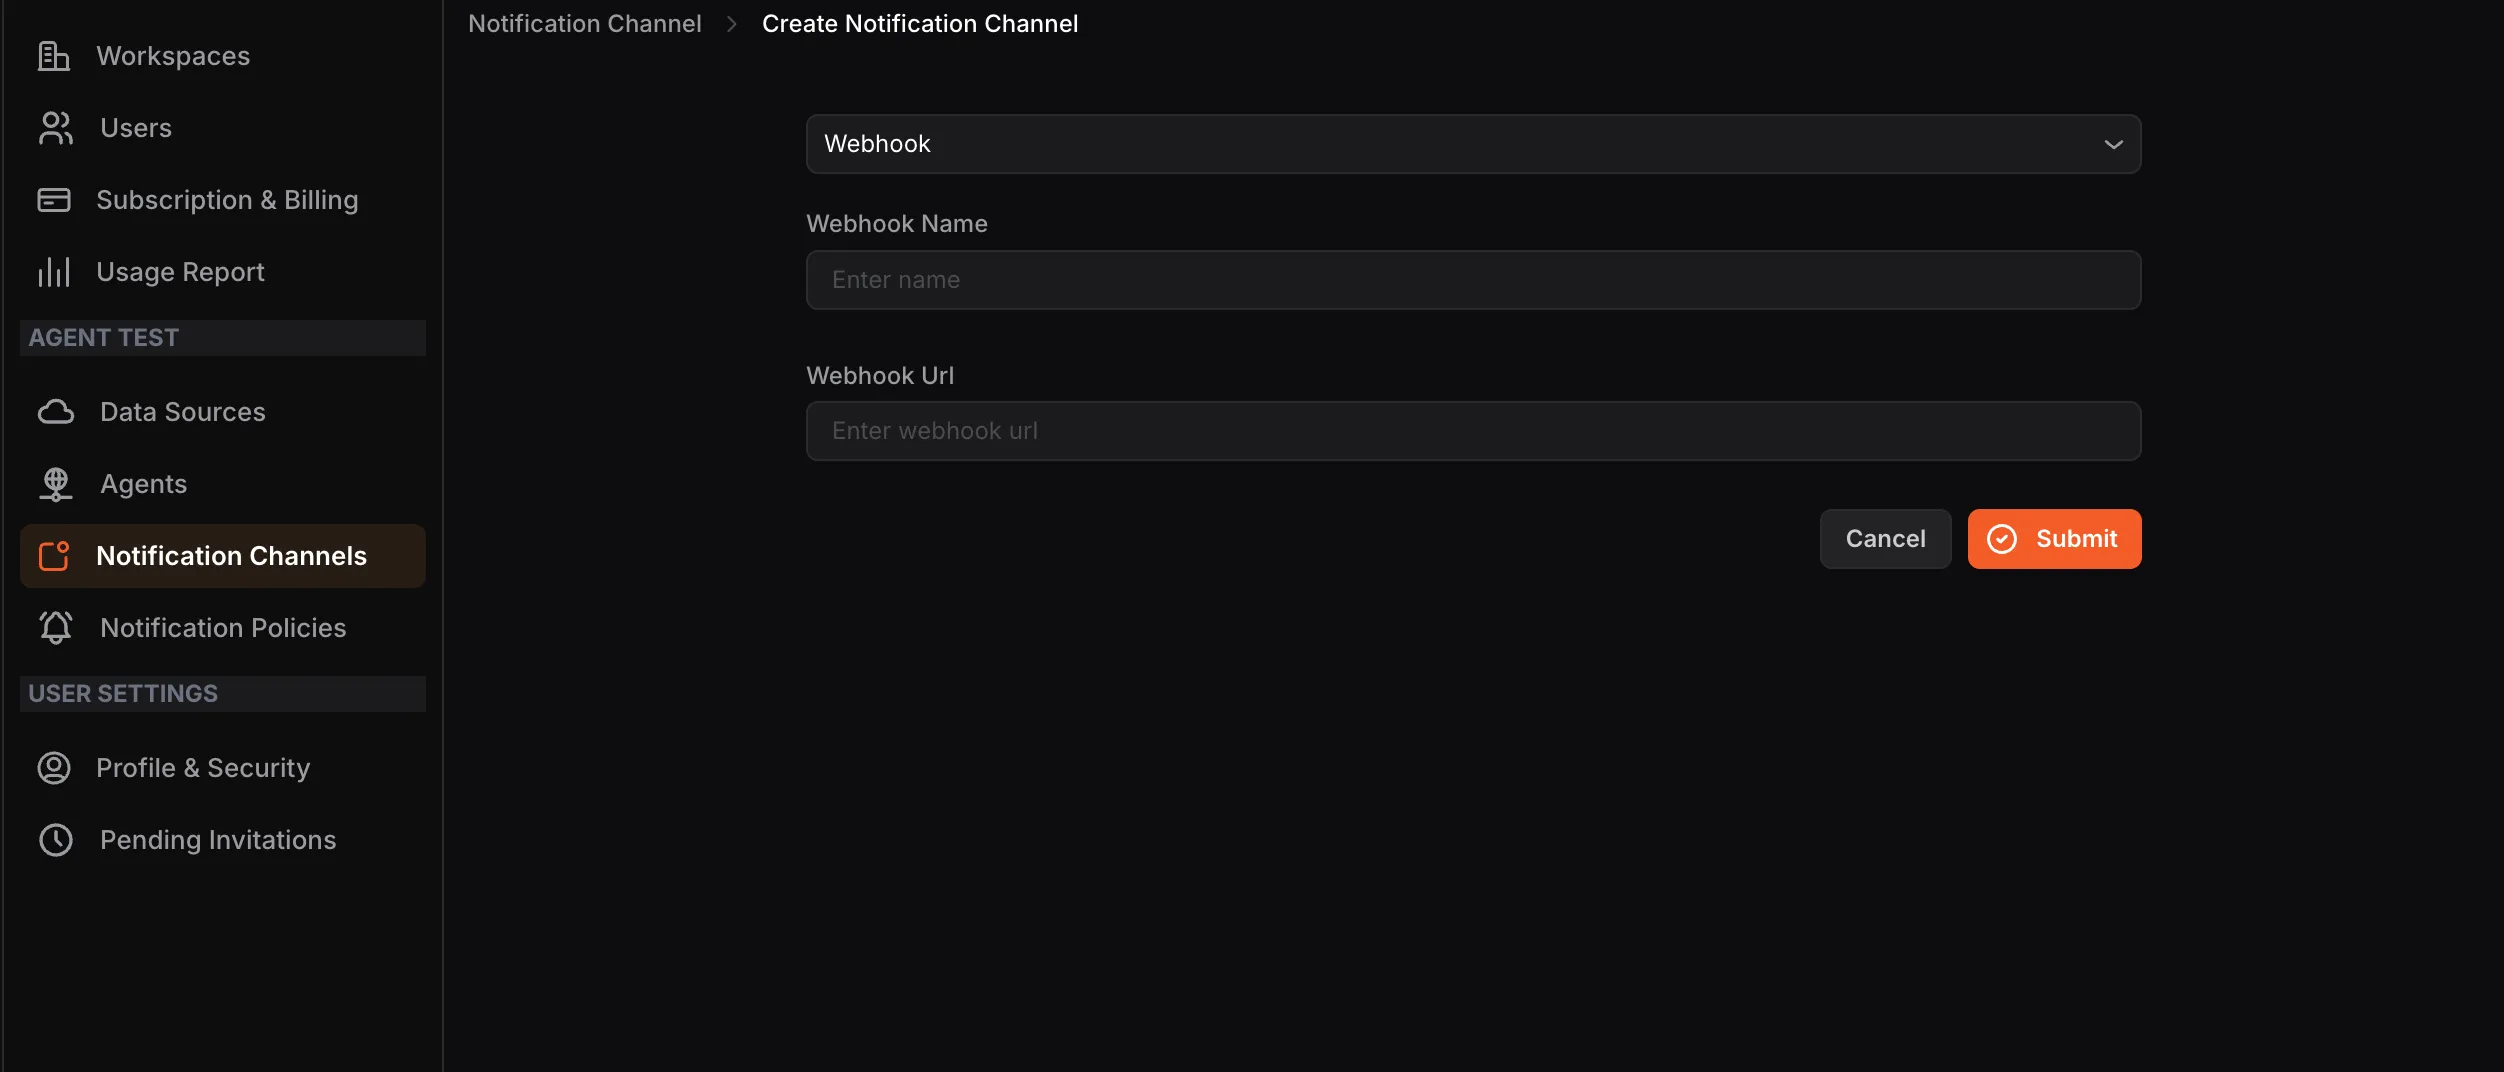
Webhooks
Section titled “Webhooks”- Select Webhook from the dropdown menu.
- Enter a Webhook Name and the Webhook URL in their respective fields.
- Click Submit.
- Select Jira from the dropdown menu and click the Connect Jira button.
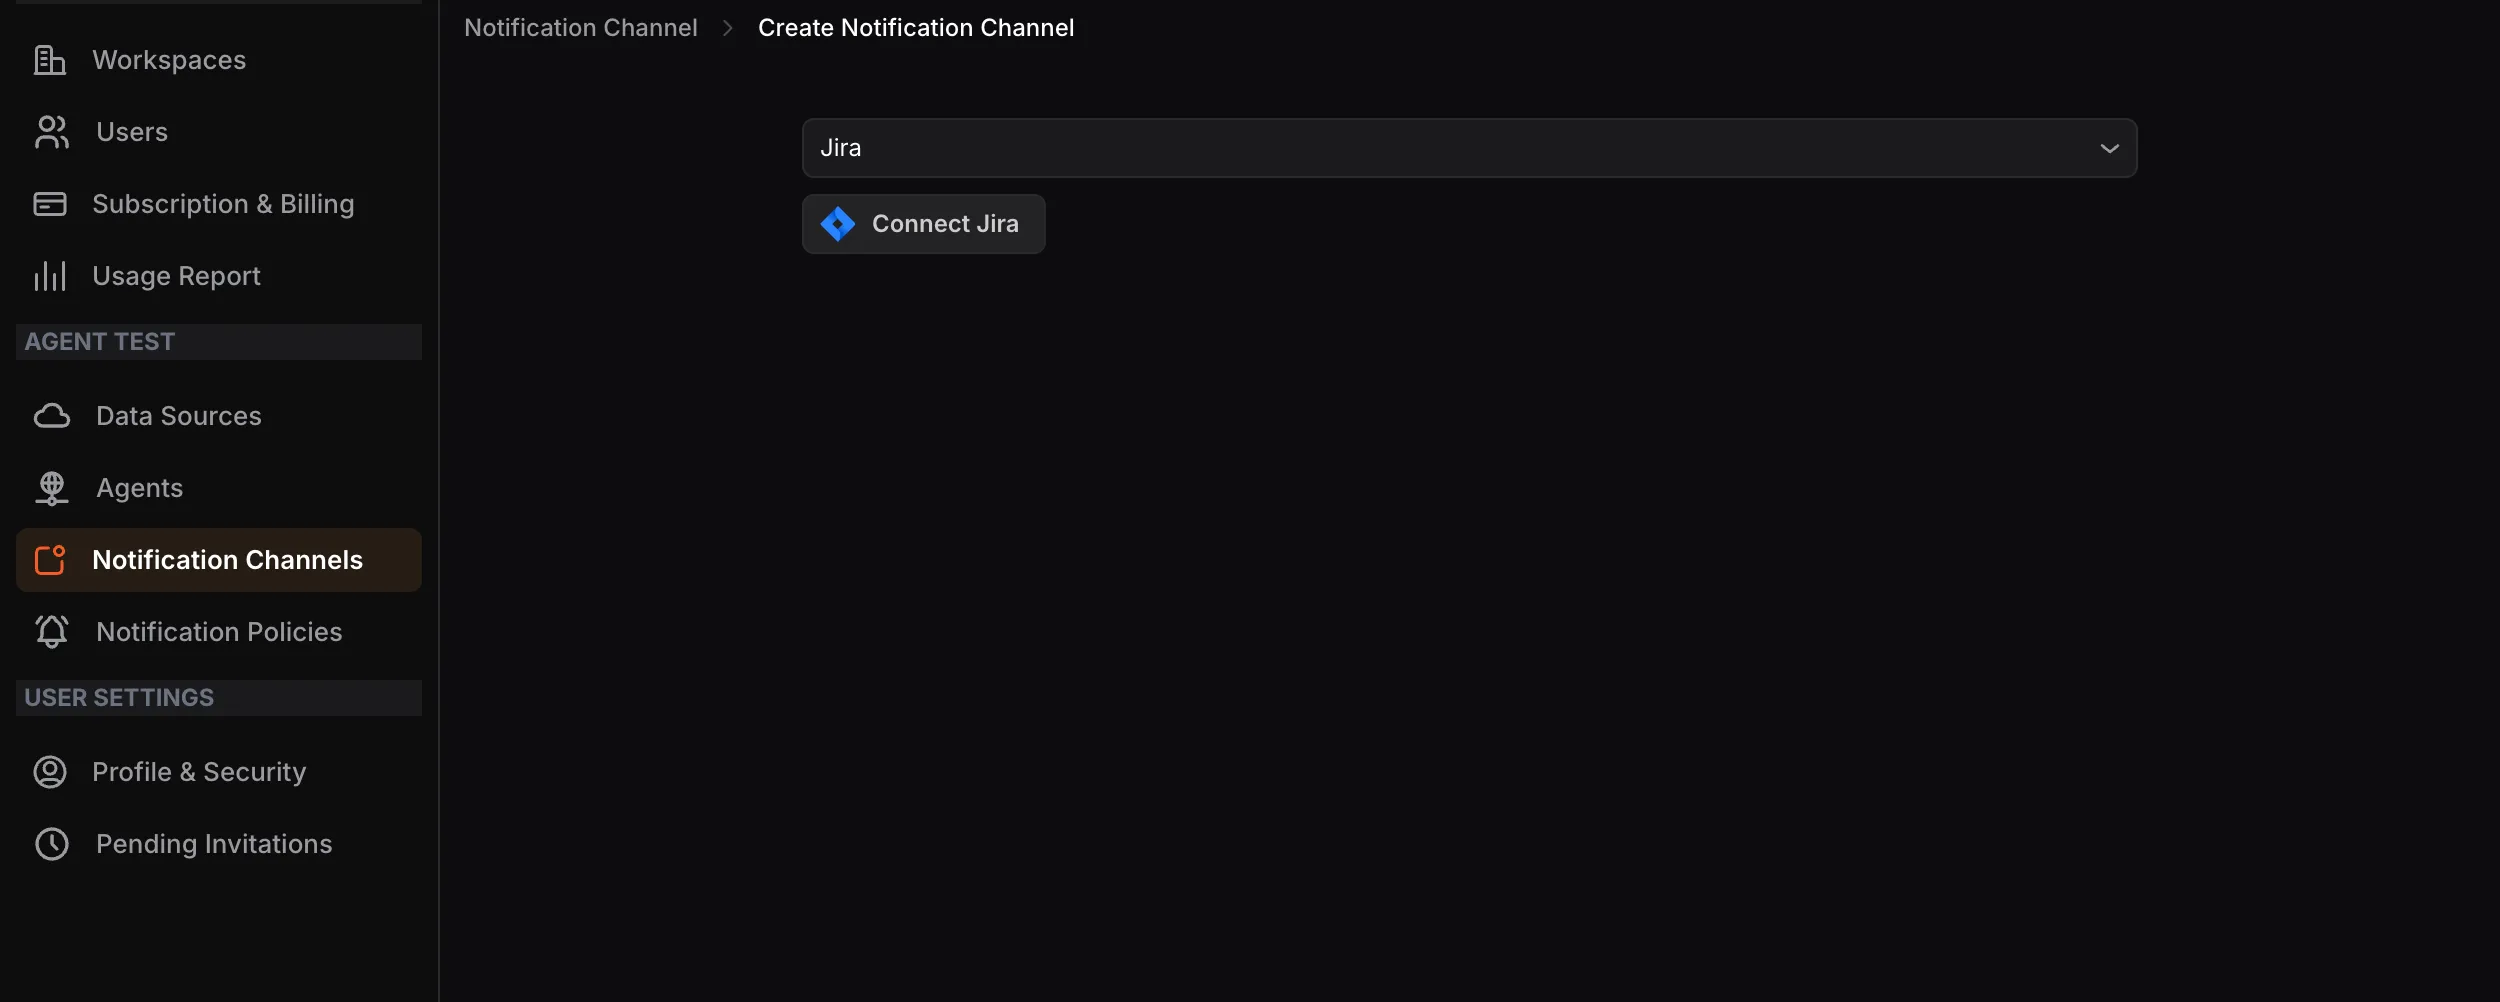
- You will be redirected to the Jira authorization page. Click Accept to authorize the integration between KloudMate and your Atlassian account.

- You will be redirected back to the Jira Notification Channel configuration page in KloudMate.
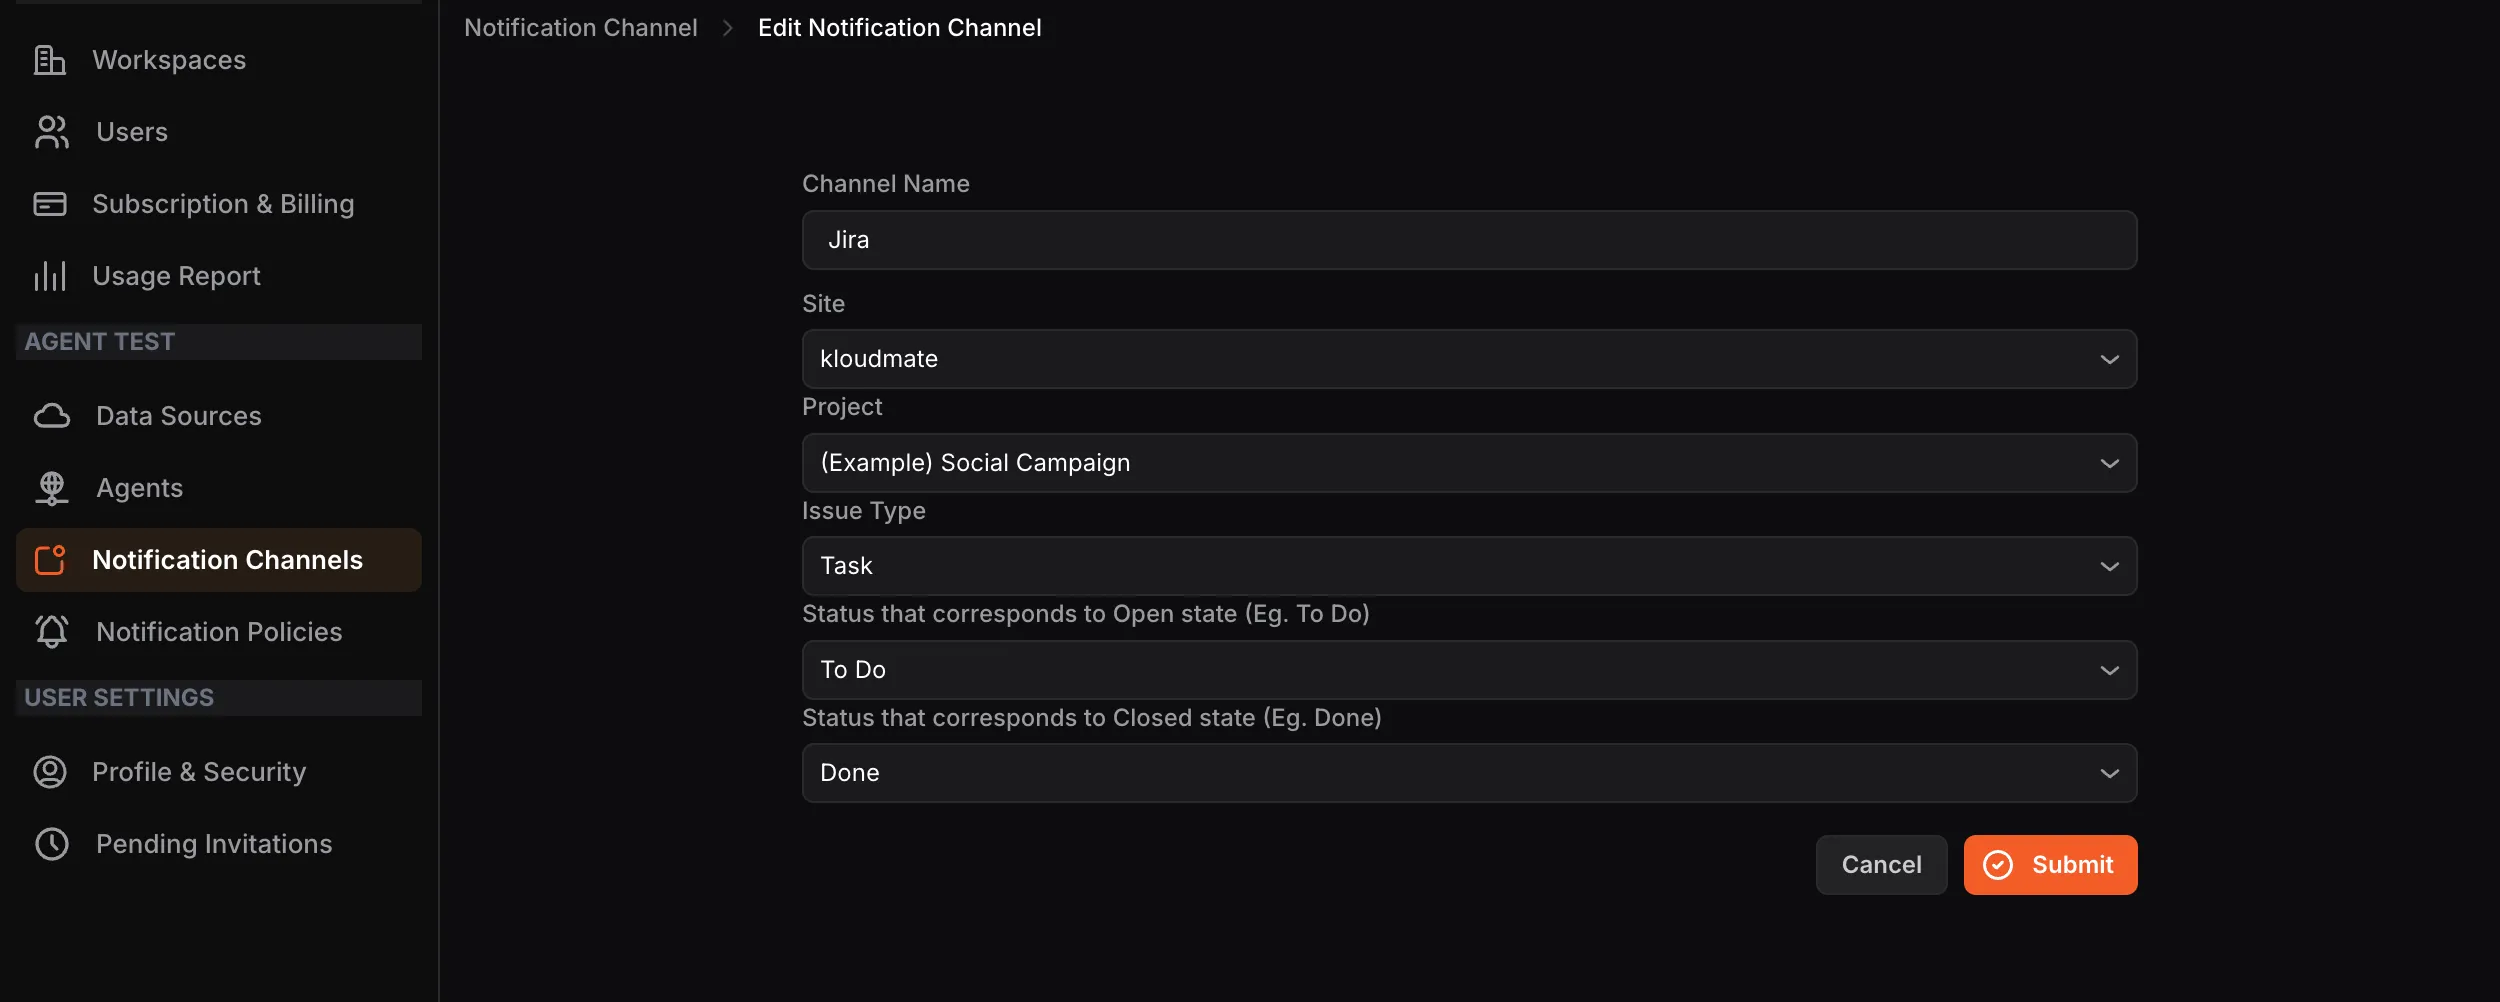
Enter a Channel Name and select the following:
- Site: your Jira site
- Project: the Jira project to link
- Issue Type: the type of issue to create (e.g., Task)
- Status for Open state: the Jira status that corresponds to an open ticket (e.g., To Do, In Progress)
- Status for Closed state: the Jira status that corresponds to a closed ticket (e.g., Done)
- Click Submit to complete the integration.
Jira integration with KloudMate is one-way. Status changes in KloudMate will be reflected in Jira, but status changes made in Jira will not be reflected in KloudMate.
Alarm and Issue Details in Jira
Section titled “Alarm and Issue Details in Jira”Alarm details in Jira
| KloudMate | Jira |
|---|---|
| Alarm name | Ticket title |
| KloudMate account name | Ticket title |
| Alarm description | Ticket description |
| Alarm value | Ticket description |
| Regression alarms | Ticket comment |
Issues details in Jira
| KloudMate | Jira |
|---|---|
| Issue’s service name | Ticket title |
| KloudMate account name | Ticket title |
| Regression Issues | Ticket title |
| Issue name | Ticket description |
| Issue comments | Ticket comments |
Creating a Manual Jira Ticket
Section titled “Creating a Manual Jira Ticket”You can create a Jira ticket directly from an issue or alarm details page to raise individual tickets that are not assigned to a notification policy.
Prerequisite: A Jira notification channel must already be configured.
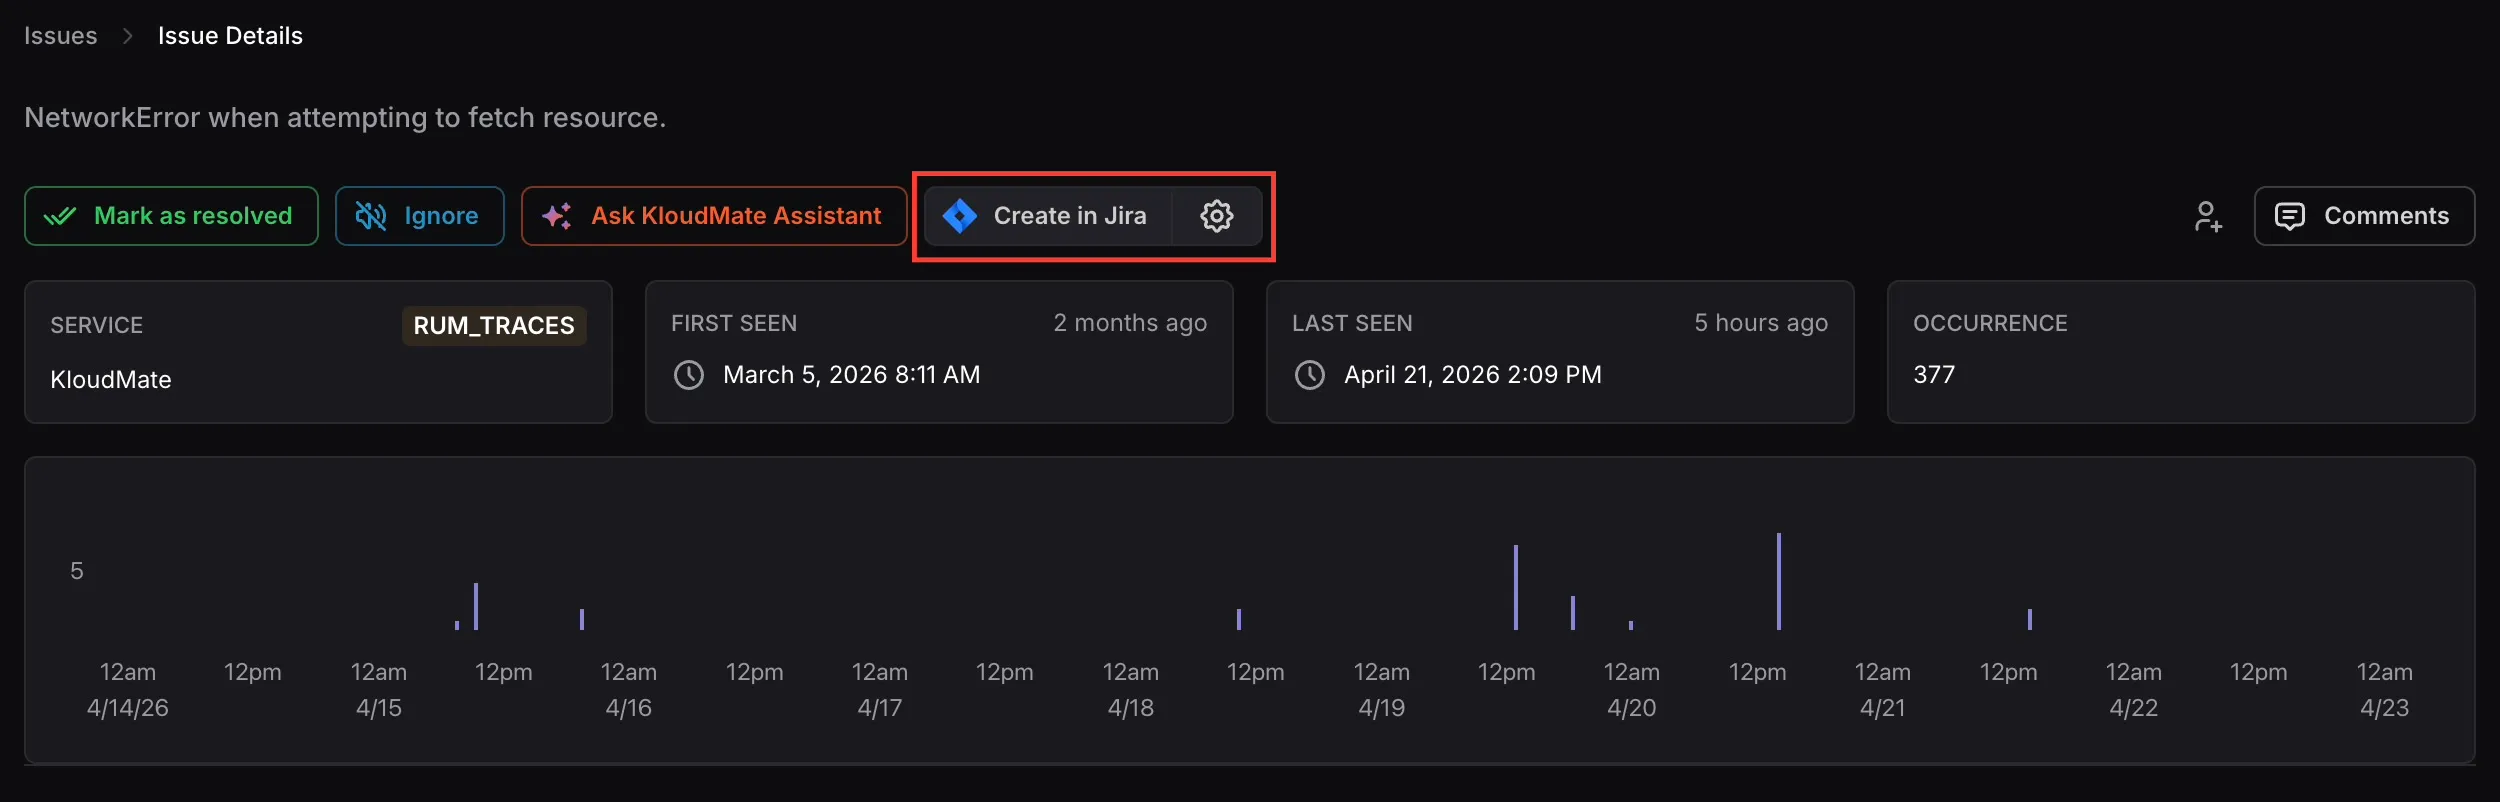
- Navigate to the Issue or Alarm details page.
- Click the Create in Jira button. A dialog will open showing all Jira channels integrated with your KloudMate account, along with any previously linked Jira tickets for that issue.
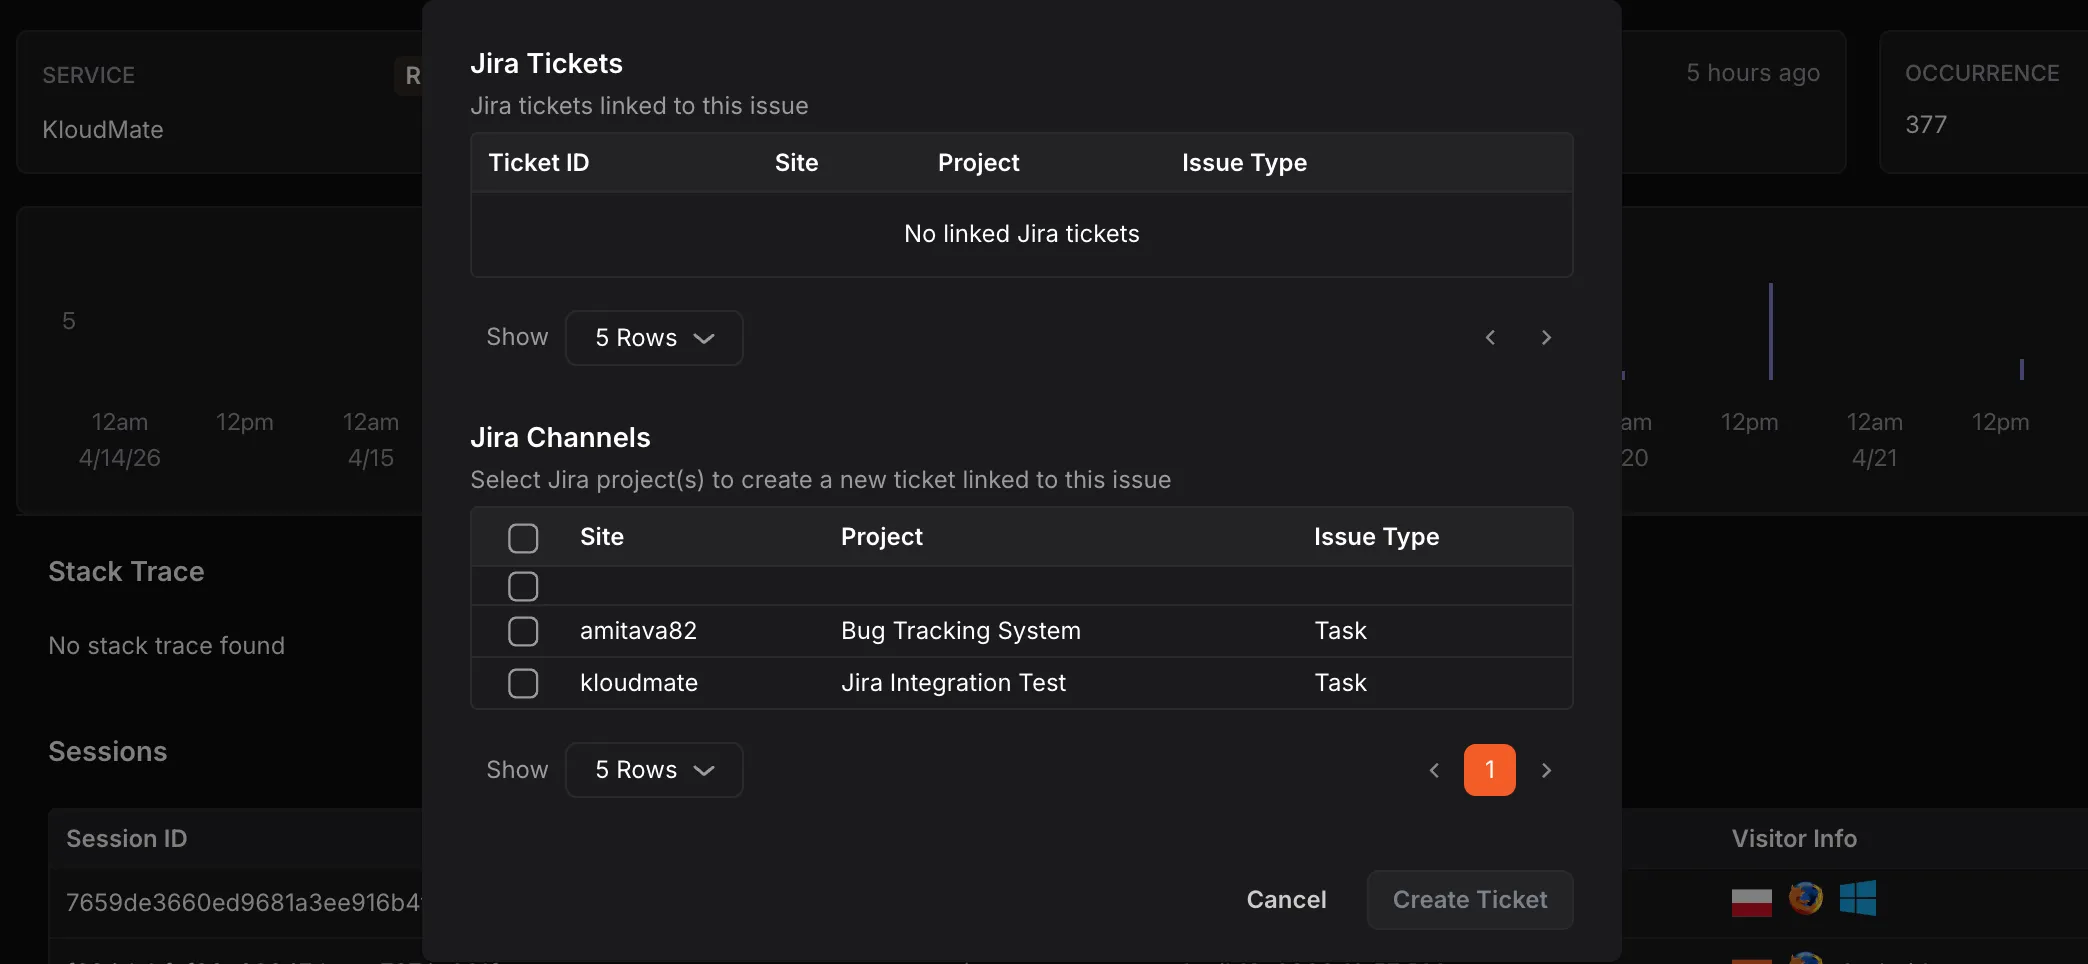
- Under Jira Channels, select the checkbox(es) for the channel(s) you want to raise a ticket in.
- Click Create Ticket.
Unlinking a Jira Ticket
Section titled “Unlinking a Jira Ticket”- On the issue or alarm details page, click the settings icon next to the Create in Jira button to open the Jira Tickets panel.
- The panel displays all Jira tickets currently linked to the issue, showing the Ticket ID, Site, Project, and Issue Type.
- Click the unlink icon next to the ticket you want to remove to unlink it from KloudMate.
