Create Report
Users can create a report from the Reports Overview page. The Create Report page is divided into four sections.
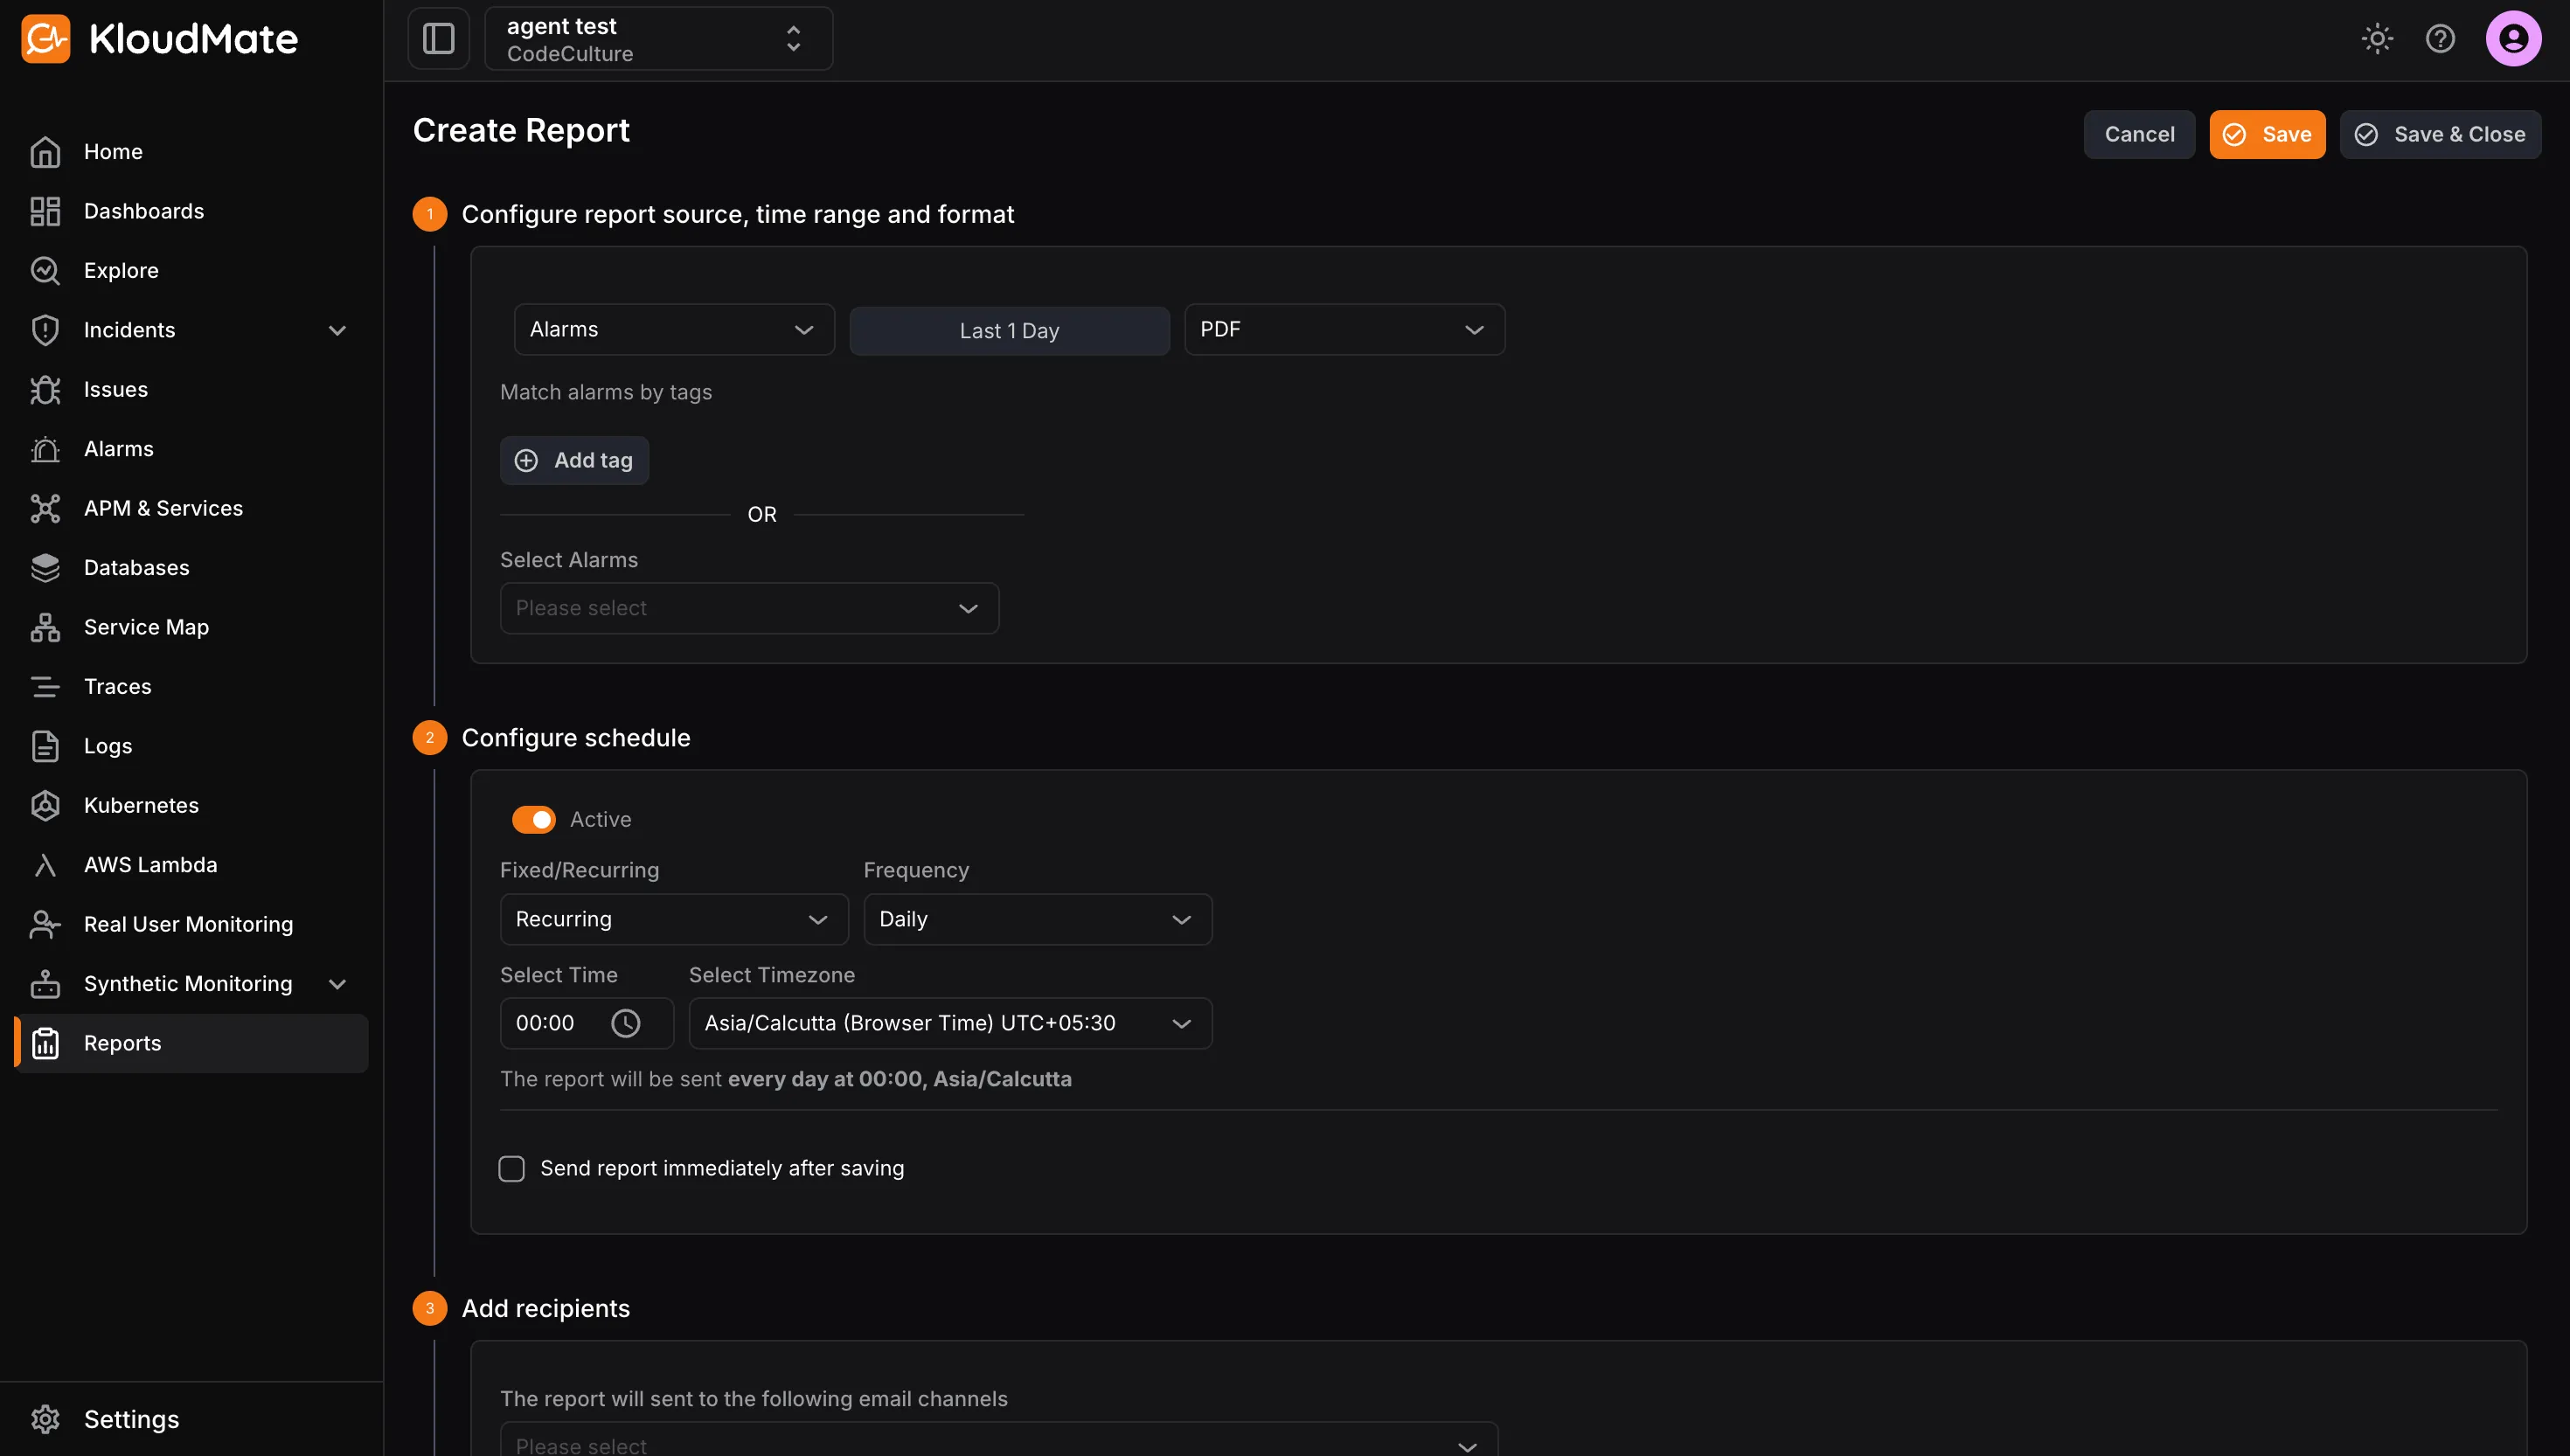
1. Configure Report Source, Time Range and Format
Section titled “1. Configure Report Source, Time Range and Format”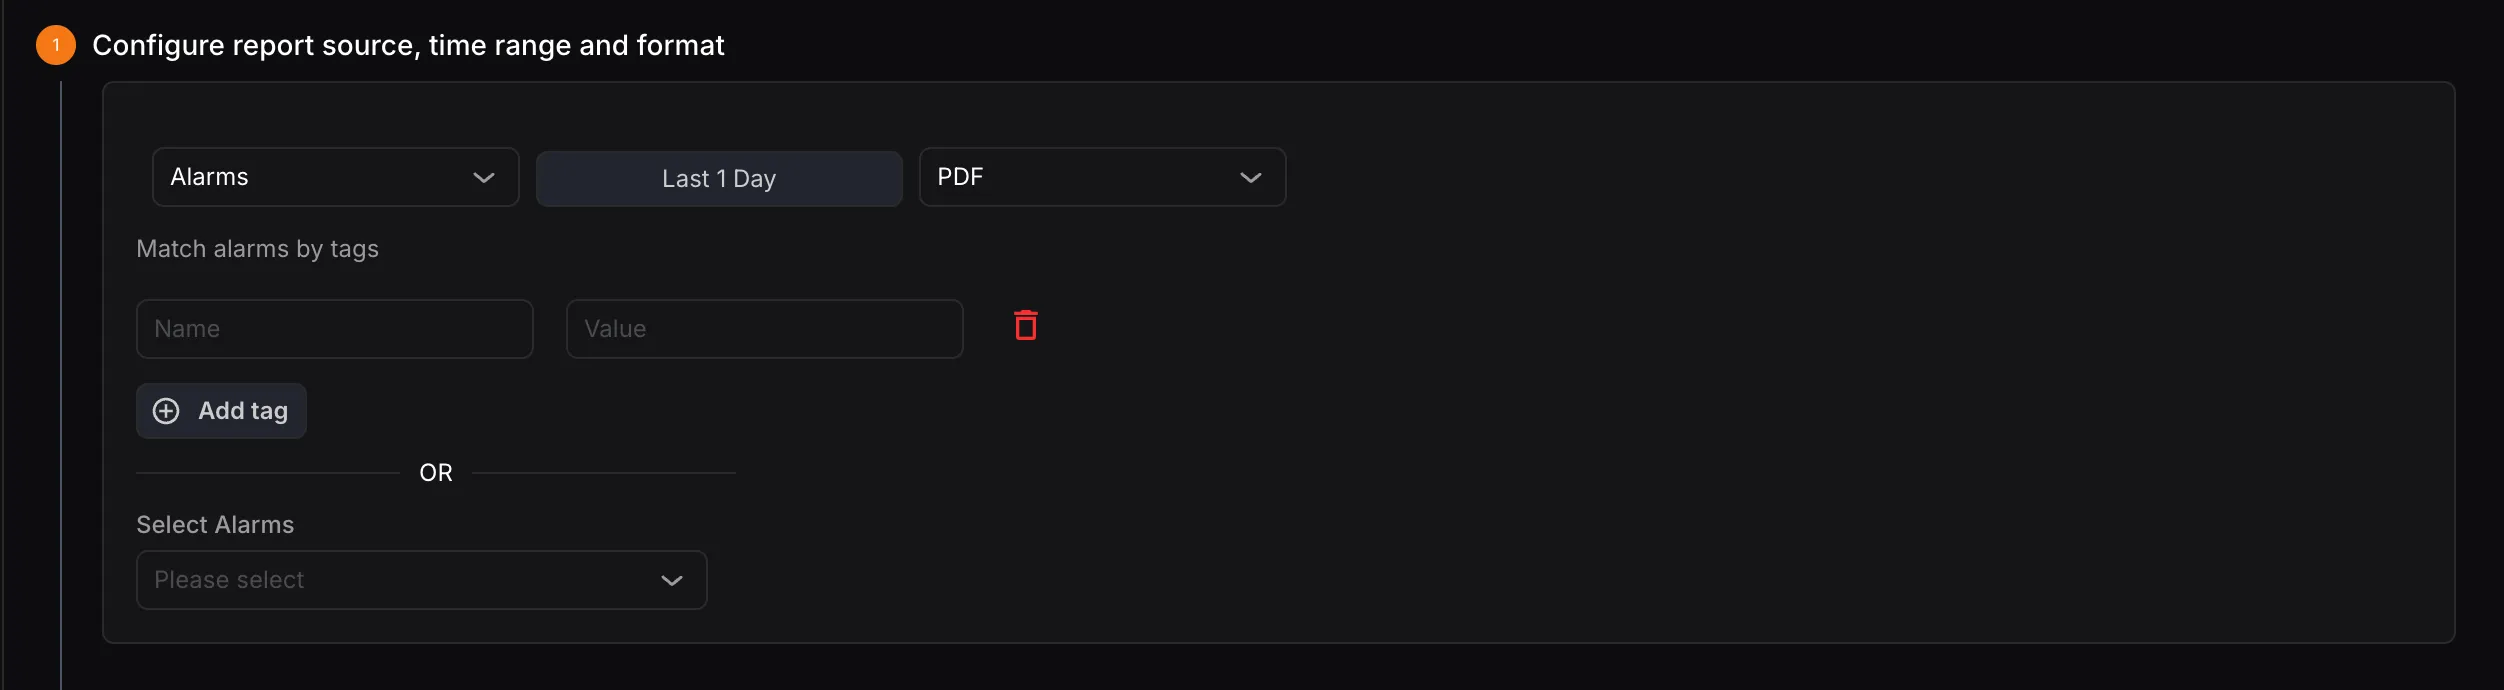
- Report Type: Select the type of report to generate — Alarm Report, Incident Report, or Dashboard Report. You can also filter alarms by tags or select specific alarms using the dropdown.
- Time Range: Select the duration for which the report should be generated.
- Report Format: Choose the output format — PDF or XLSX.
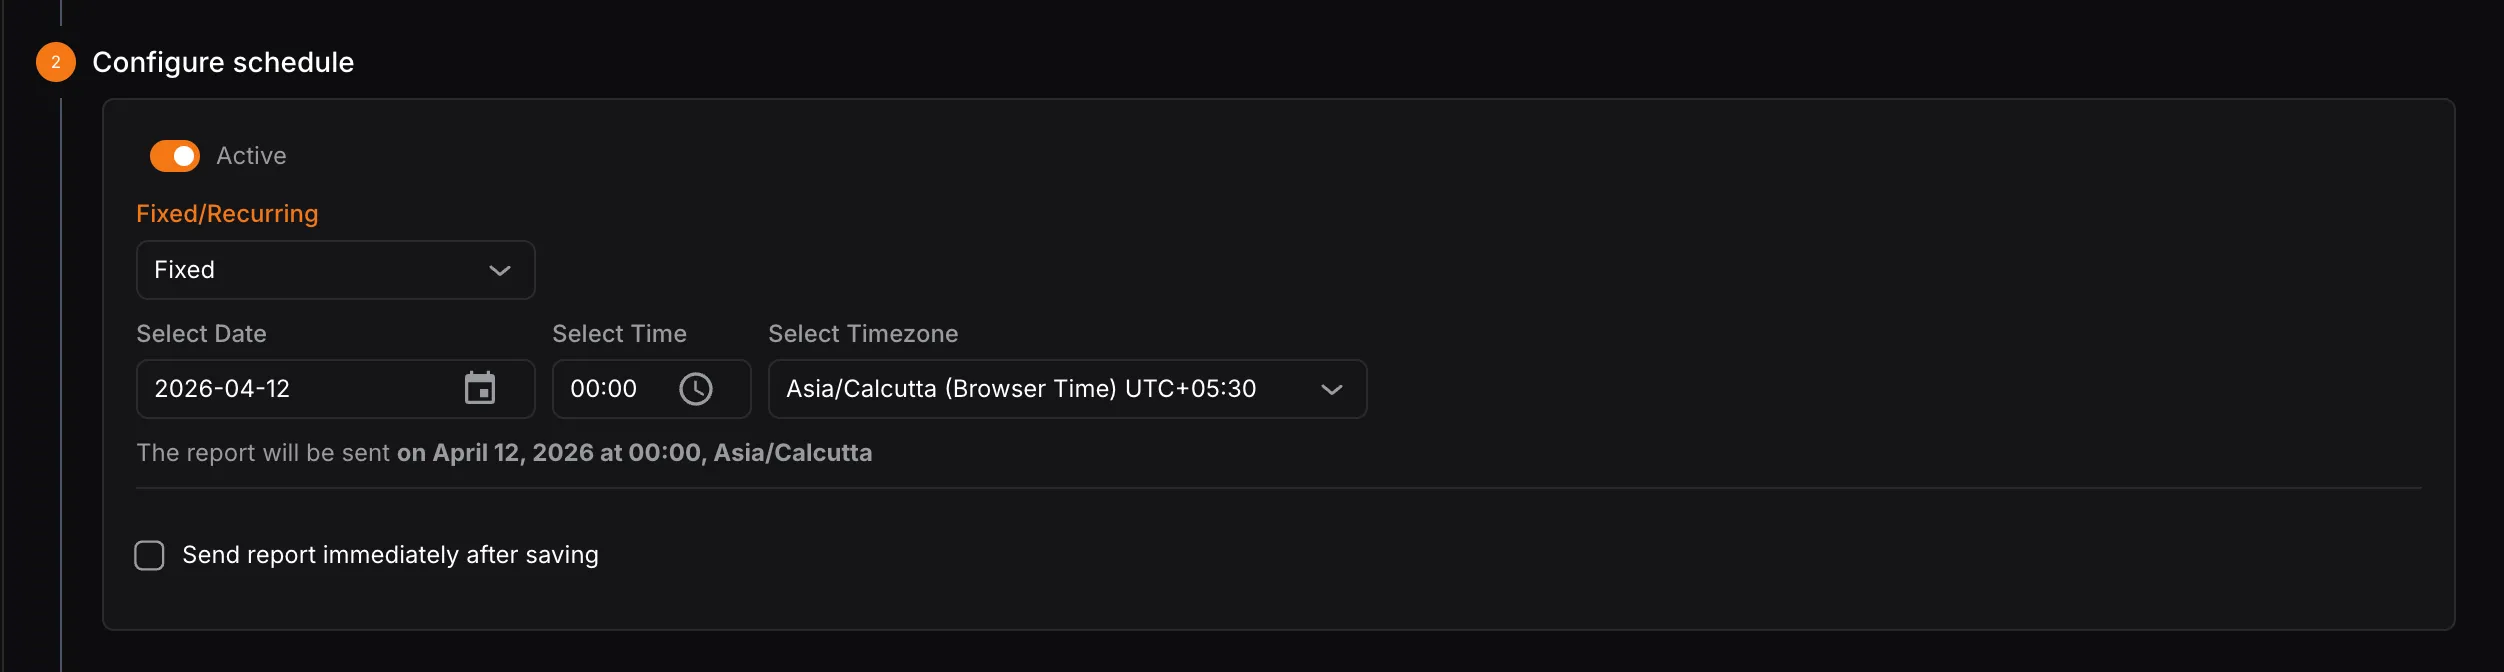
2. Configure Schedule
Section titled “2. Configure Schedule”Scheduling a report is optional. Disable the Active toggle if scheduling is not required. Users can choose between two scheduling options:
A. Fixed Send the report once at a specific date and time.
- Select Date: Choose the exact date for the report.
- Select Time: Specify the time the report should be sent.
- Select Timezone: Set the timezone for the selected time.
B. Recurring Automatically generate and send reports at a defined interval.
- Frequency: Choose how often the report should be sent — Daily, Weekly, or Monthly.
- Daily: Select the time of day.
- Weekly: Select the day of the week and time.
- Monthly: Select the date of the month and time.
- Select Timezone: Set the timezone for the selected time.

Check Send report immediately after saving to dispatch the report instantly upon saving.
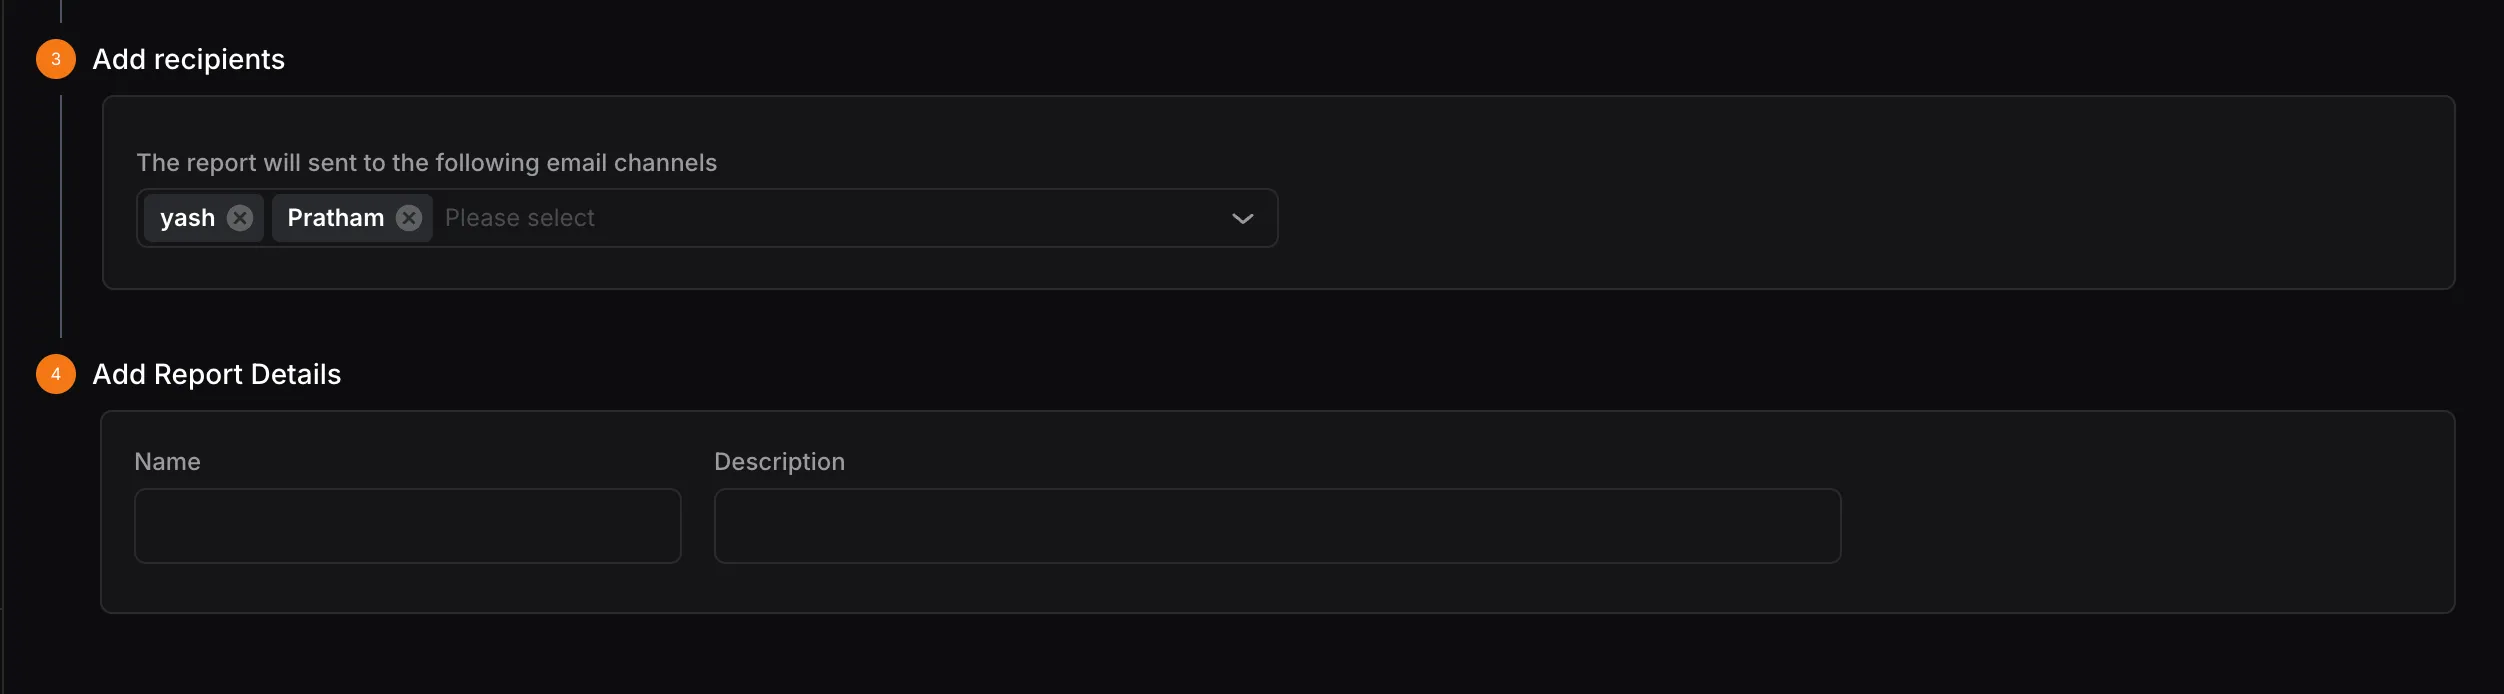
3. Add Recipients
Section titled “3. Add Recipients”Select the recipient(s) from the dropdown to whom the report should be sent. The recipient list includes all email channels configured in KloudMate’s notification channels.
4. Add Report Details
Section titled “4. Add Report Details”- Name: The title of the report, which will appear on the Reports Overview page.
- Description: A brief summary describing the report’s purpose.
Once all sections are filled in, click Save to schedule the report or Save & Close to save and exit.