Setting Up KloudMate
Welcome to KloudMate! Setting up your account takes just a few minutes. This guide will walk you through creating your organization, setting up your first workspace, and preparing to ingest telemetry data.
Signing Up
Section titled “Signing Up”- Click here to go to the KloudMate signup page.
- Fill in the signup form with your details (work email only).

- Check your email for a verification code from
noreply@kloudmate.com(Don’t forget the spam folder!). - Enter the verification code on the KloudMate window and click Next.
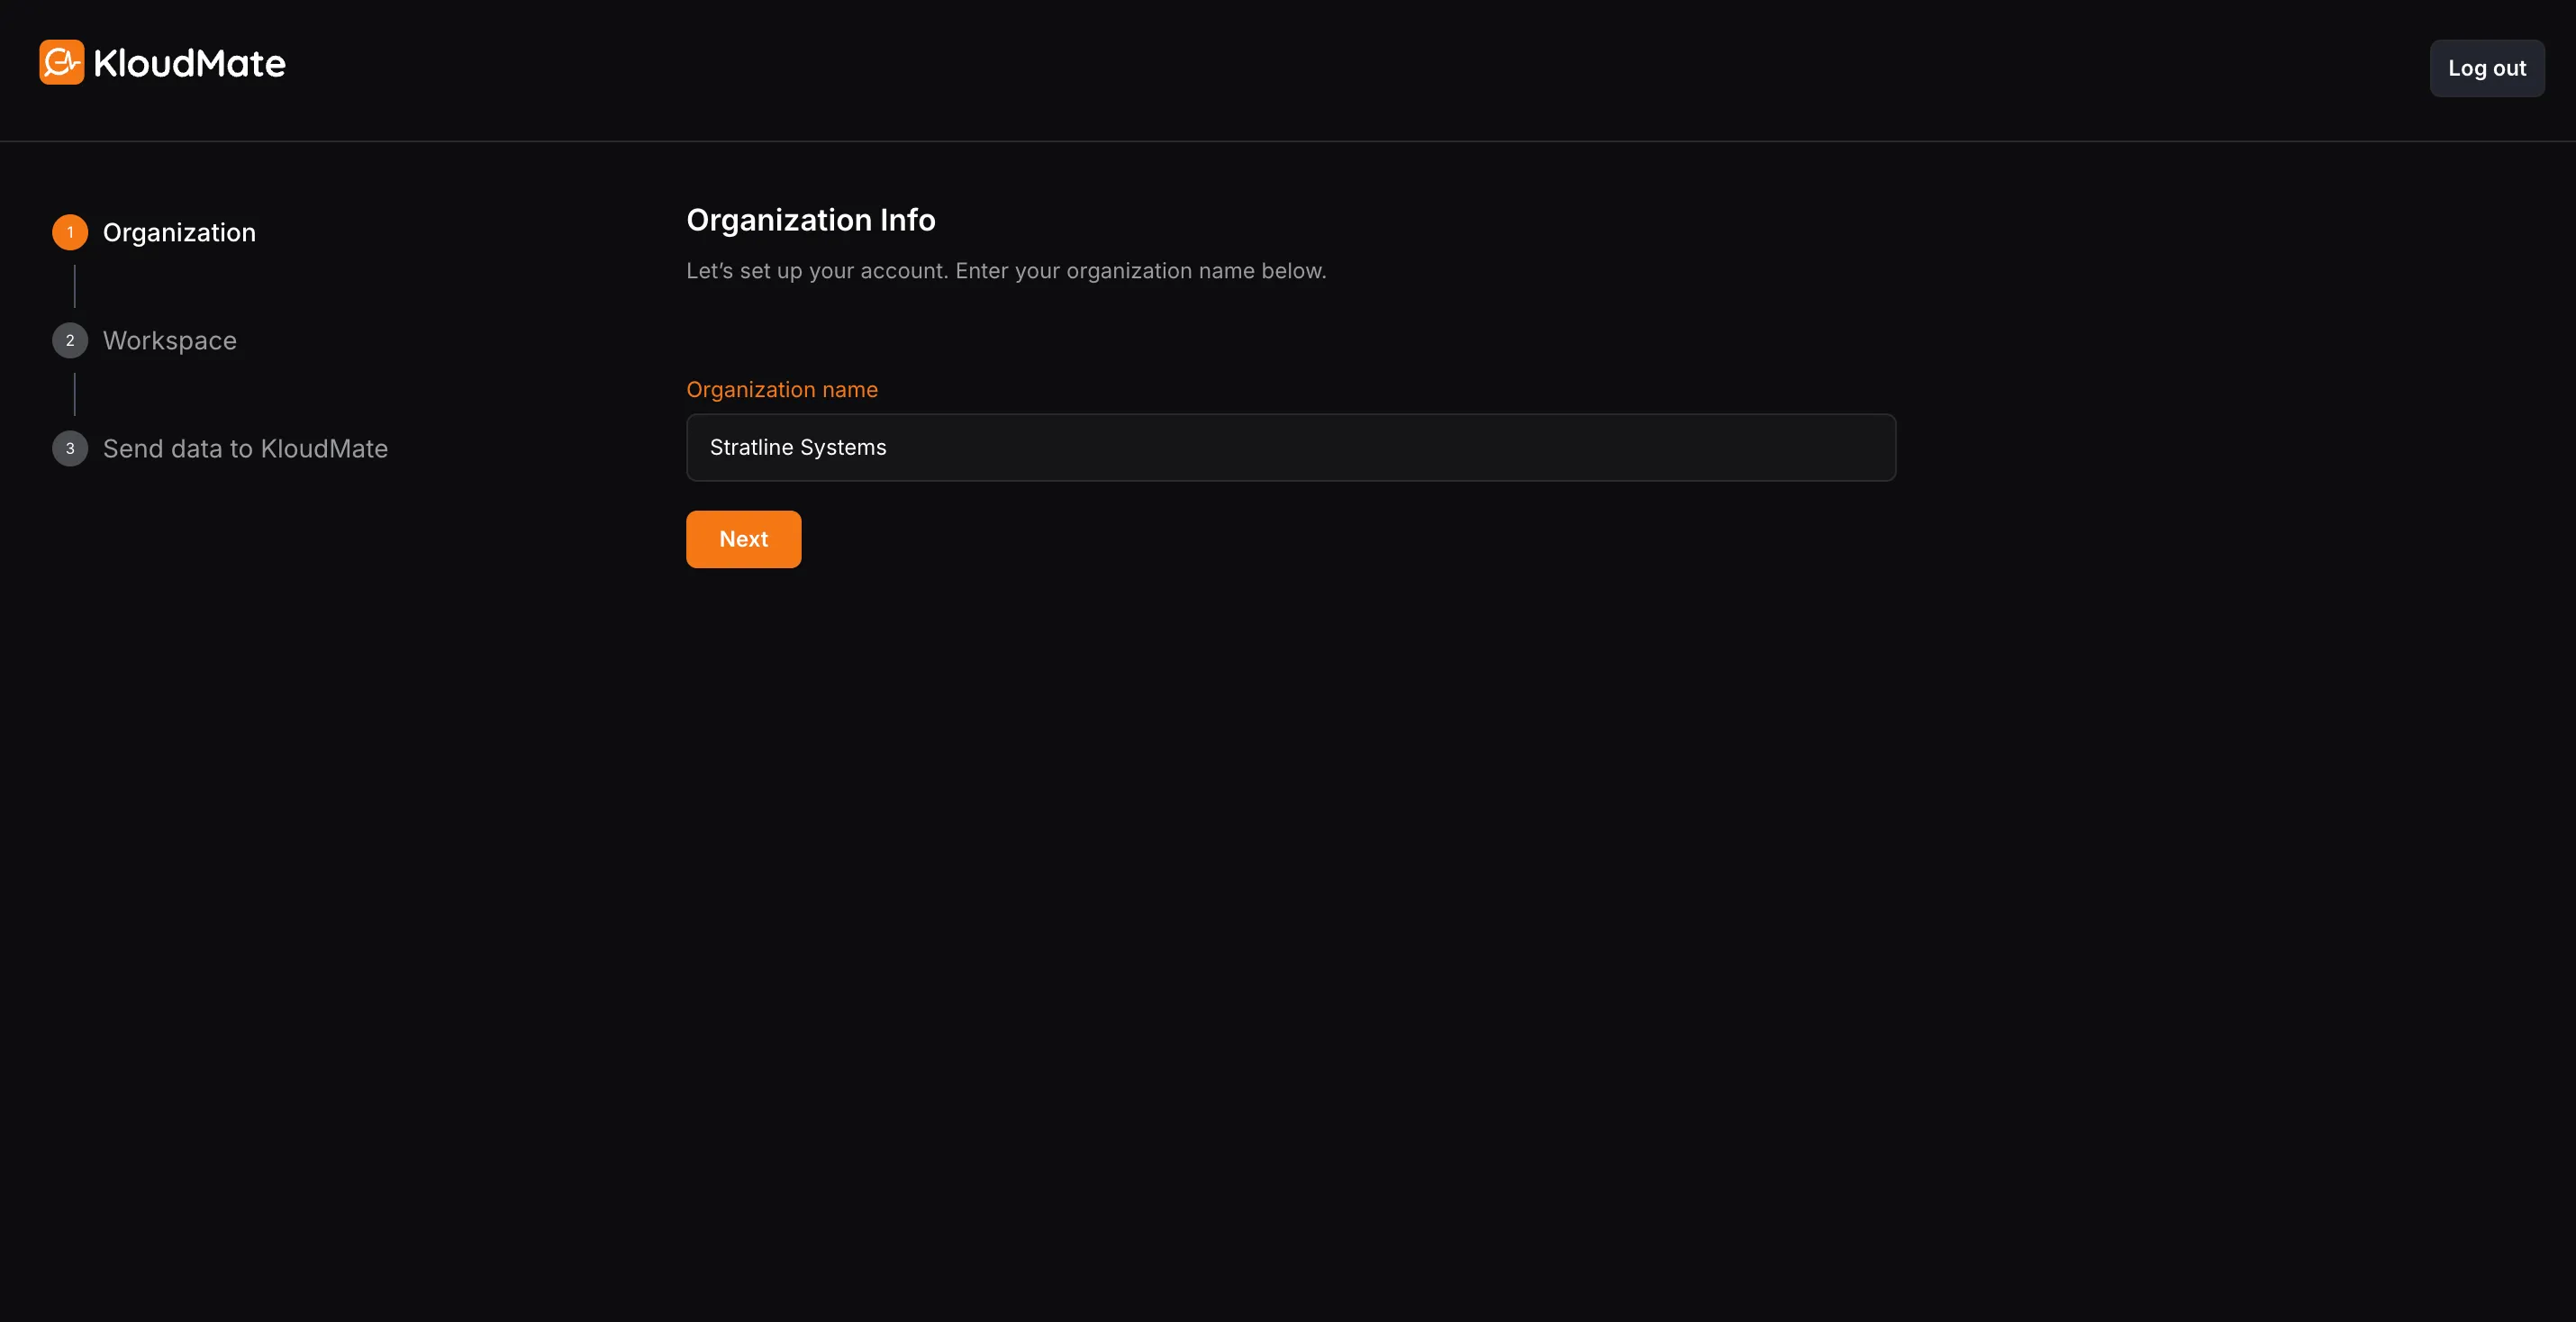
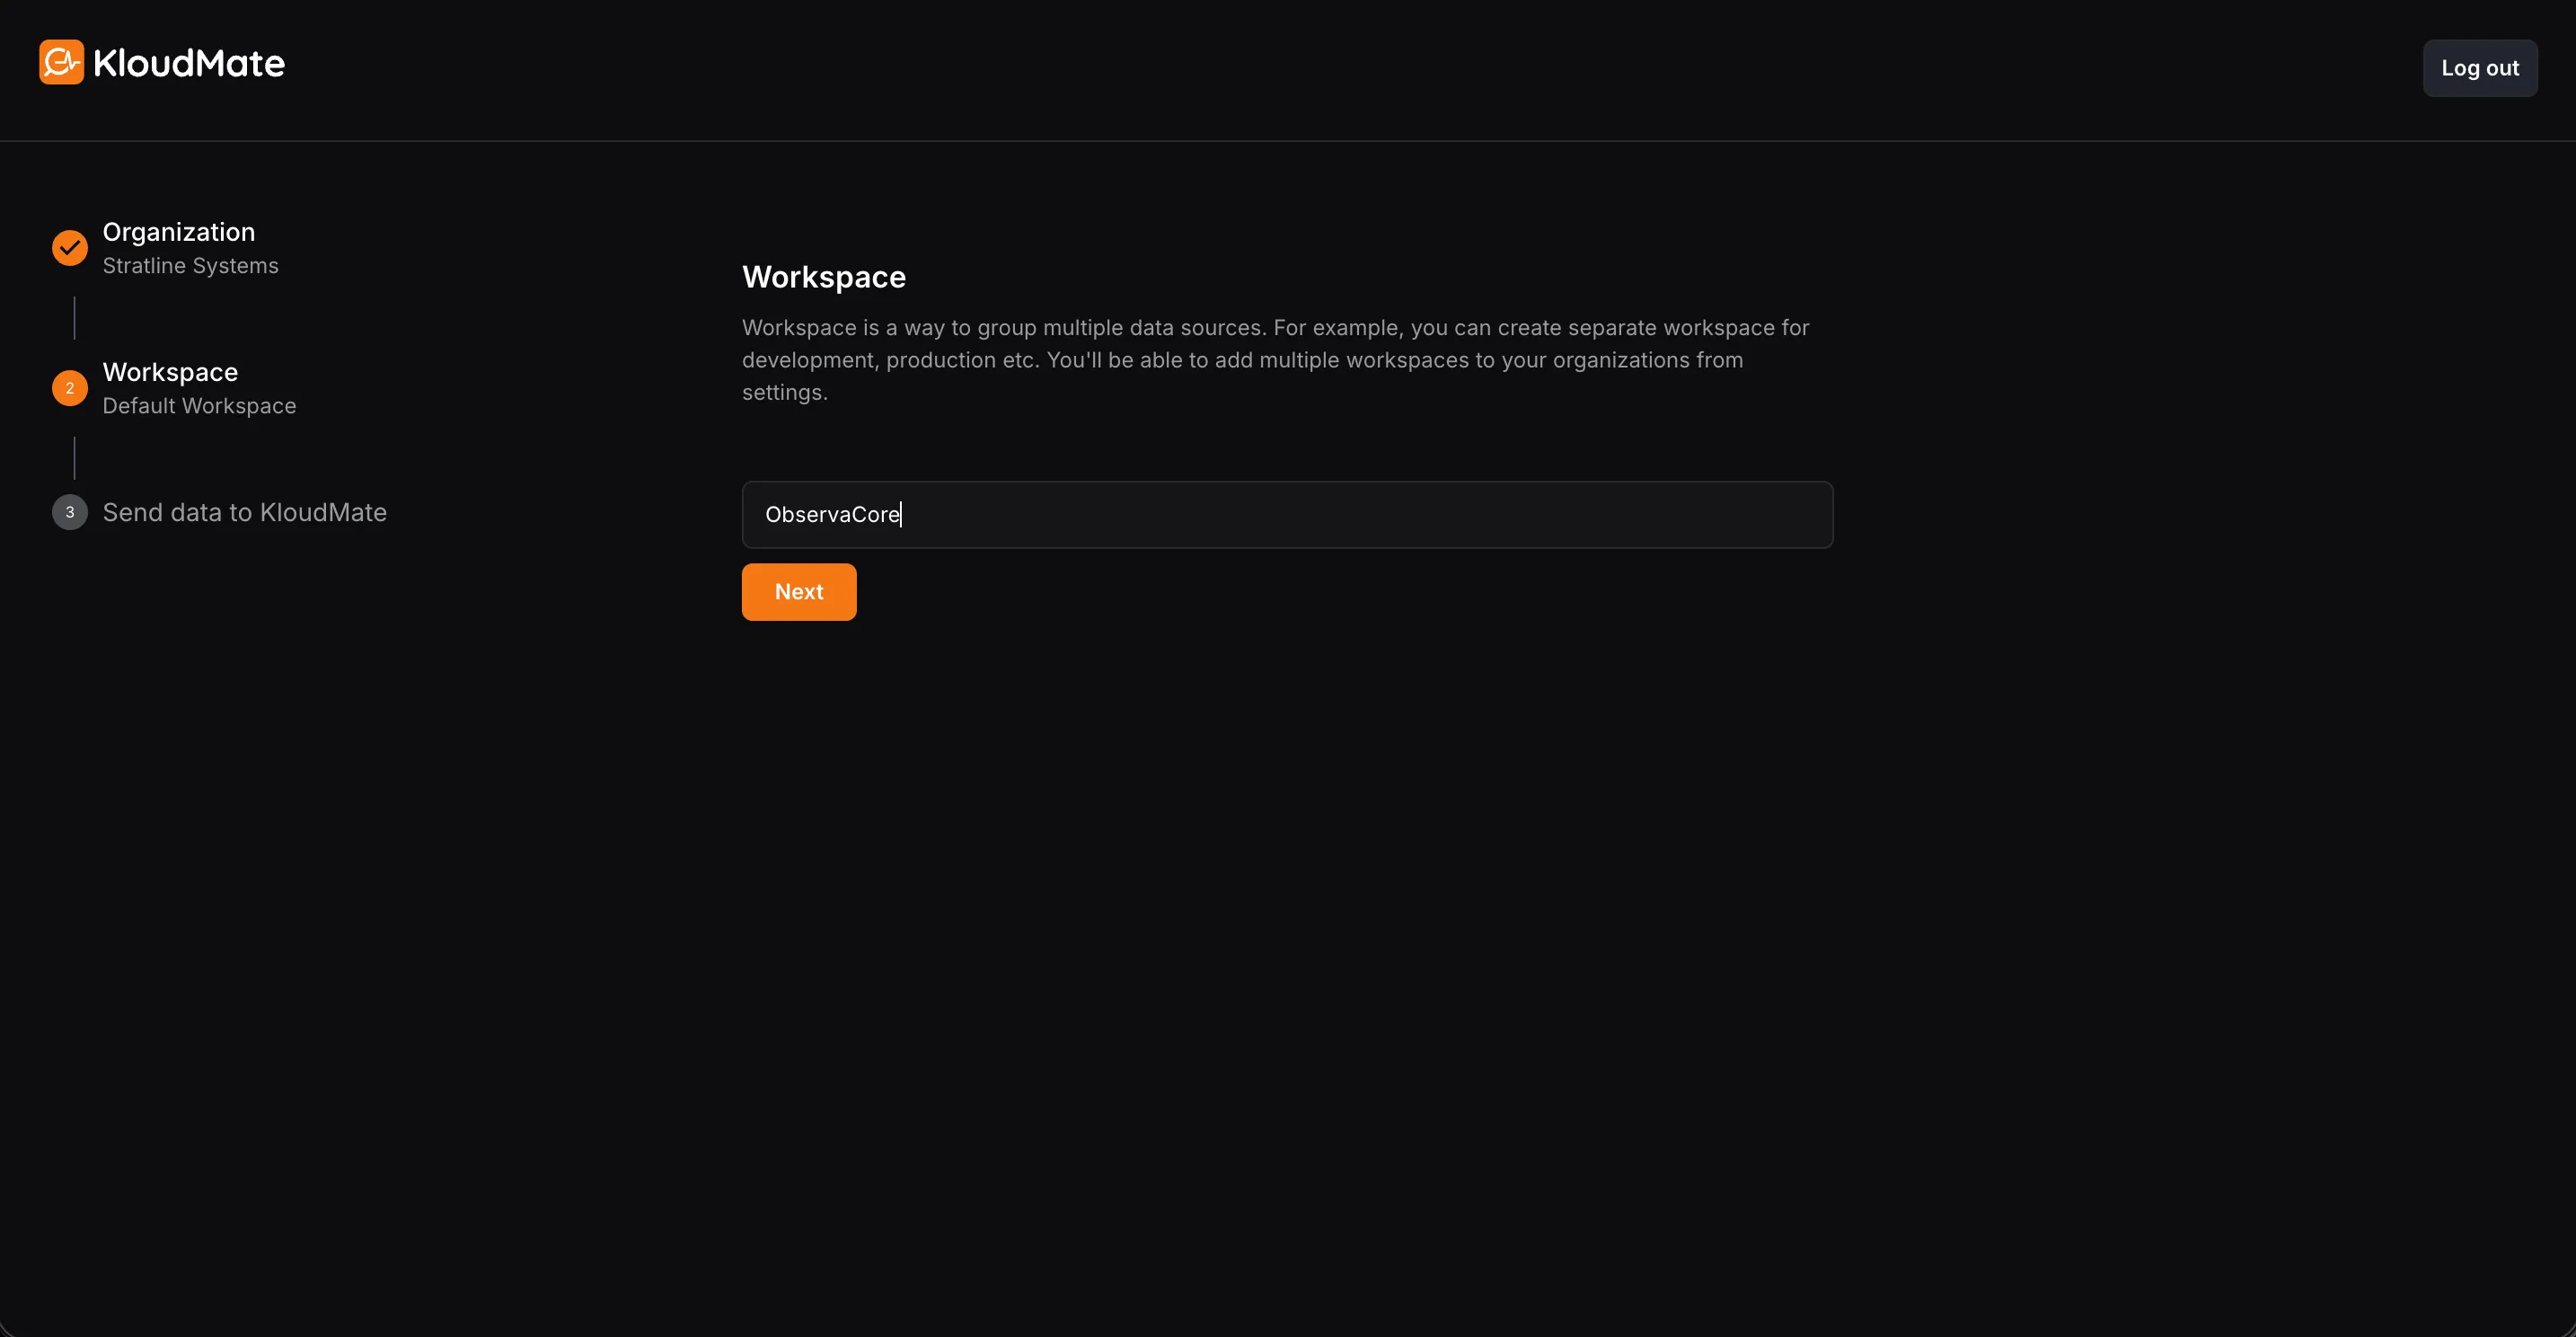
- Enter your organization name and workspace name. Click Next.
Selecting a Data Source
Section titled “Selecting a Data Source”After creating your workspace, you will be prompted to select a method to send data to KloudMate.

Using OpenTelemetry
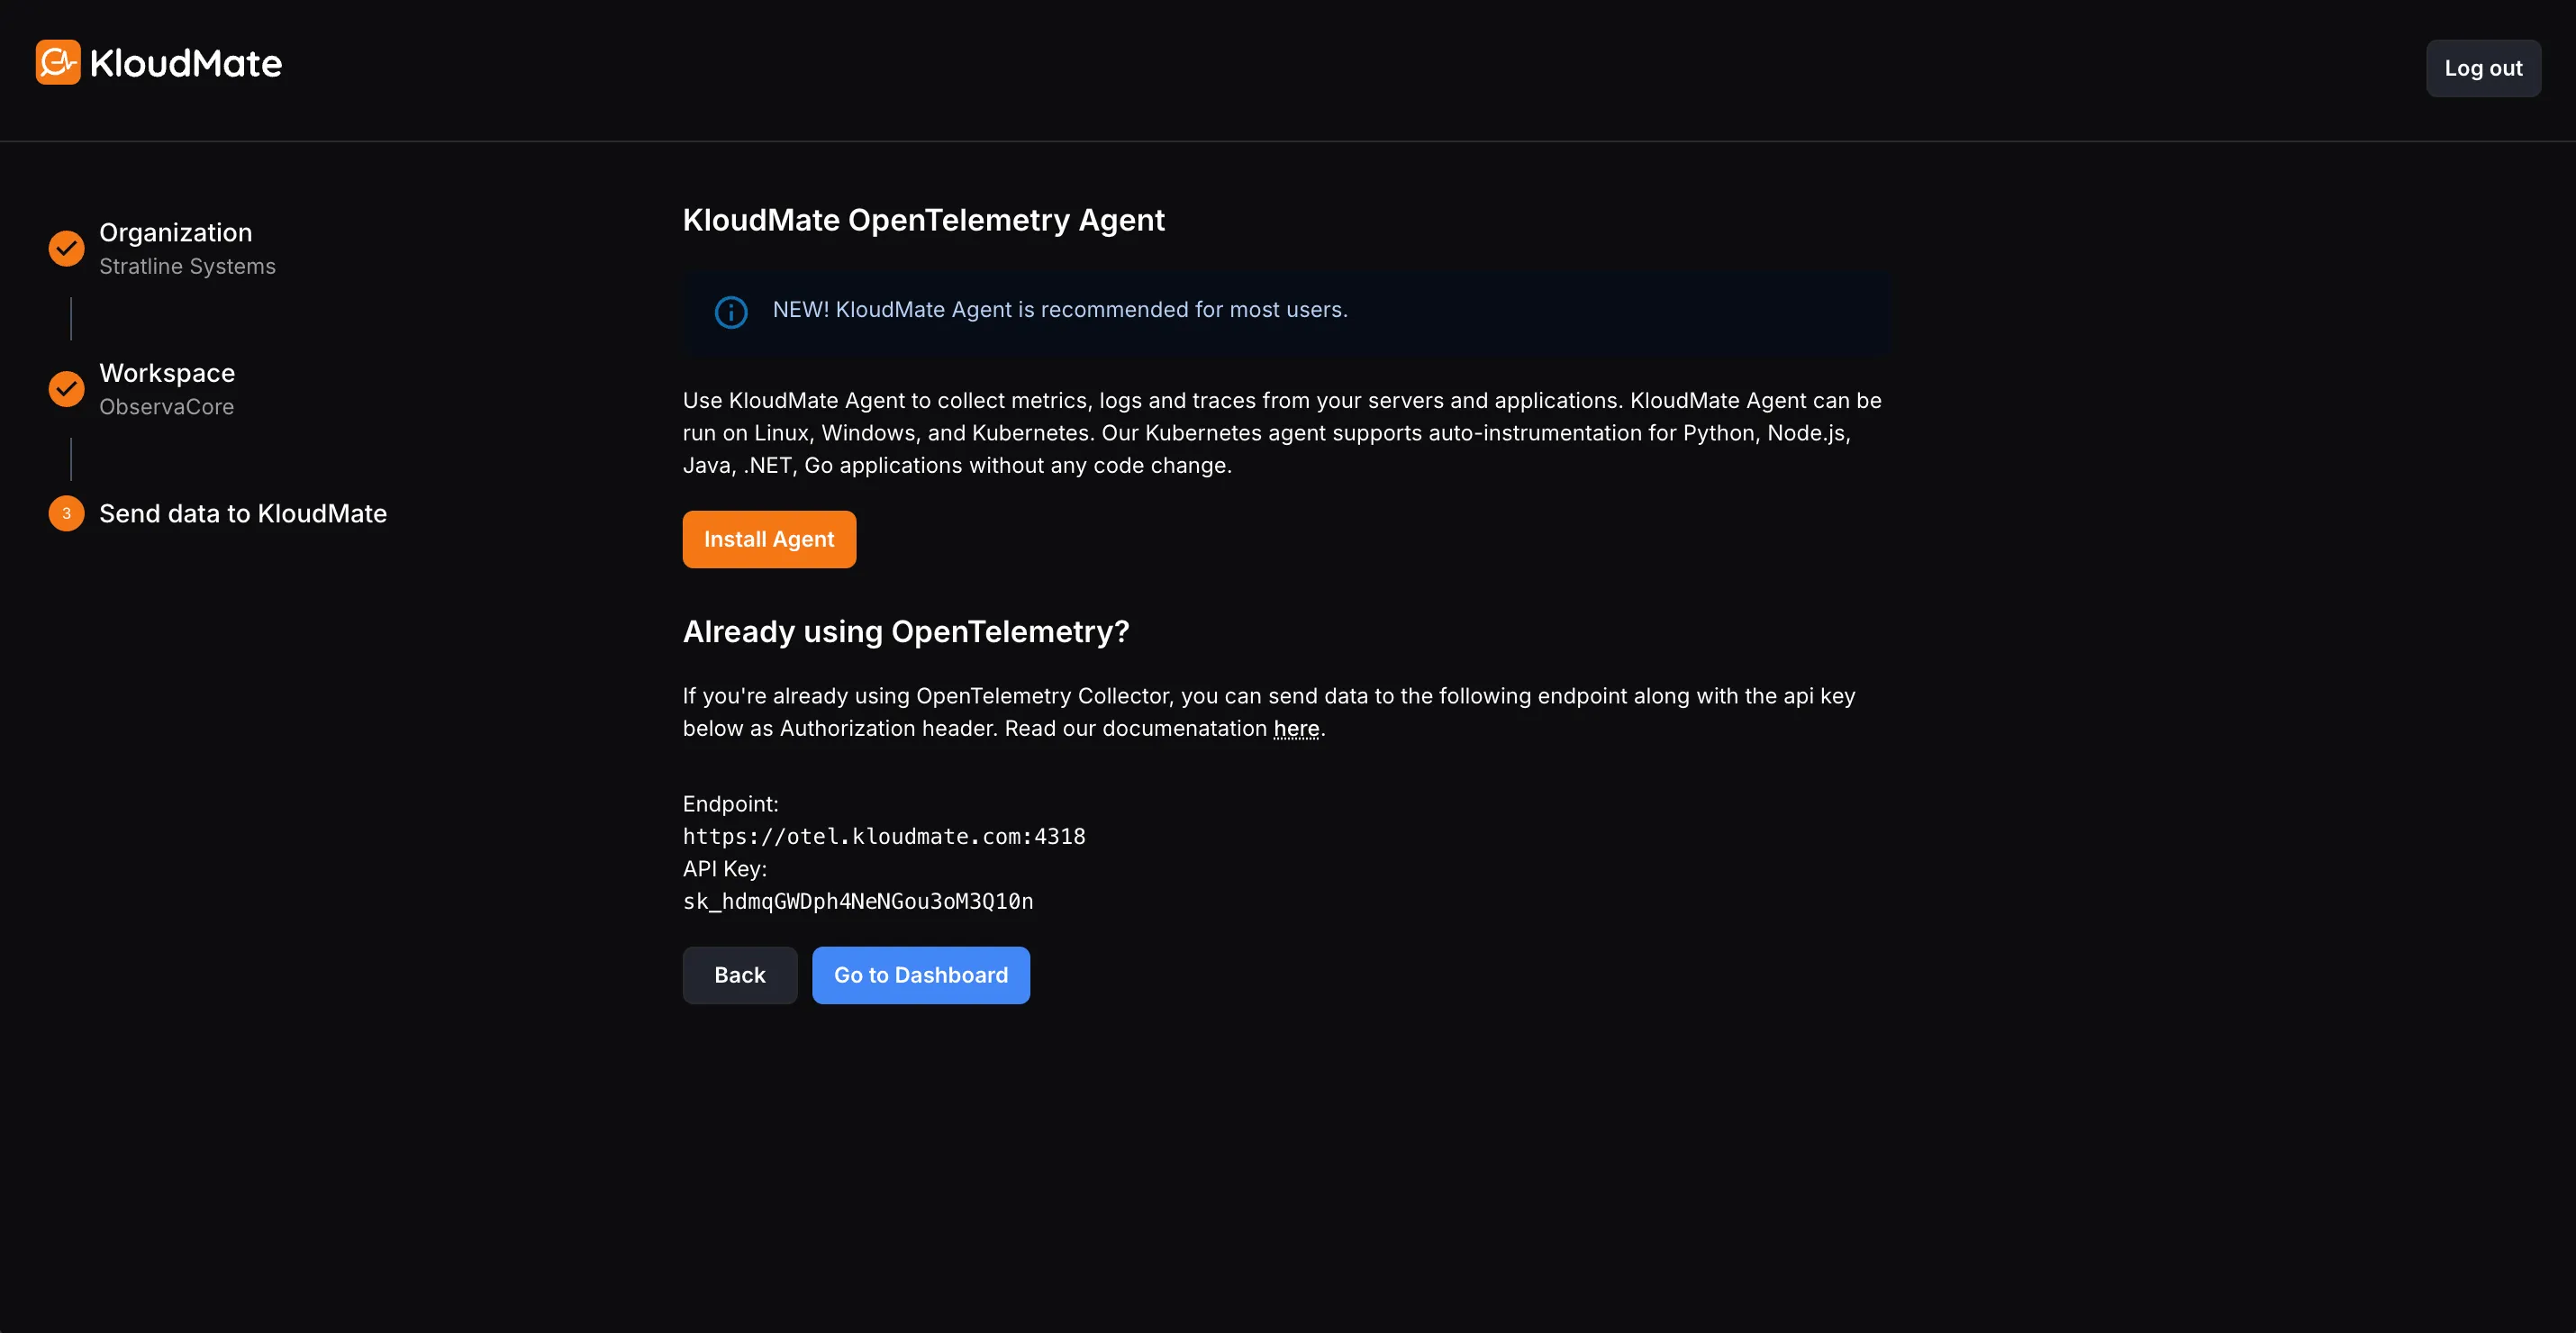
Section titled “Using OpenTelemetry”- Select OpenTelemetry if you want to generate, collect, and export metrics, logs, and traces to KloudMate using the OpenTelemetry SDKs or Collector.
- The Endpoint and API Key required to send data to KloudMate are already available on this page. Use these details while configuring your OpenTelemetry instrumentation or Collector.
- If you prefer a simpler setup, you can install the KloudMate Agent by clicking Install Agent above. The agent is OpenTelemetry-based and comes preconfigured to send telemetry data to KloudMate.
- For detailed steps on installing and configuring agents, refer to the KloudMate Agent documentation.
- For a complete guide to sending data with OpenTelemetry, see the OpenTelemetry guide.
Using AWS Integration
Section titled “Using AWS Integration”Choose AWS Integration if you want to connect an AWS account through the built-in onboarding flow.
For the full setup steps, see AWS Account Setup.