Branding and Custom Domain
Branding makes the status page look like yours rather than a generic KloudMate page; a custom domain puts it on a URL your customers already trust. Both live under the editor’s Settings tab.
Branding
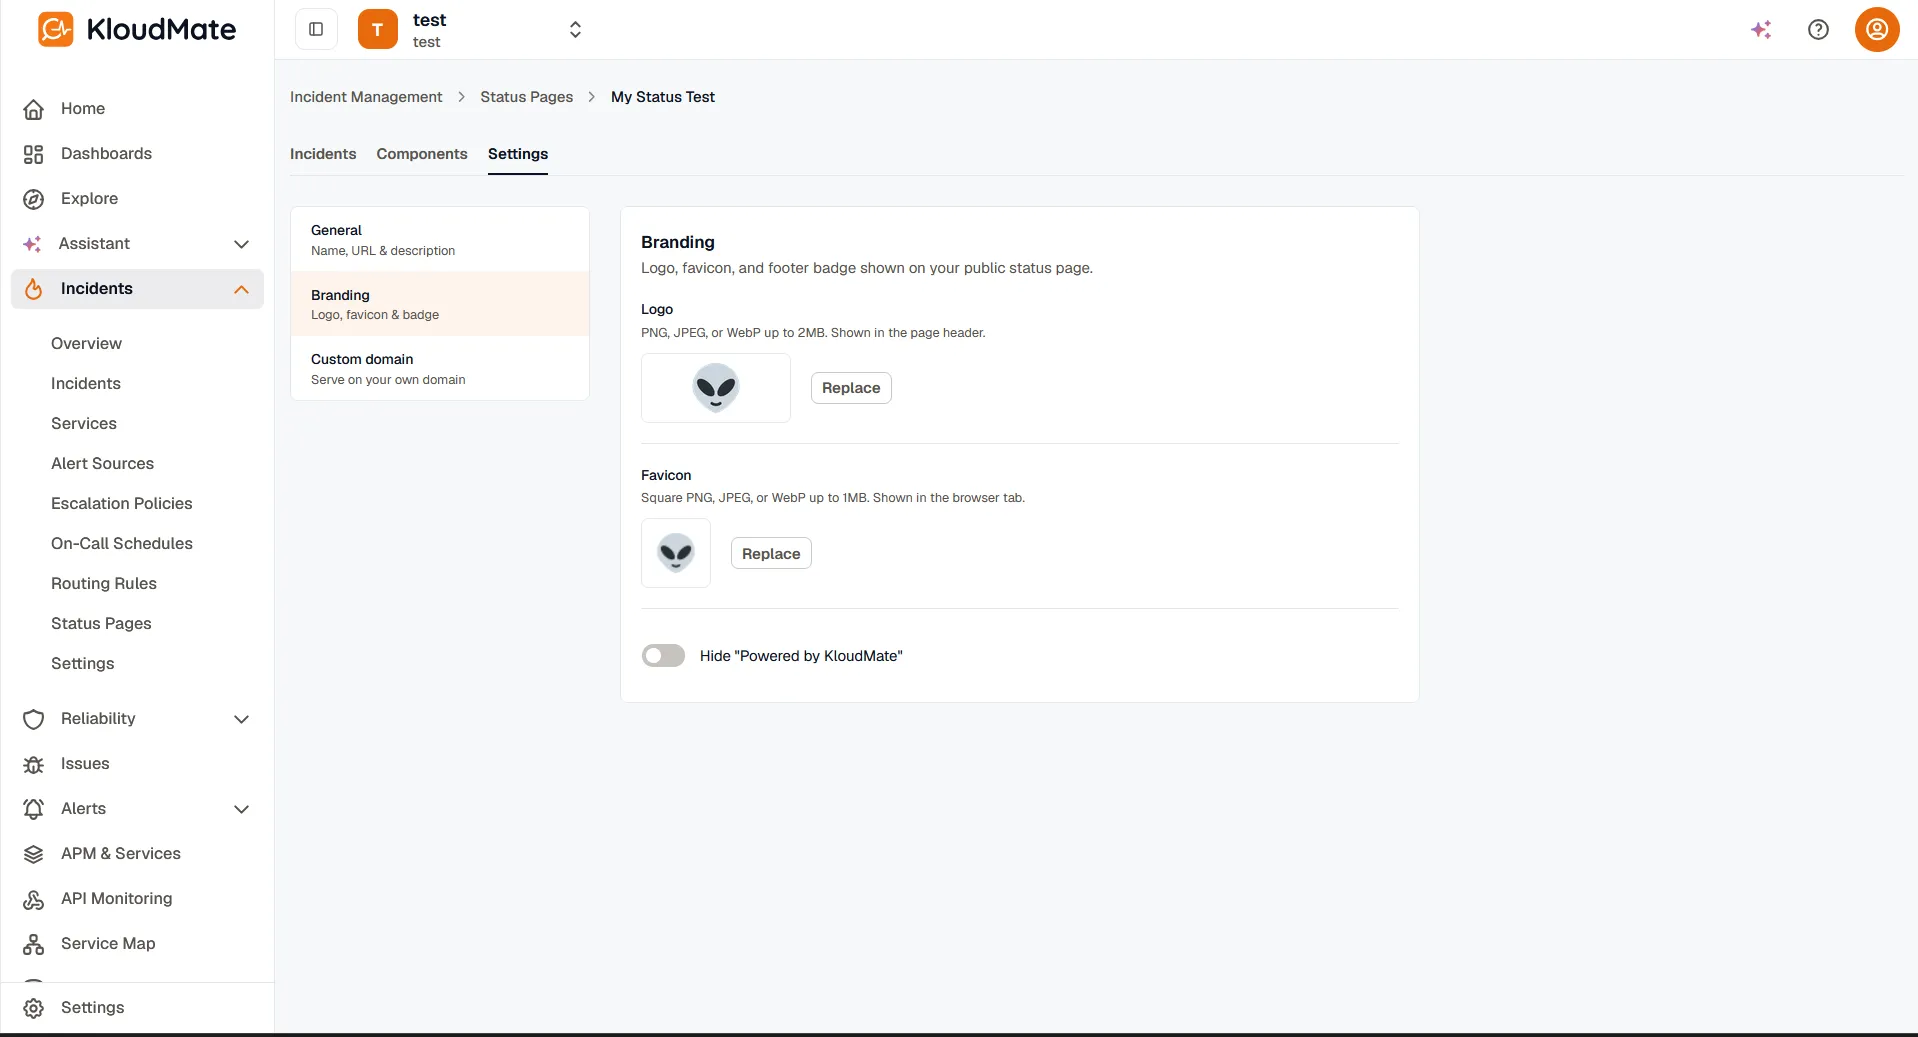
Section titled “Branding”Set these in Settings → Branding:
- Logo — PNG, JPEG, or WebP, up to 2 MB. KloudMate downscales it to a 512px longest edge.
- Favicon — PNG, JPEG, or WebP, up to 1 MB, square (1:1). It’s downscaled to 256px.
- Primary color — the page’s accent color.
- Hide “Powered by KloudMate” — removes the KloudMate footer badge. This is a paid add-on; you’ll be prompted to upgrade if your plan doesn’t include it.
When you upload a logo or favicon, a crop dialog lets you frame it before it’s saved.
The default URL
Section titled “The default URL”Every status page is reachable for free at a KloudMate-hosted address built from its slug:
This works the moment you publish — no DNS setup required. Use it as-is, or move to a custom domain.
Custom domain
Section titled “Custom domain”A custom domain serves the page from a subdomain of your own — for example status.example.com. Custom domains are a paid feature, and only an organization owner can set one up.
-
In Settings, open the custom domain panel and enter your subdomain (for example
status.example.com). It has to be a subdomain — an apex domain likeexample.comisn’t supported. -
KloudMate returns two DNS records: a CNAME and a TXT record.
-
Add both records at your DNS provider.
-
Come back and click Verify. The domain’s status moves to pending while KloudMate checks the records.
-
Once the records resolve, the status flips to active and TLS is provisioned automatically. Your page is now live on the custom domain.
If verification doesn’t go through, the status shows failed — double-check that both records match exactly and that DNS has had time to propagate, then verify again.

Related
Section titled “Related”- Status Pages overview — components and publishing.
- Post incidents and updates — what visitors read on the page.