Single Sign-On (SSO)
Single Sign-On lets your team sign in to KloudMate through your own identity provider (IdP) — Okta, Microsoft Entra ID, Google, and others — instead of a separate KloudMate password. You connect the IdP once, verify your company domain, and from then on your team signs in to KloudMate by typing their work email.
KloudMate supports two protocols:
- SAML 2.0 — the long-standing enterprise standard, supported by every major IdP.
- OIDC (OpenID Connect) — a lighter, JSON/OAuth-based flow. When your IdP offers both, OIDC is usually quicker to set up.
Before you start
Section titled “Before you start”- You must be the organization owner. Other roles can’t see or change SSO settings.
- Your organization must be on a paid plan.
- You’ll need admin access to your IdP (to create an app/connection) and access to your domain’s DNS records (to verify the domain).
Where to find it
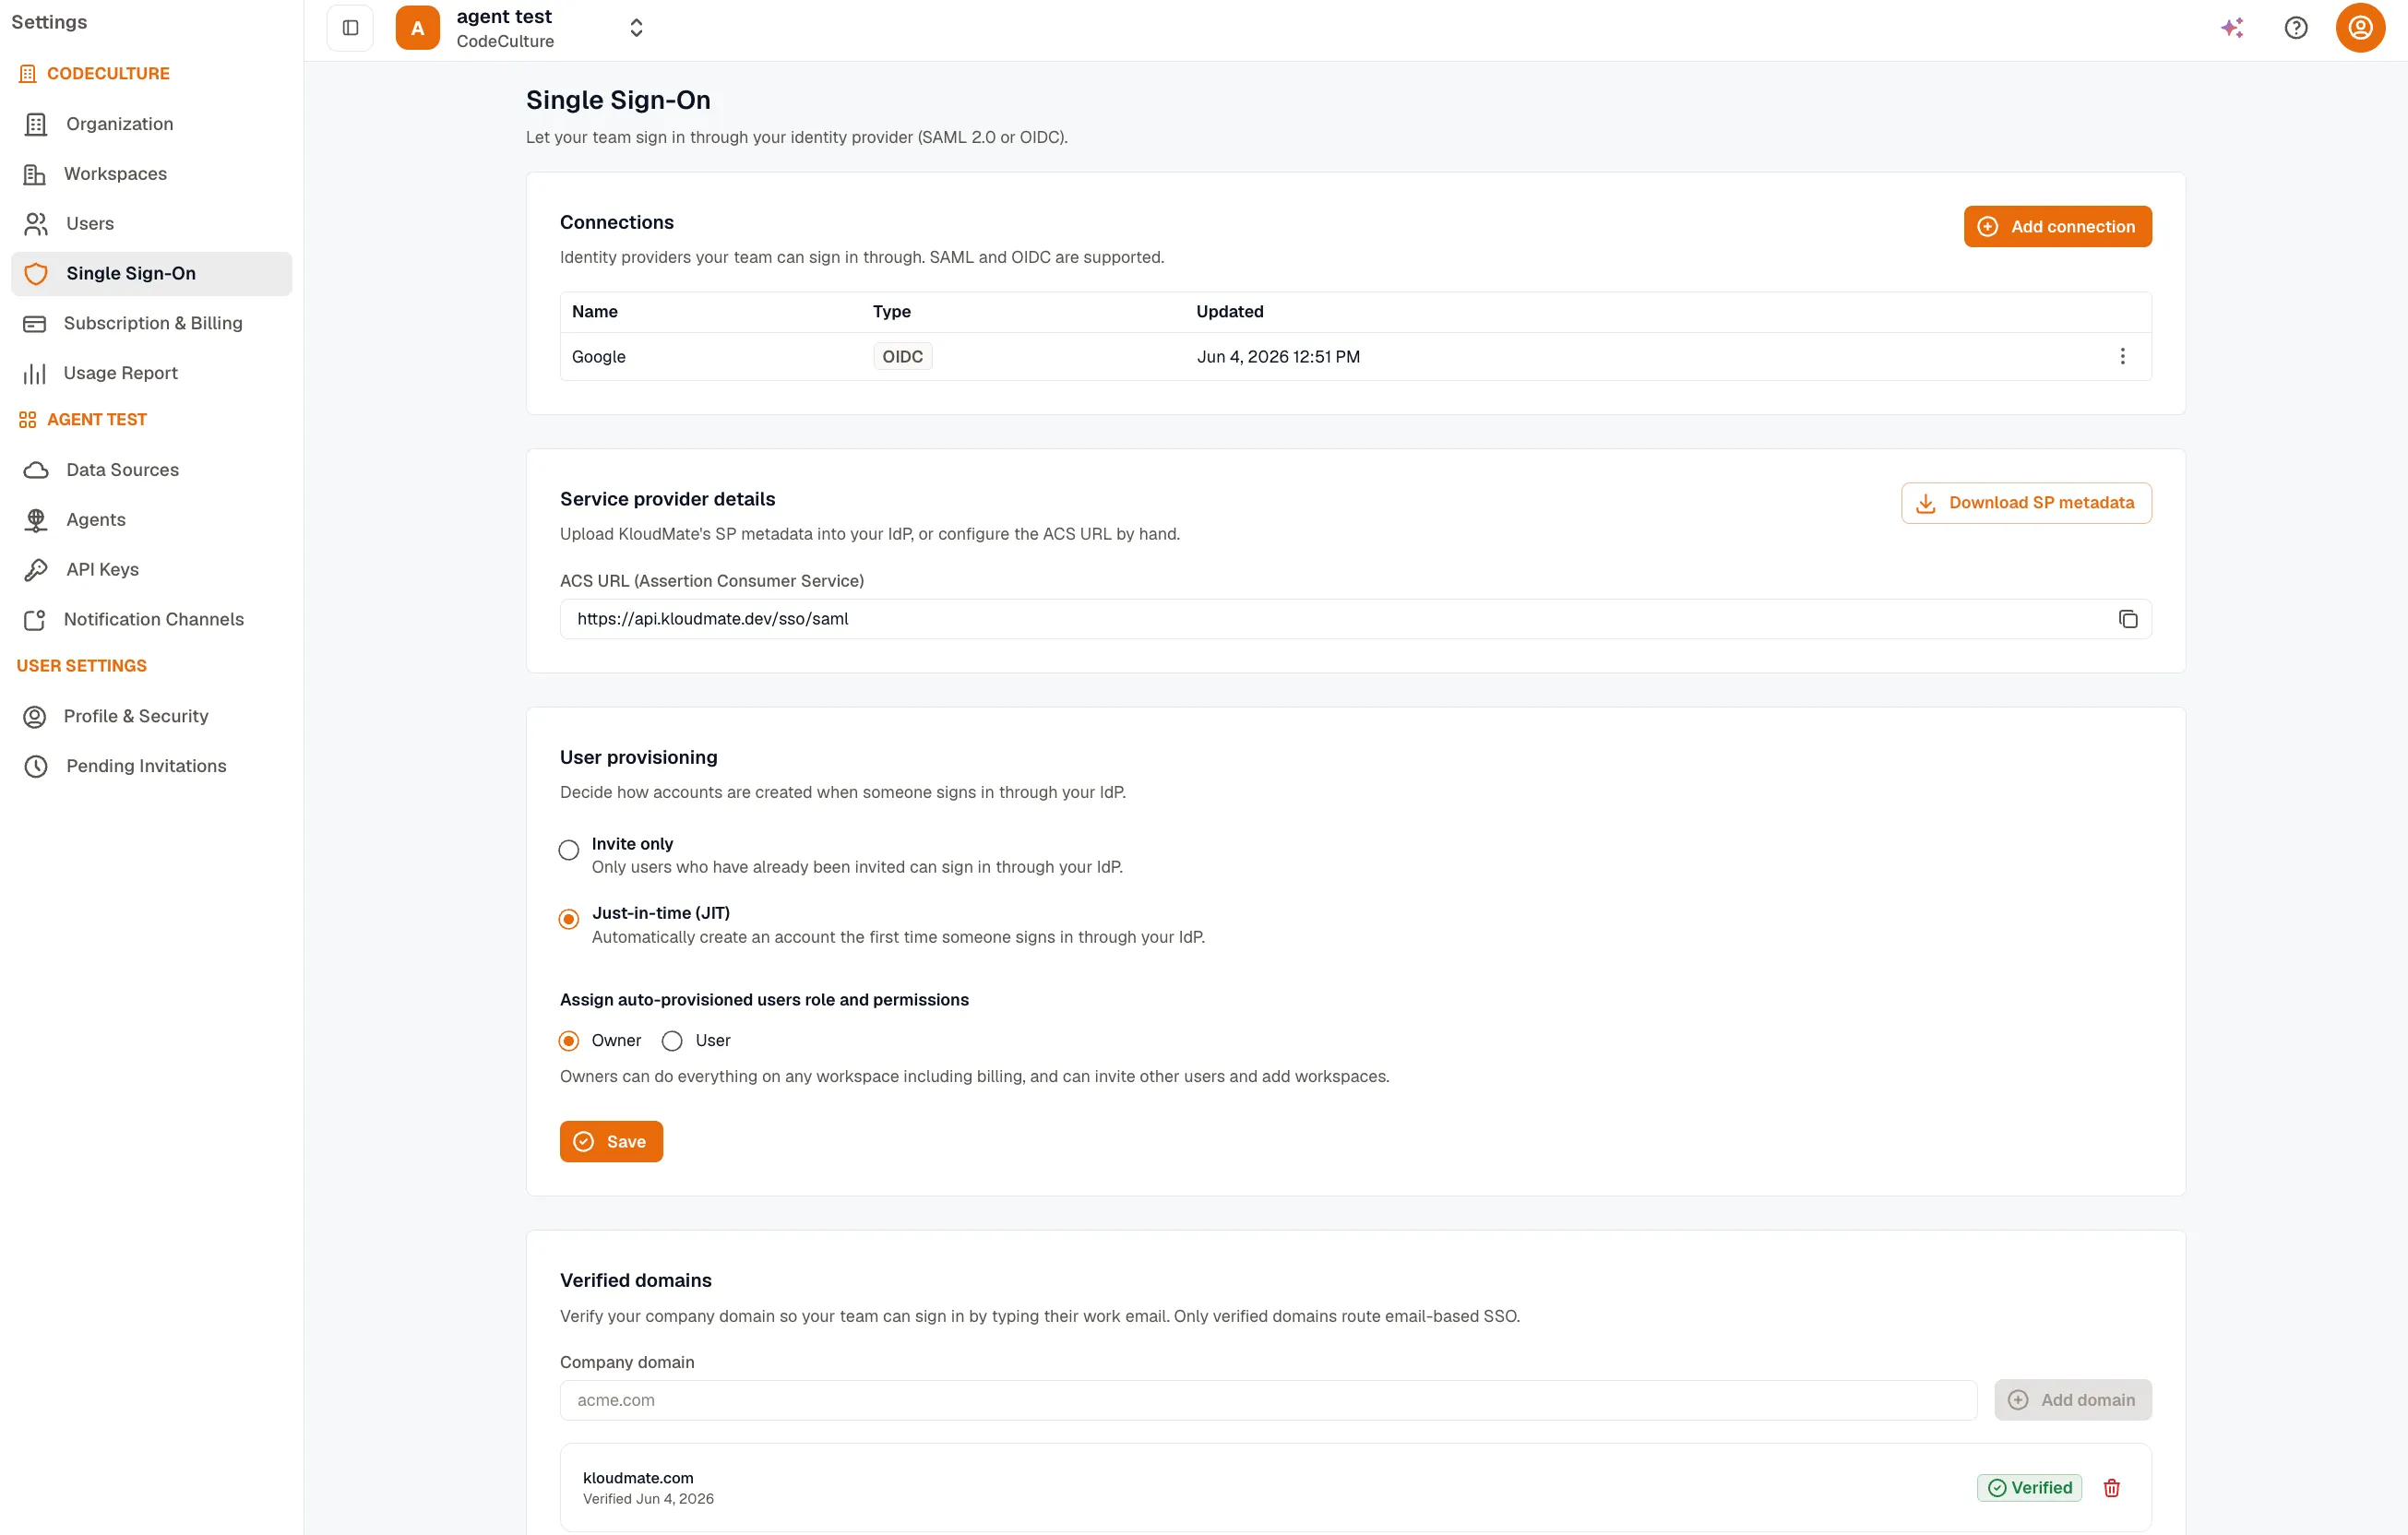
Section titled “Where to find it”Open Settings → Single Sign-On. The item sits in the organization menu and only appears for the owner.
The page is split into four cards, which also map to the setup order:
- Connections — the IdP(s) your team signs in through.
- Service provider details — the KloudMate values you give your IdP.
- User provisioning — whether accounts are created automatically or by invite.
- Verified domains — the company domains that route email-based sign-in.
The setup at a glance
Section titled “The setup at a glance”Four steps take you from nothing to working SSO:
- Add a connection for your IdP (SAML or OIDC). This is where you hand KloudMate the IdP’s details.
- Give your IdP the KloudMate values — the ACS URL (SAML) or redirect URI (OIDC), or upload the downloaded SP metadata.
- Verify your company domain so employees can sign in by typing their work email.
- Choose a provisioning mode — invite-only or just-in-time.
The first two steps happen together: you create the app in your IdP, paste KloudMate’s values into it, then copy the IdP’s values back into KloudMate. The provider guides walk through this for each IdP.
Add a connection
Section titled “Add a connection”In the Connections card, click Add connection. Give it a Display name (a label you choose, like Okta or Azure AD), then pick the Connection type: SAML 2.0 or OIDC.
SAML 2.0
Section titled “SAML 2.0”For SAML you choose how to supply the IdP’s details with the Configuration control:
- Paste metadata XML (preferred) — paste the IdP’s metadata document into IdP metadata XML. This carries the IdP’s SSO URL, entity ID, and signing certificate in one block, so there’s nothing else to copy.
- Enter manually — when you don’t have the metadata, fill in three fields:
- SSO URL (entry point) — the IdP’s SAML sign-in URL.
- Issuer (IdP entity ID) — the IdP’s entity ID.
- IdP signing certificate (X.509) — the IdP’s public signing certificate, including the
-----BEGIN CERTIFICATE-----lines.
KloudMate reads the user’s email from the SAML NameID (format emailAddress) or from an attribute named email. If your IdP sends those under non-standard names, expand the optional attribute mapping and set the Email attribute (and Name attribute) to match.
For OIDC, enter:
- Discovery URL — your IdP’s
.well-known/openid-configurationendpoint. It must be a publichttps://URL. - Client ID and Client secret — from a confidential web-app client you create in the IdP.
- Scopes — defaults to
openid email profile. Leave it unless your IdP needs more.
Click Add connection to save. The connection appears in the table with its name, type, and last-updated time.
Give your IdP the KloudMate values
Section titled “Give your IdP the KloudMate values”Your IdP needs to know where to send users back and who it’s talking to. Open the Service provider details card to get these.
For SAML, the card shows a read-only ACS URL (Assertion Consumer Service) with a copy button, and a Download SP metadata button. You have two options:
- Upload SP metadata — download
kloudmate-sp-metadata.xmland import it into any IdP that accepts SP metadata. This fills in the ACS URL and entity ID for you. - Enter values by hand — copy the ACS URL from the screen, and read the SP Entity ID / Audience from the
entityIDattribute inside the downloaded metadata file.
The canonical production values are:
| What your IdP asks for | Value to use |
|---|---|
| SAML ACS / Reply / Recipient / Destination URL | https://api.kloudmate.com/sso/saml |
| SAML SP Entity ID / Audience URI | the entityID in the downloaded SP metadata |
| SAML NameID format | emailAddress (email in the NameID, or an email attribute) |
| OIDC Redirect / Callback / Sign-in redirect URI | https://api.kloudmate.com/sso/oidc |
| OIDC scopes | openid email profile |
Edit or remove a connection
Section titled “Edit or remove a connection”Use the ⋯ menu on a connection row to Edit or Delete it.
Secrets are write-only: when you edit, the client secret and signing certificate are never shown back to you. Leave those fields blank to keep the stored value, or fill them in to replace it. Deleting a connection stops anyone from signing in through it, so don’t remove the connection your team is actively using.
Next steps
Section titled “Next steps”- Verify your company domain — required for email-based sign-in.
- Provisioning & enforcement — control who gets an account and who’s forced through SSO.
- Provider guides — step-by-step setup for Okta, Entra ID, Google, Auth0, OneLogin, and generic IdPs.
- Troubleshooting — what each sign-in error means and how to fix it.