Create an SLO
Creating an SLO is a two-step wizard: pick the signal you want to measure (the SLI) and configure it, then set the target and window. A live preview on the right shows the projected compliance and error budget before you save.
Workspace admin is required. Non-admins don’t see the Create SLO button.
Where to start the wizard
Section titled “Where to start the wizard”Four entry points lead to the same wizard at /<workspaceId>/slos/create:
- Reliability Overview → Create SLO (top-right).
- Reliability Overview → Quick start → Create an SLO card.
- Service detail → Reliability tab → Create SLO — deep-links with
?service_id=…, which pre-selects the Incident availability kind and prefills that service in the SLI (since the service lives inside the SLI, not on the SLO). - Alert detail → Define an SLO action — opens the wizard with no prefill.
A What is an SLO? info tooltip sits above the steps for first-time users (create mode only), defining the core terms inline.
The two steps
Section titled “The two steps”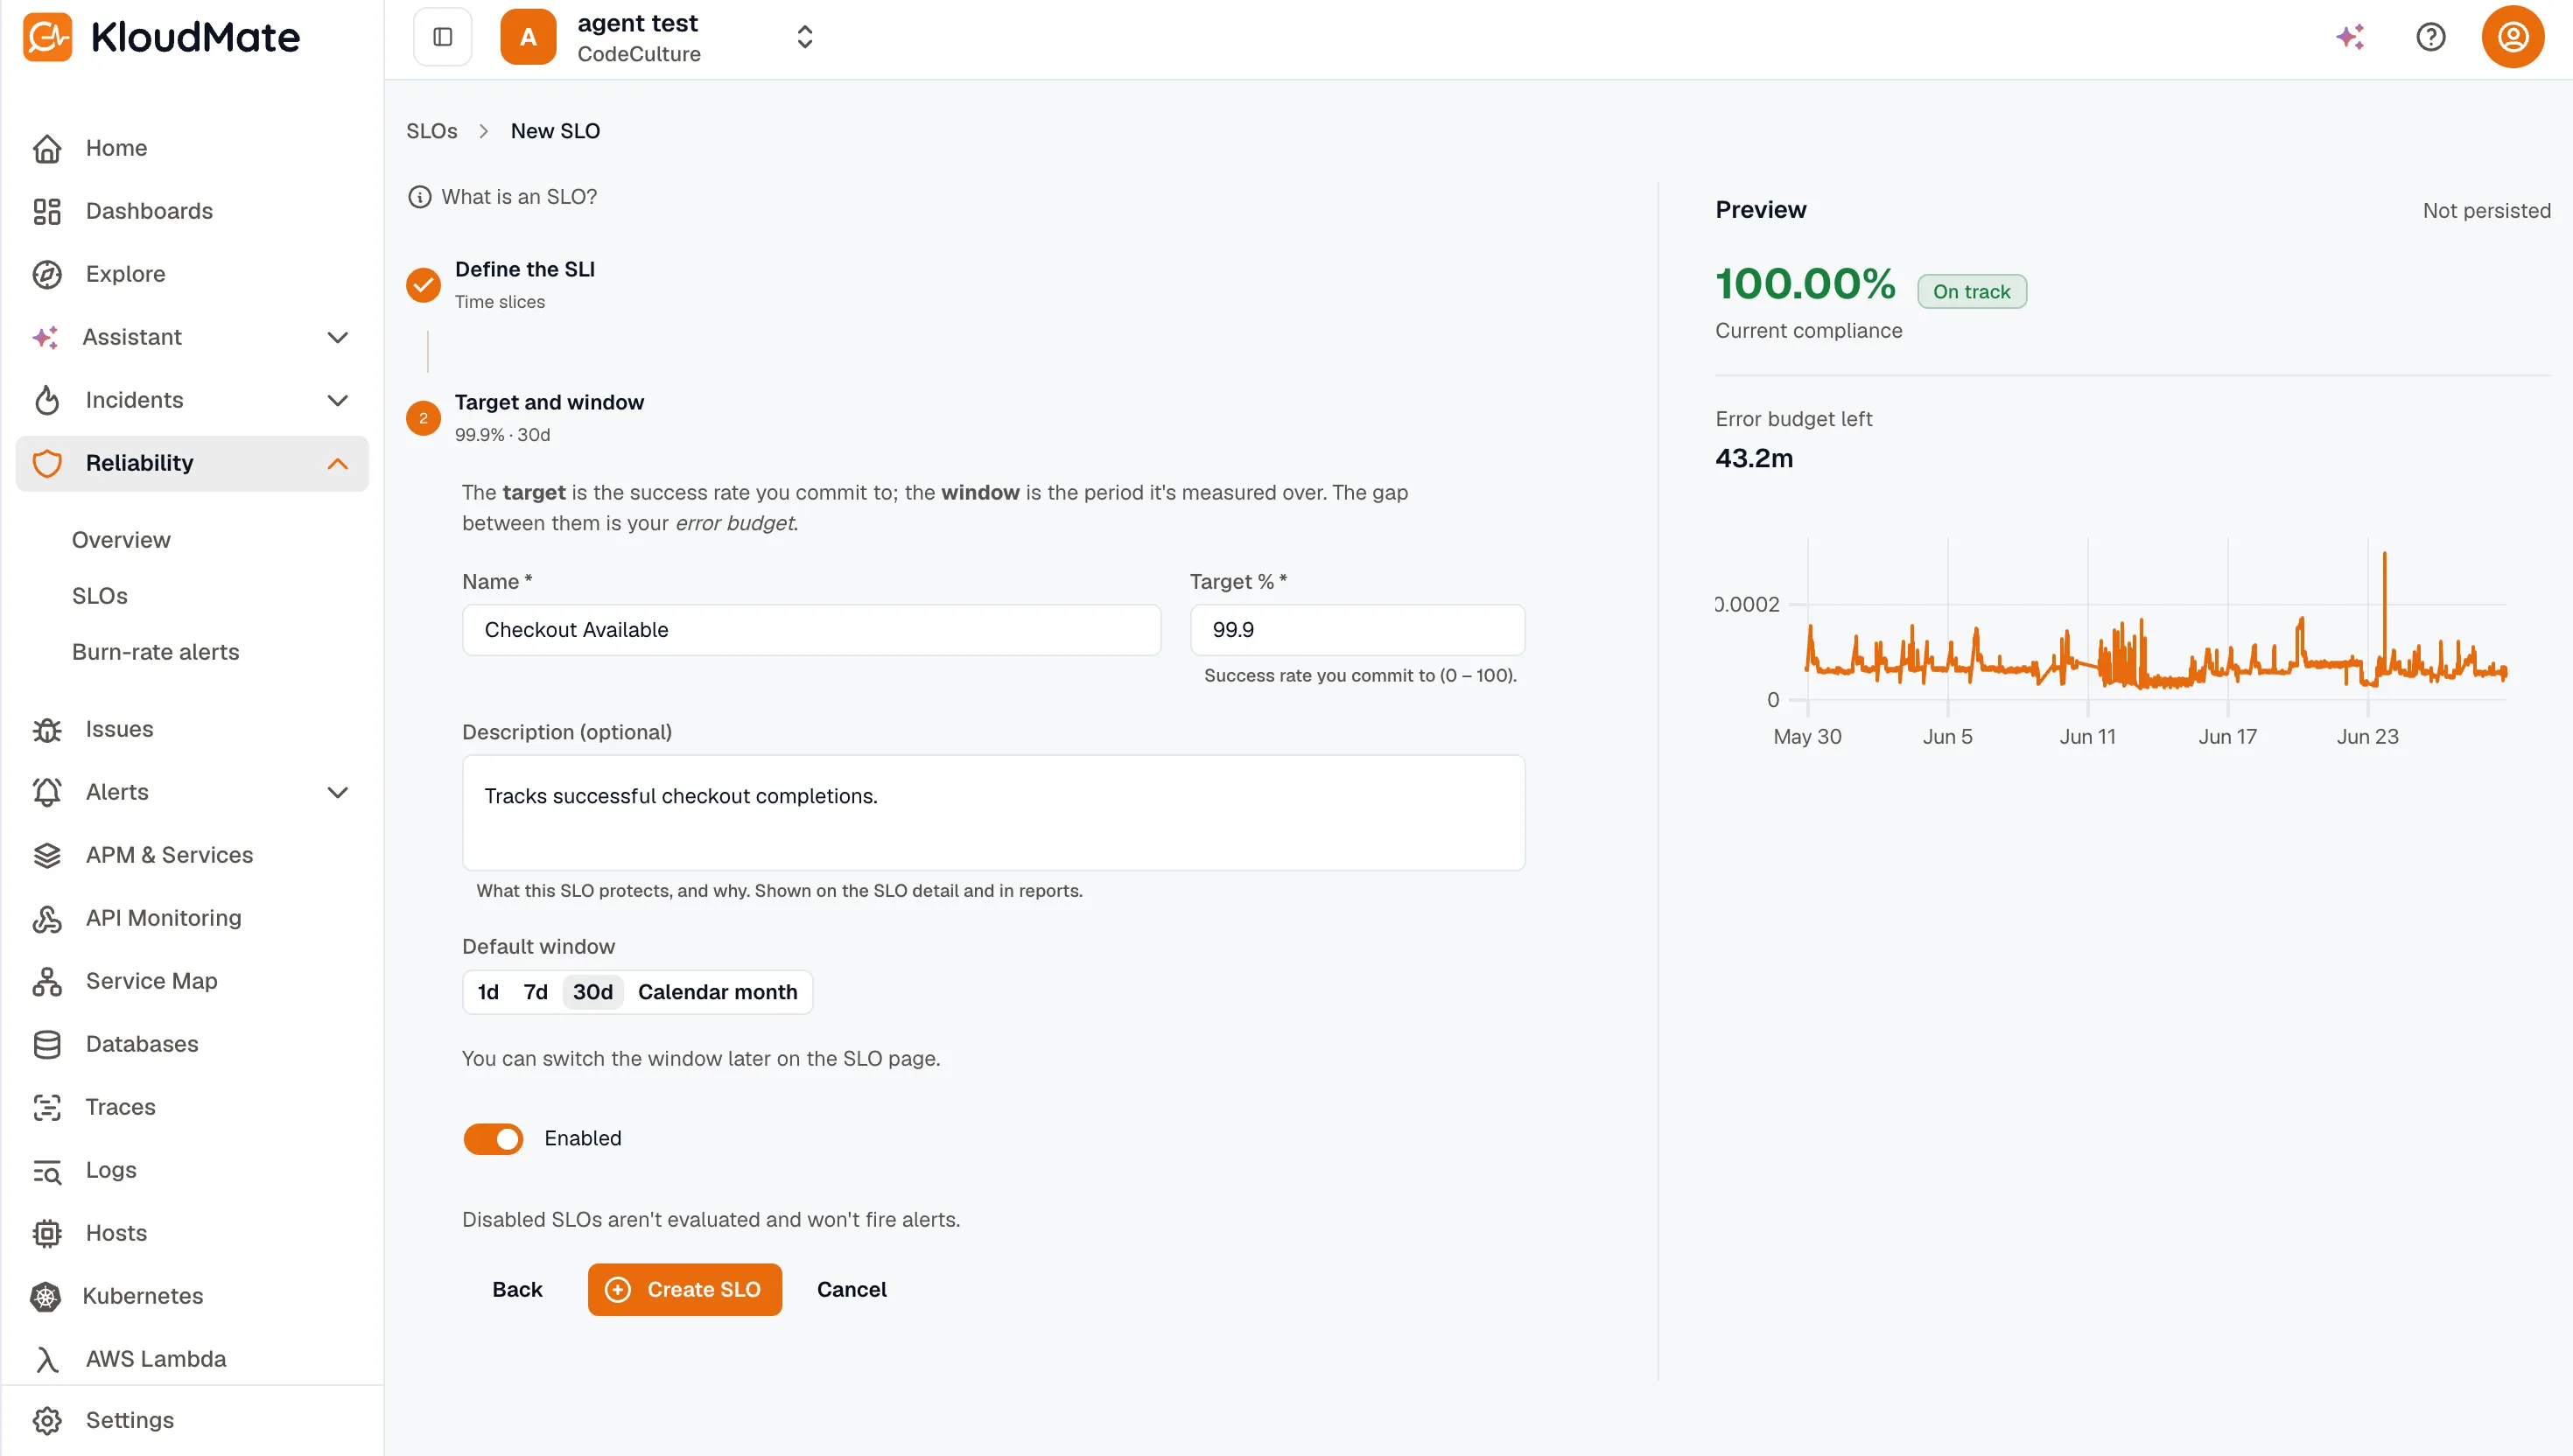
Step 1 — Define the SLI
Section titled “Step 1 — Define the SLI”Pick the family first (a card), then the specific kind:
- By Count — a ratio of good ÷ total events: APM error rate, APM latency, APM request rate, Custom metric.
- By Monitor Uptime — uptime from incidents or a synthetic monitor: Incident availability, Synthetic uptime.
- By Time Slices — a custom uptime definition over time: Time slices.
After you pick a kind, a short “When to use this” description appears and the kind-specific form renders below. For details on each kind and its fields, see SLI kinds.
Only Incident availability asks for a service — every other kind is workspace-level. The metric and service-name pickers are free-solo, so you can also type a value that doesn’t have telemetry yet.
When you click Next, KloudMate validates the SLI’s configuration before advancing, so you can’t carry an incomplete selector into the next step.
Step 2 — Target and window
Section titled “Step 2 — Target and window”-
Name the SLO (required).
-
Set the target % —
0–100, supports decimals (e.g.99.99). Defaults to99.9. -
Add a description (optional) — shown on the SLO detail page and in reports.
-
Pick a default window — a segmented toggle, defaults to
30d. Options:1d,7d,30d,Calendar month. -
Enabled toggle defaults on. Leave it off to save the SLO without starting evaluations.
-
Watch the preview rail (see below) for the projected compliance %, error budget, and a “Would breach” chip if applicable.
-
Click Create SLO. KloudMate creates the SLO and redirects you to its detail page.
The live preview
Section titled “The live preview”The right-hand rail shows a Preview card labelled “Not persisted.” Whenever the SLI, target, or window settle (about 800 ms after your last change), KloudMate runs a one-off evaluation and shows:
- The projected compliance %, large and color-coded, with an On track or Would breach chip.
- The would-be error budget left, in the SLI’s unit (a duration for time-based kinds, a count for ratio kinds).
- A trend chart when the SLI produces a per-bucket series (today that’s Time slices and Synthetic uptime); other kinds show a placeholder until the SLI is evaluated.
If a metric or service has no data over the window, the preview surfaces a non-fatal warning so you can fix the name or filters. The preview never persists anything — it doesn’t create snapshots or emit metrics.
Editing an SLO
Section titled “Editing an SLO”The Edit form uses the same layout as Create, with both steps open at once. Differences:
- The SLI kind is locked — changing the kind would mean a different SLI, so an info banner suggests creating a new SLO instead. The rest of the SLI (including the service on an incident-based SLO) is still editable.
- The preview still runs, showing the effect of your unsaved edits before you save.
- Save only writes the fields you changed.
You can reach Edit from the SLO detail page header or via the row menu on the SLOs list.
Deleting an SLO
Section titled “Deleting an SLO”The Delete confirmation soft-deletes the SLO — it disappears from the list, but its data is preserved and it stops being evaluated on the next tick. Any burn-rate alerts on the SLO are automatically disabled (their configuration is kept), so restoring the SLO later brings them back intact.
Related
Section titled “Related”- SLI kinds — the six SLI kinds and their fields.
- SLO detail — what you land on after saving.
- Burn-rate alerts — the next thing to set up.