AWS Account Setup
Connect an AWS account to KloudMate so it can read CloudWatch metrics and logs from that account, with no code changes. KloudMate gives you a pre-configured CloudFormation stack that creates a delegation role in your account, and you paste the role’s ARN back into KloudMate.
Connect Your AWS Account
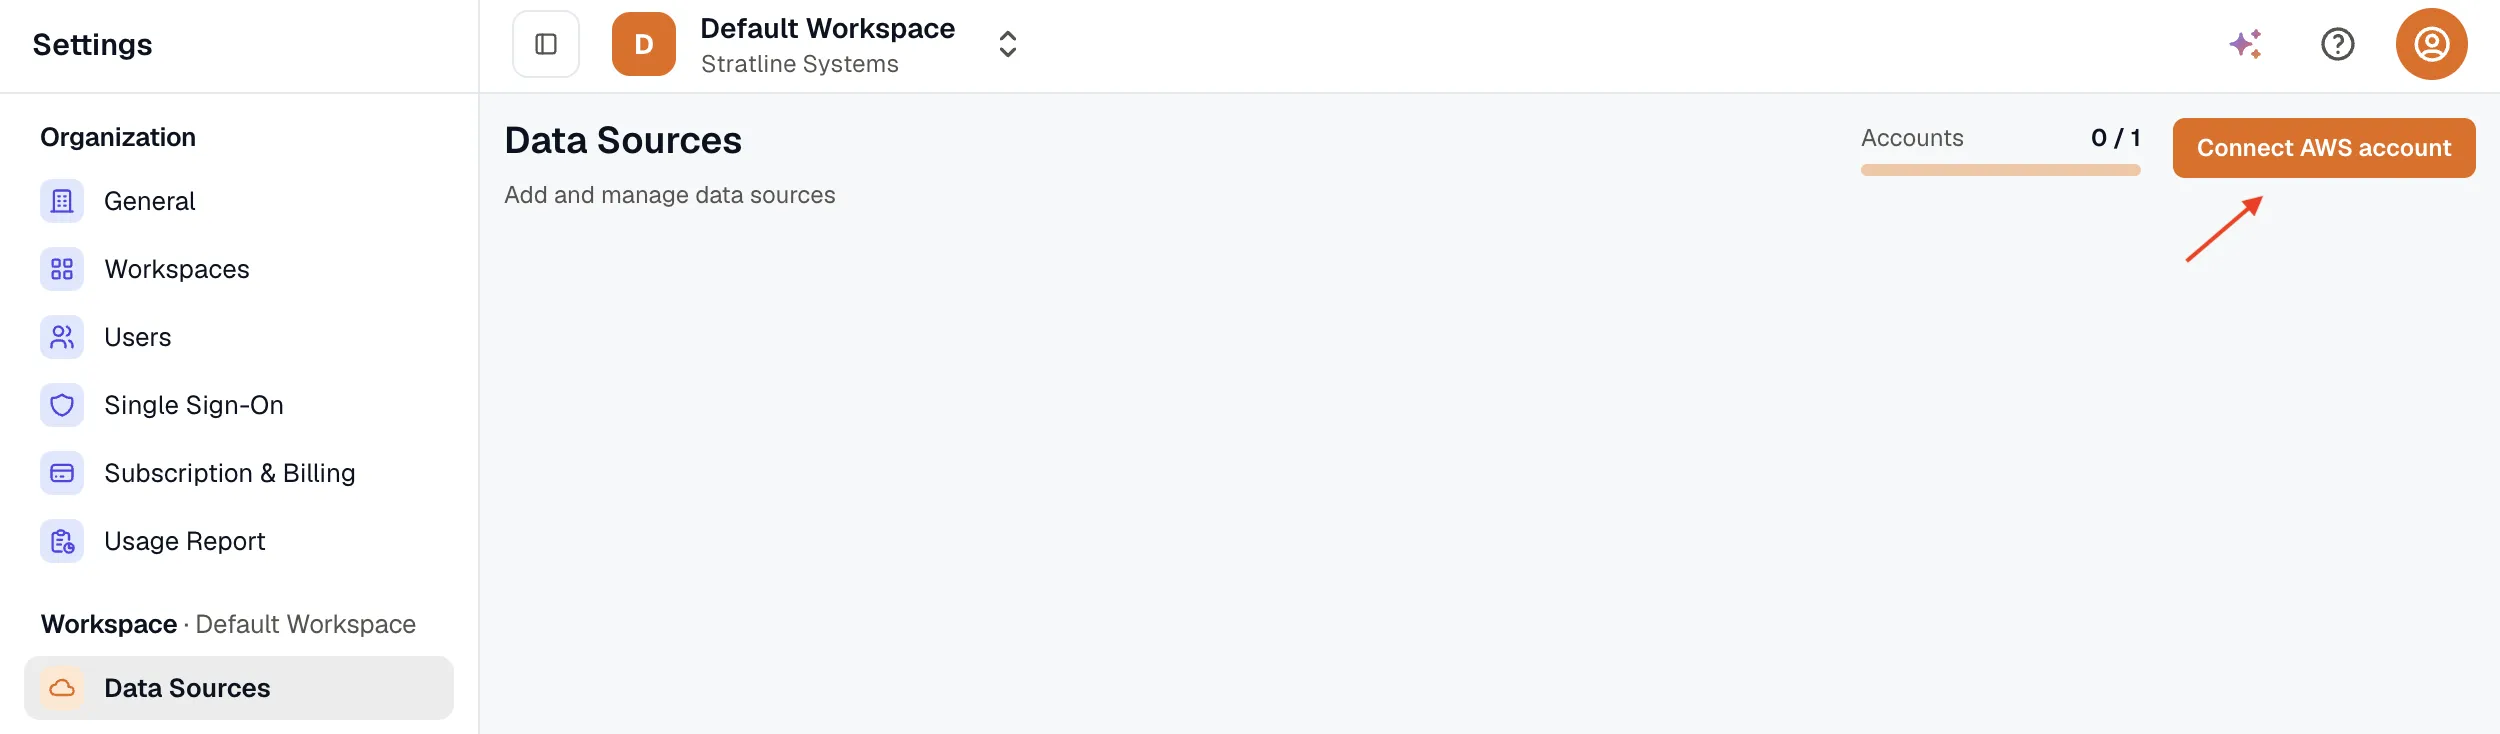
Section titled “Connect Your AWS Account”- Go to Settings → Data Sources and click Connect AWS account.
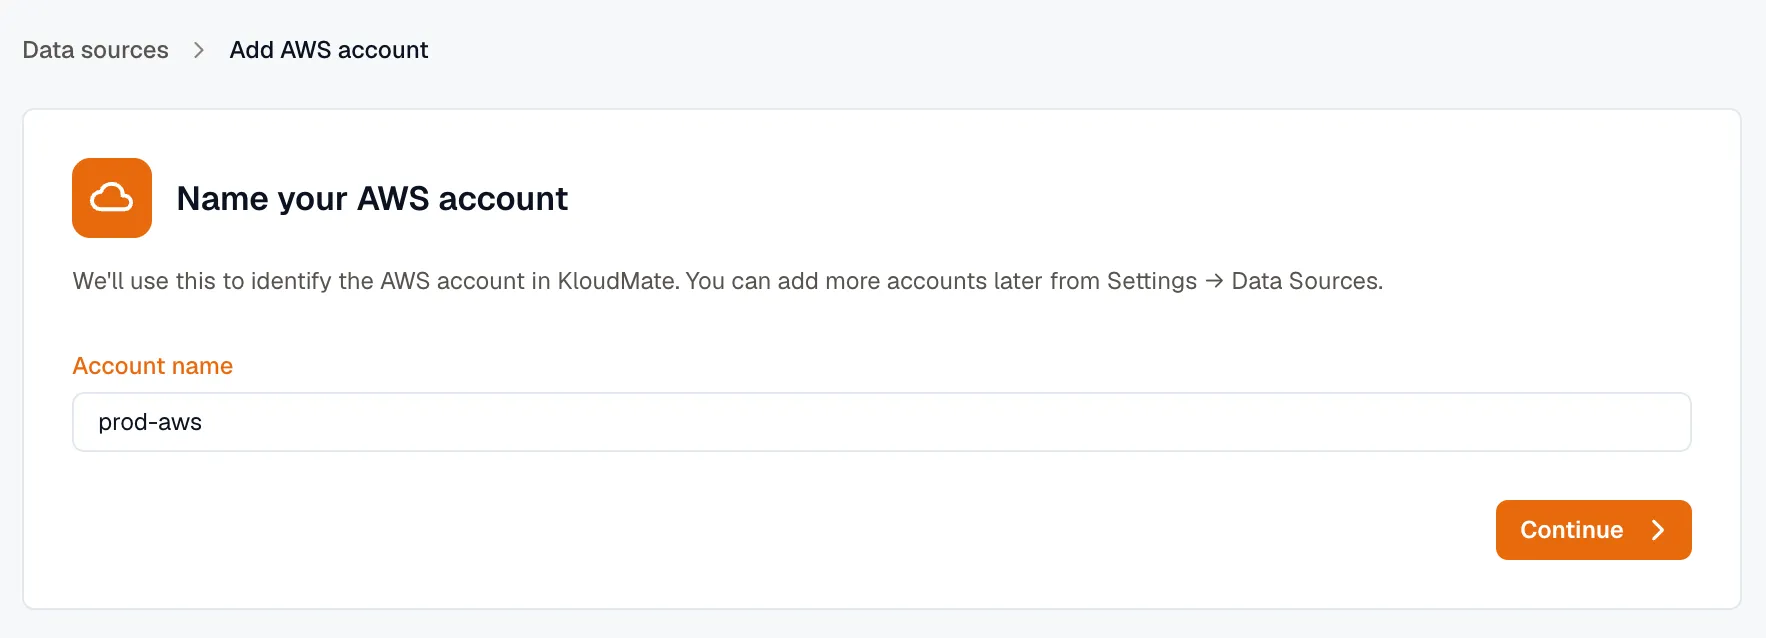
- Enter an Account name and click Continue. The name identifies the account in KloudMate, so use one you’ll recognize, such as
prod-aws.
- Click Open AWS Console. It opens CloudFormation with the stack template and external ID already filled in. Sign in to AWS with an administrator account if you’re asked to.
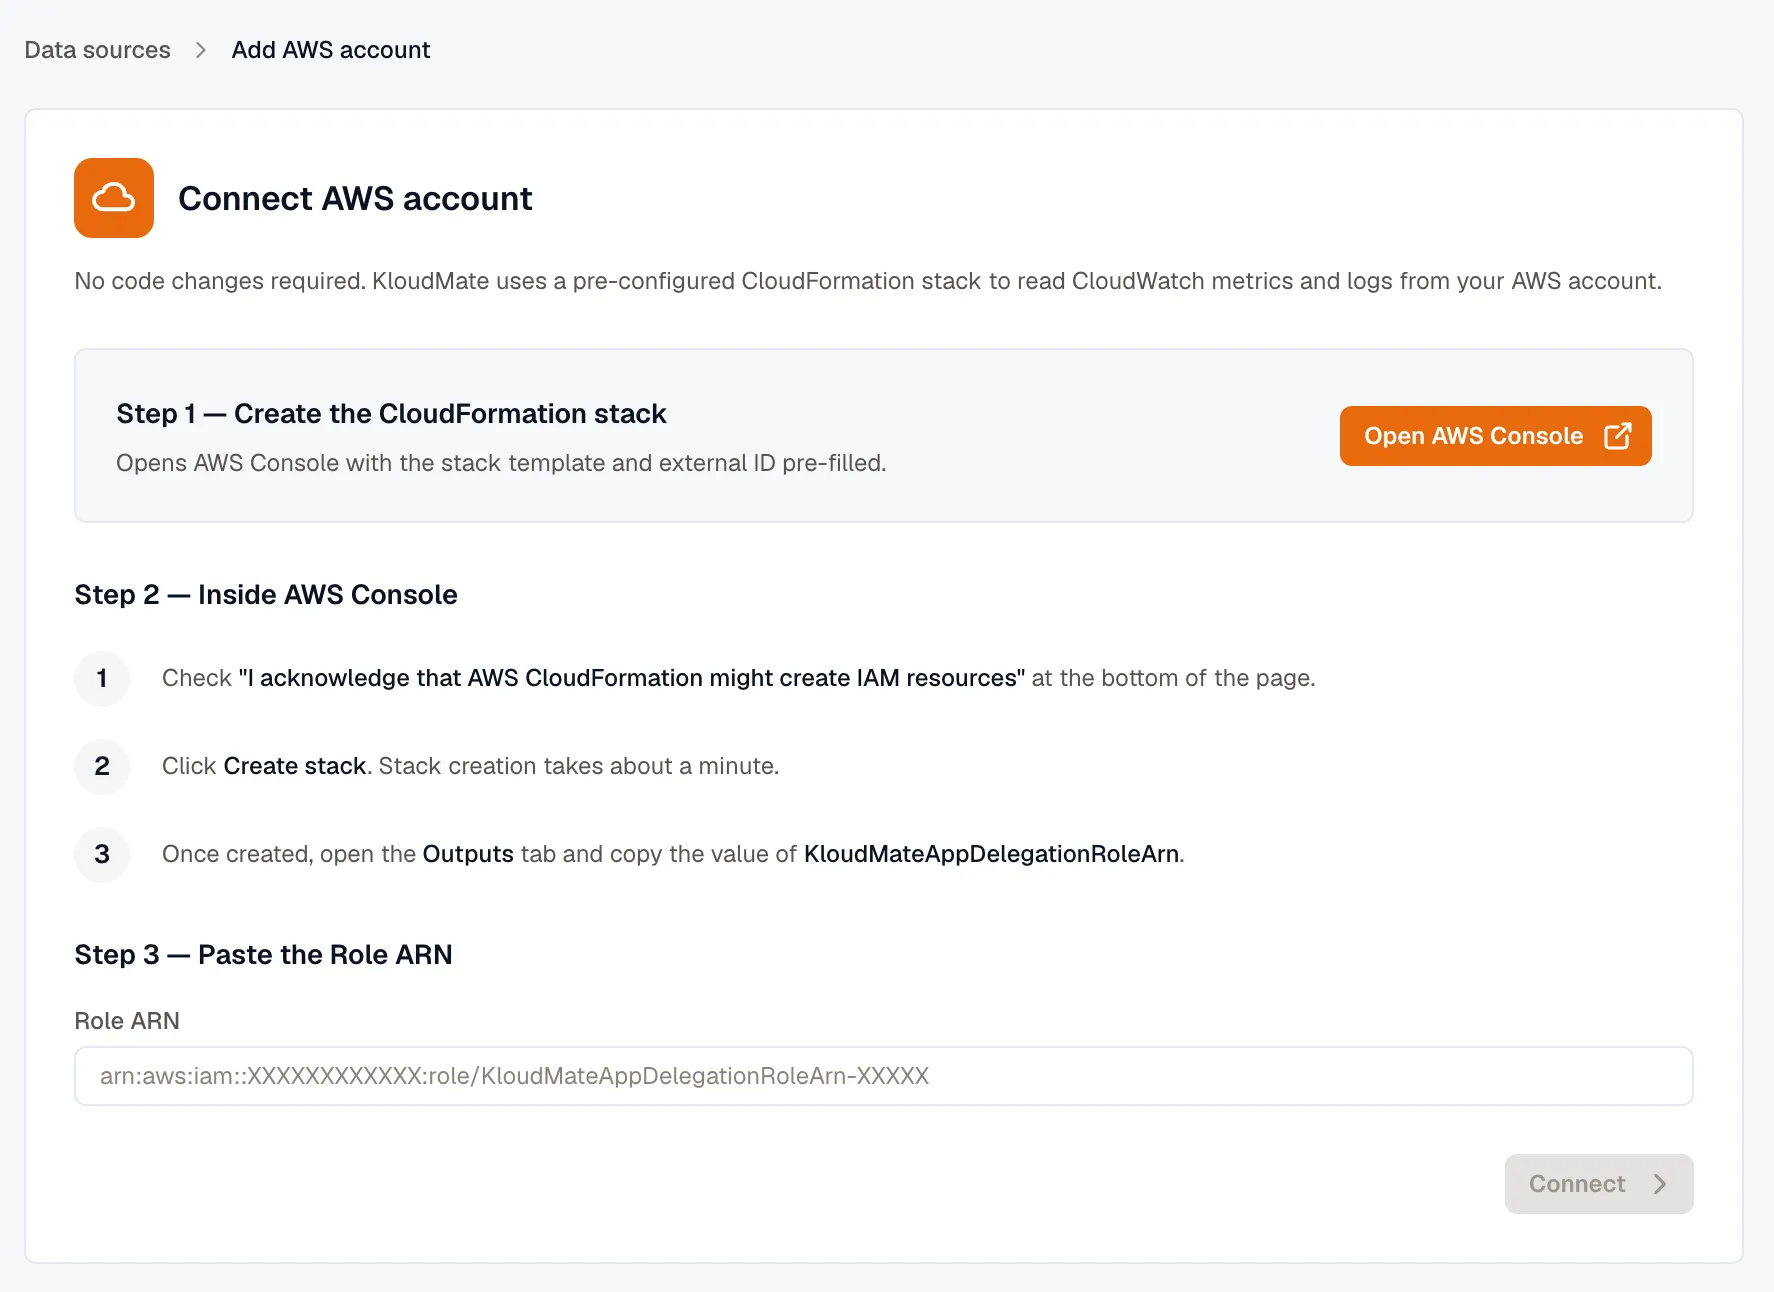
- In AWS, check I acknowledge that AWS CloudFormation might create IAM resources at the bottom of the Quick create stack page, and click Create stack.
- Wait for the stack to be created. This takes about a minute.
- Open the stack’s Outputs tab and copy the value of KloudMateAppDelegationRoleArn.
- Back in KloudMate, paste the ARN into the Role ARN field and click Connect.
The account appears on the Data Sources page. To add another account, repeat these steps.
Edit or Delete an Account
Section titled “Edit or Delete an Account”Each account on the Data Sources page has an Edit button.
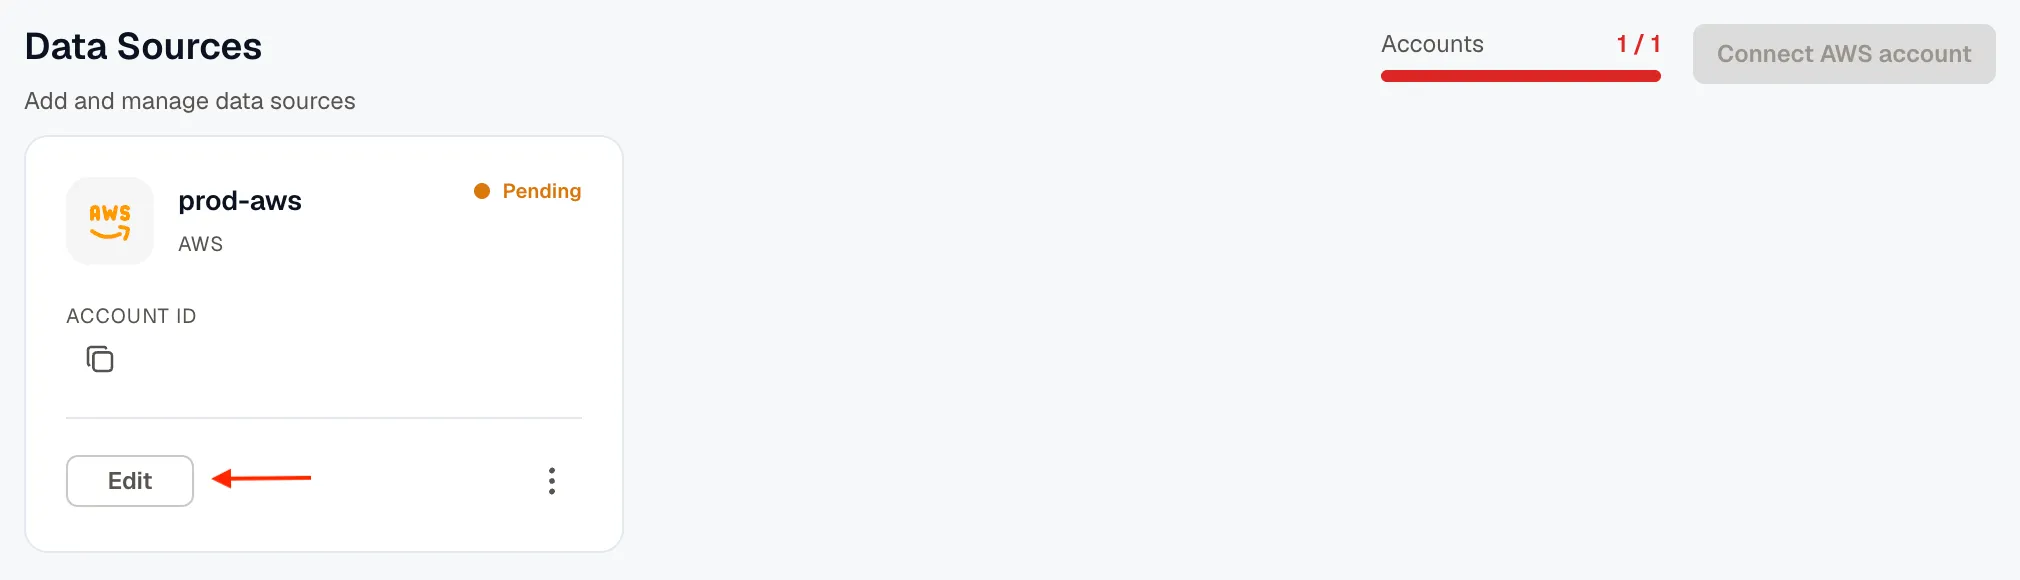
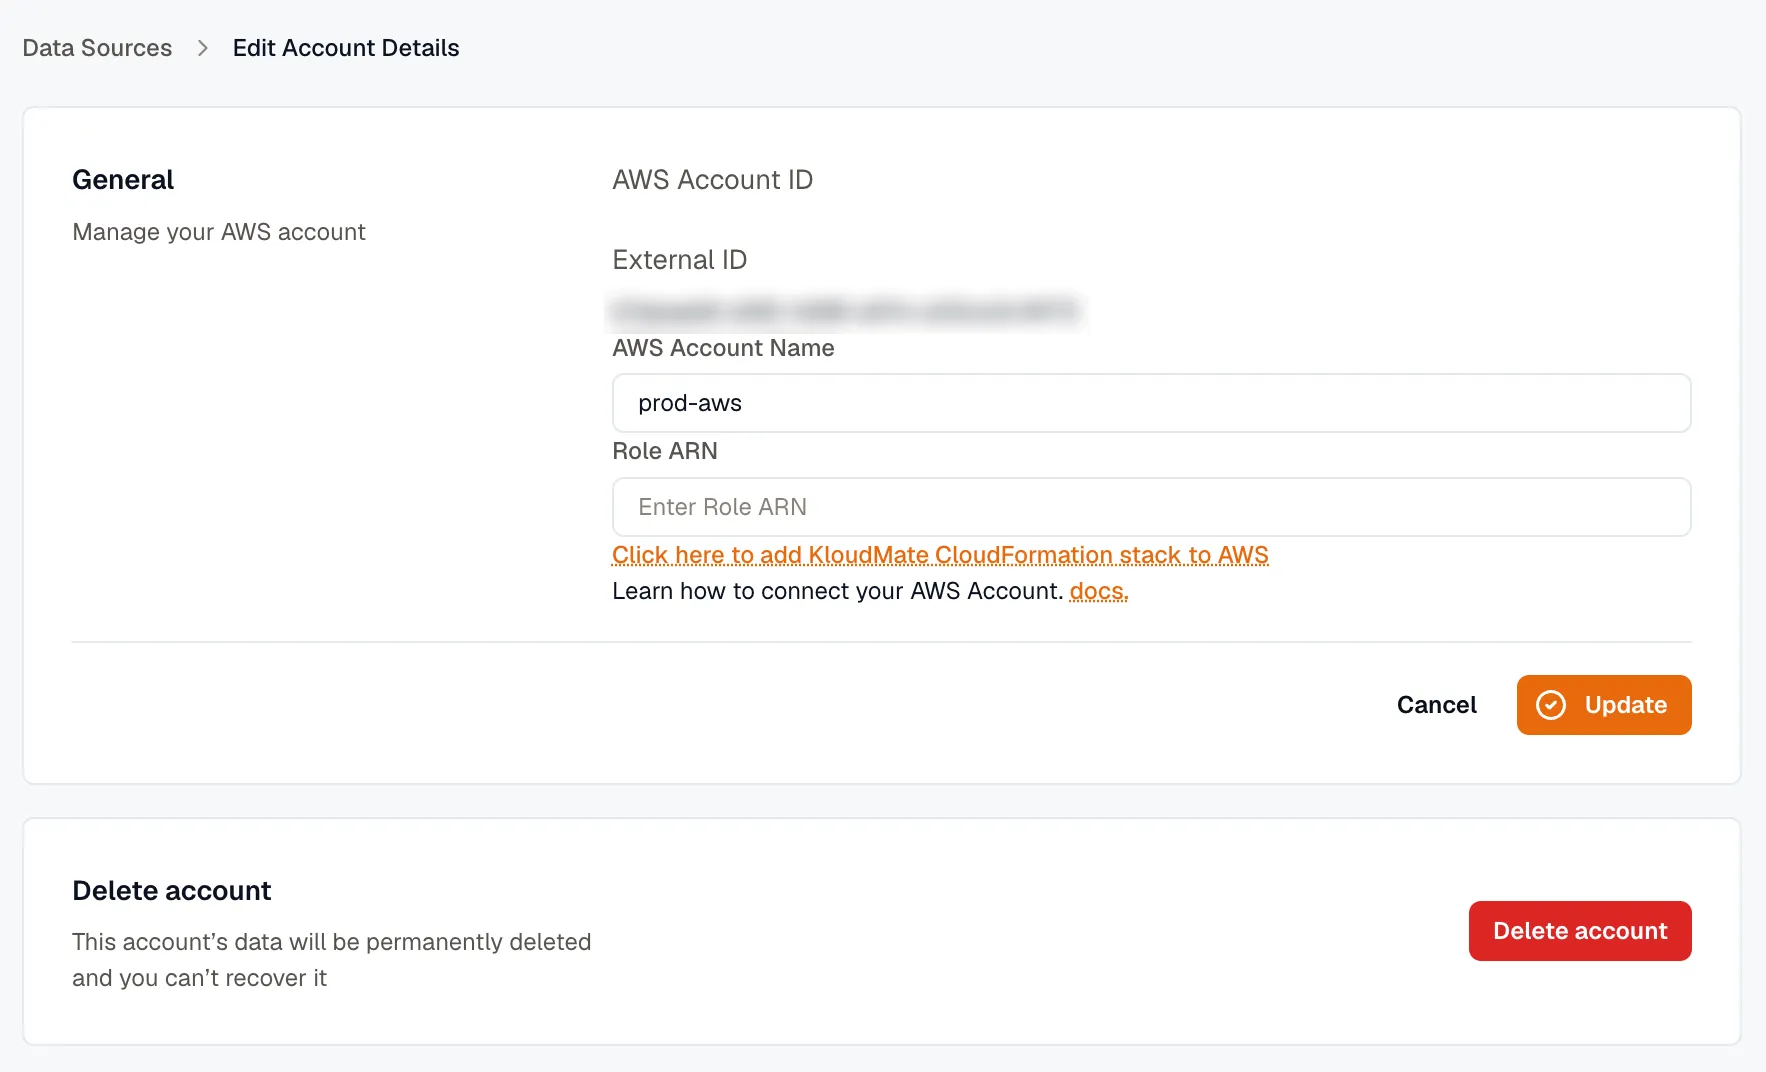
Click Edit to open Edit Account Details. It shows the account’s AWS account ID and external ID.
- To update the account, change the AWS Account Name or paste the Role ARN, then click Update. If you don’t have a role yet, Click here to add KloudMate CloudFormation stack to AWS opens the stack in AWS.
- To remove the account, click Delete account. You need the Owner role, and the account’s data is deleted permanently. See Remove an AWS Account to also remove the stack from AWS.