Workspaces
Workspaces let you organize data sources, services, and users by environment, team, or ownership boundary.
Manage Workspaces
Section titled “Manage Workspaces”You create your first workspace during initial setup. After that, manage additional workspaces from Settings → Workspaces.
From this page, you can:
- View existing workspaces
- Add a new workspace
- Rename a workspace
- Delete a workspace

Create a Workspace
Section titled “Create a Workspace”Click Add Workspace to start a three-step wizard that creates the workspace and confirms data is flowing into it, rather than just naming an empty workspace.
-
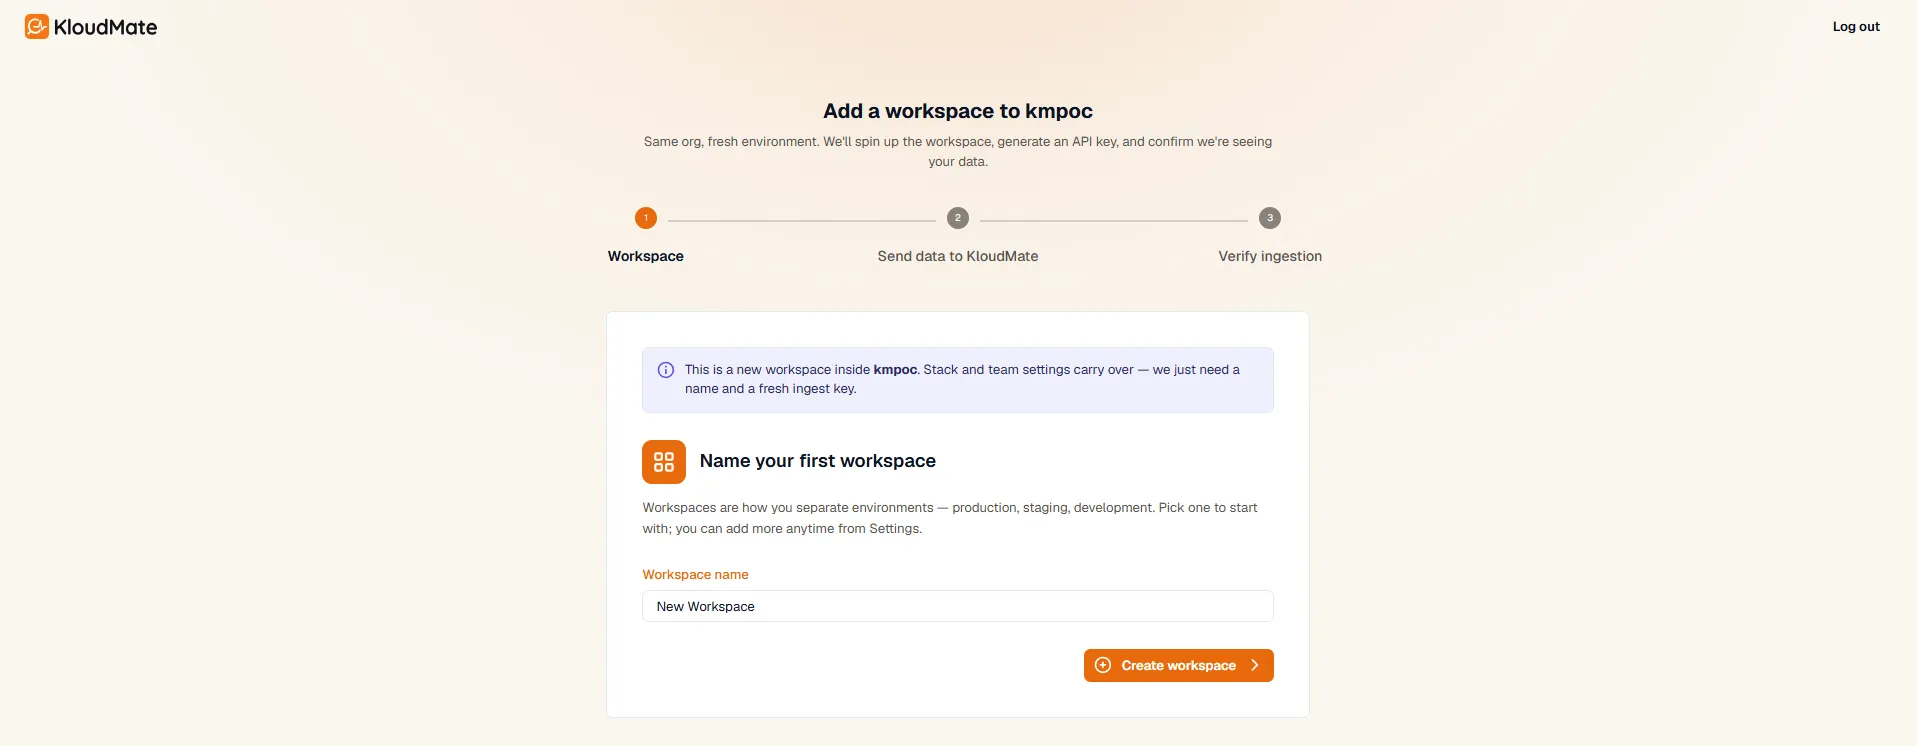
Workspace. Name the new workspace. Stack and team settings carry over from the organization, so this step only needs a name.
-
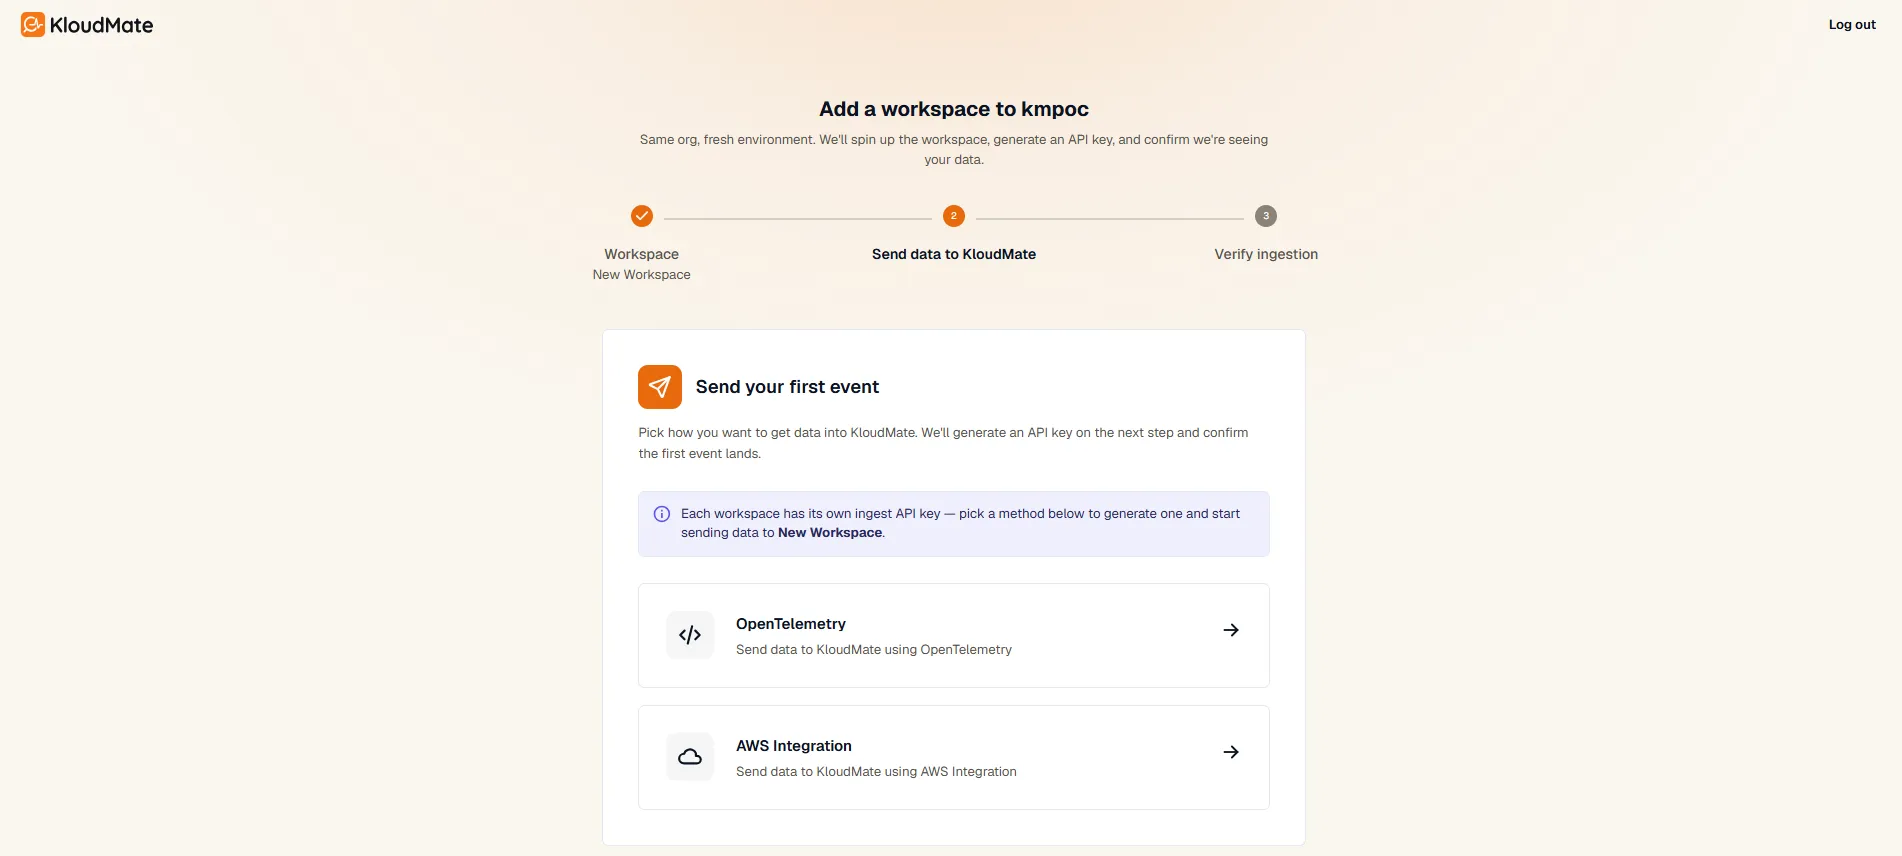
Send data to KloudMate. Choose how to send data to the new workspace, either the KloudMate OpenTelemetry Agent or AWS Integration. Each workspace gets its own ingest API key.
-
OpenTelemetry Agent: install the agent, or, if you already run an OpenTelemetry Collector, point it at the given endpoint using the generated API key as the
Authorizationheader.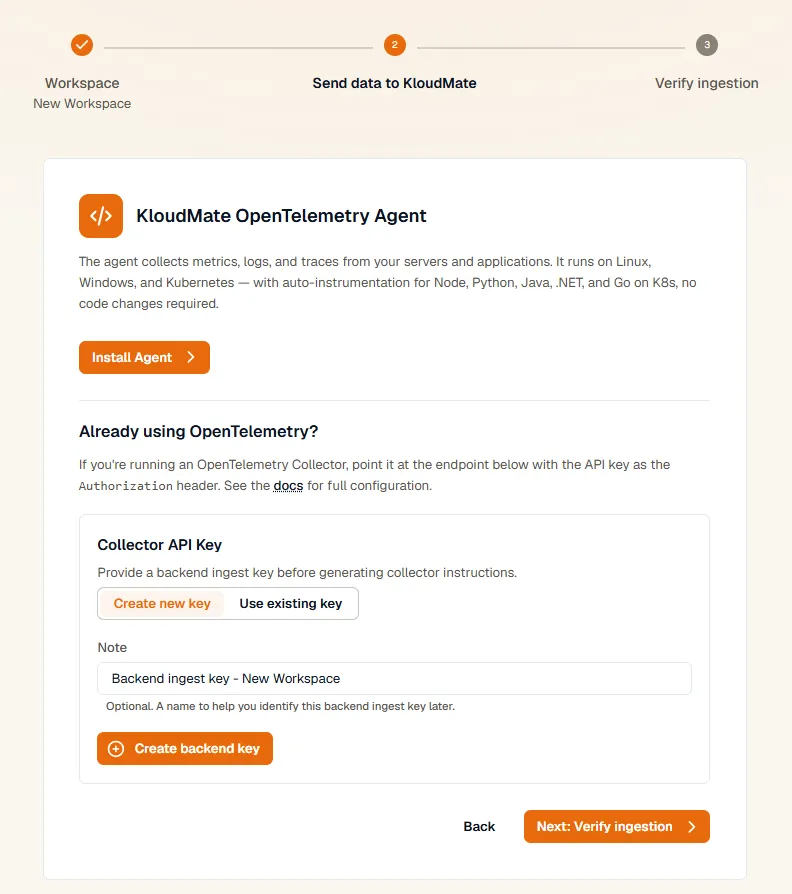
-
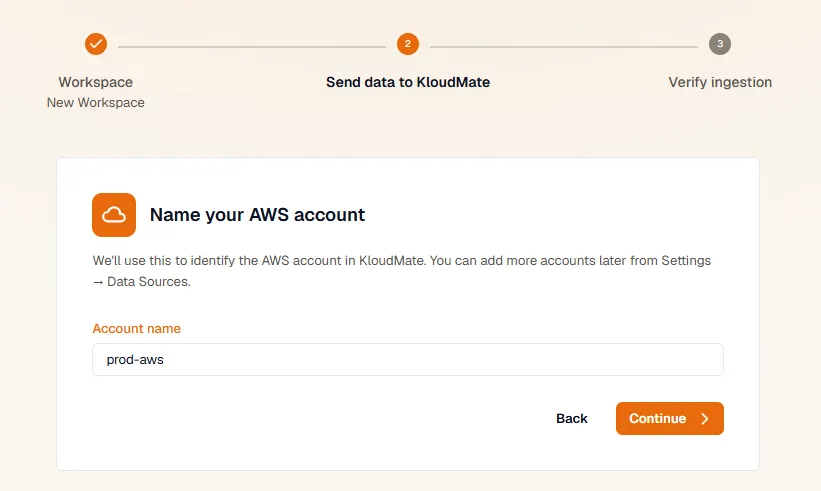
AWS Integration: name the AWS account KloudMate will connect to. You can add more accounts later from Settings → Data Sources.
-
-
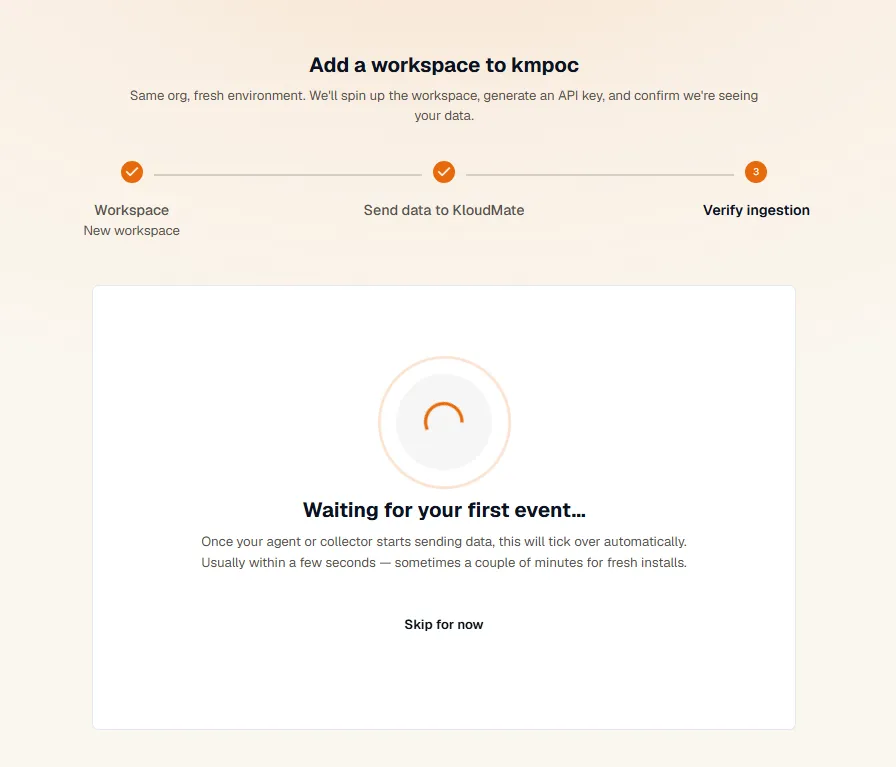
Verify ingestion. The wizard waits for the first event to confirm data is reaching the workspace. This usually takes a few seconds, longer for a fresh install. Select Skip for now to finish setup without waiting.
Rename or Delete a Workspace
Section titled “Rename or Delete a Workspace”Open the ⋯ menu on a workspace’s row and choose Rename or Delete. Deleting a workspace is permanent.

Switch Between Workspaces
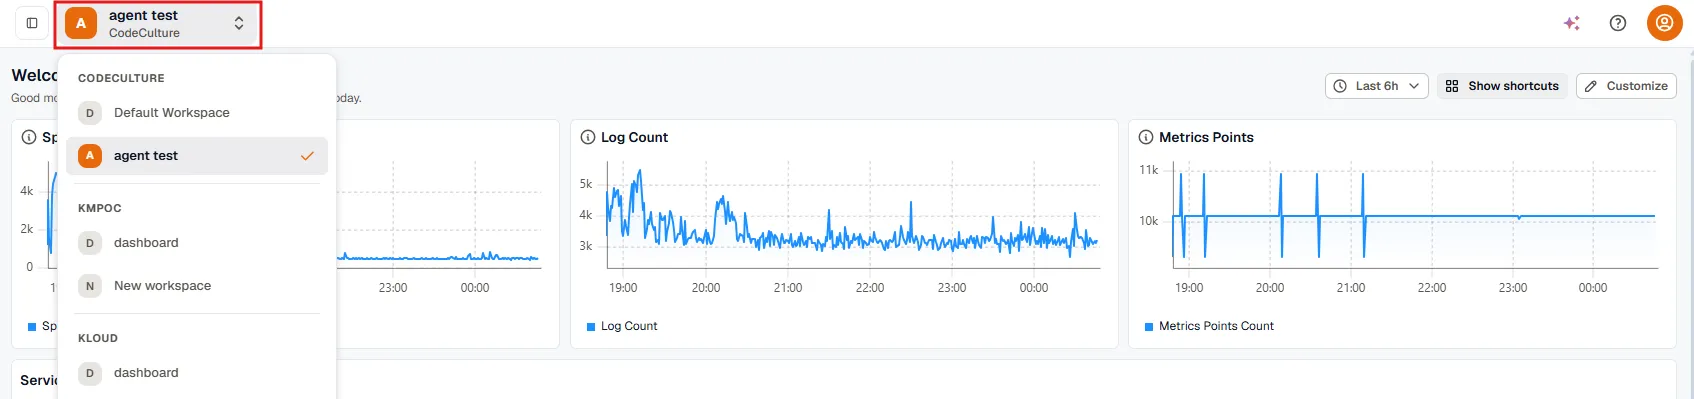
Section titled “Switch Between Workspaces”Click the workspace selector in the top-left corner of the interface to switch context. If you belong to multiple organizations, the switcher groups workspaces by organization so you can jump between them without signing out.