

Create Report
Create a report to email your team the same summary every day, week, or month, or to send it once on a date you choose. Open Reports and click Create Report. You need the Developer role in the workspace.
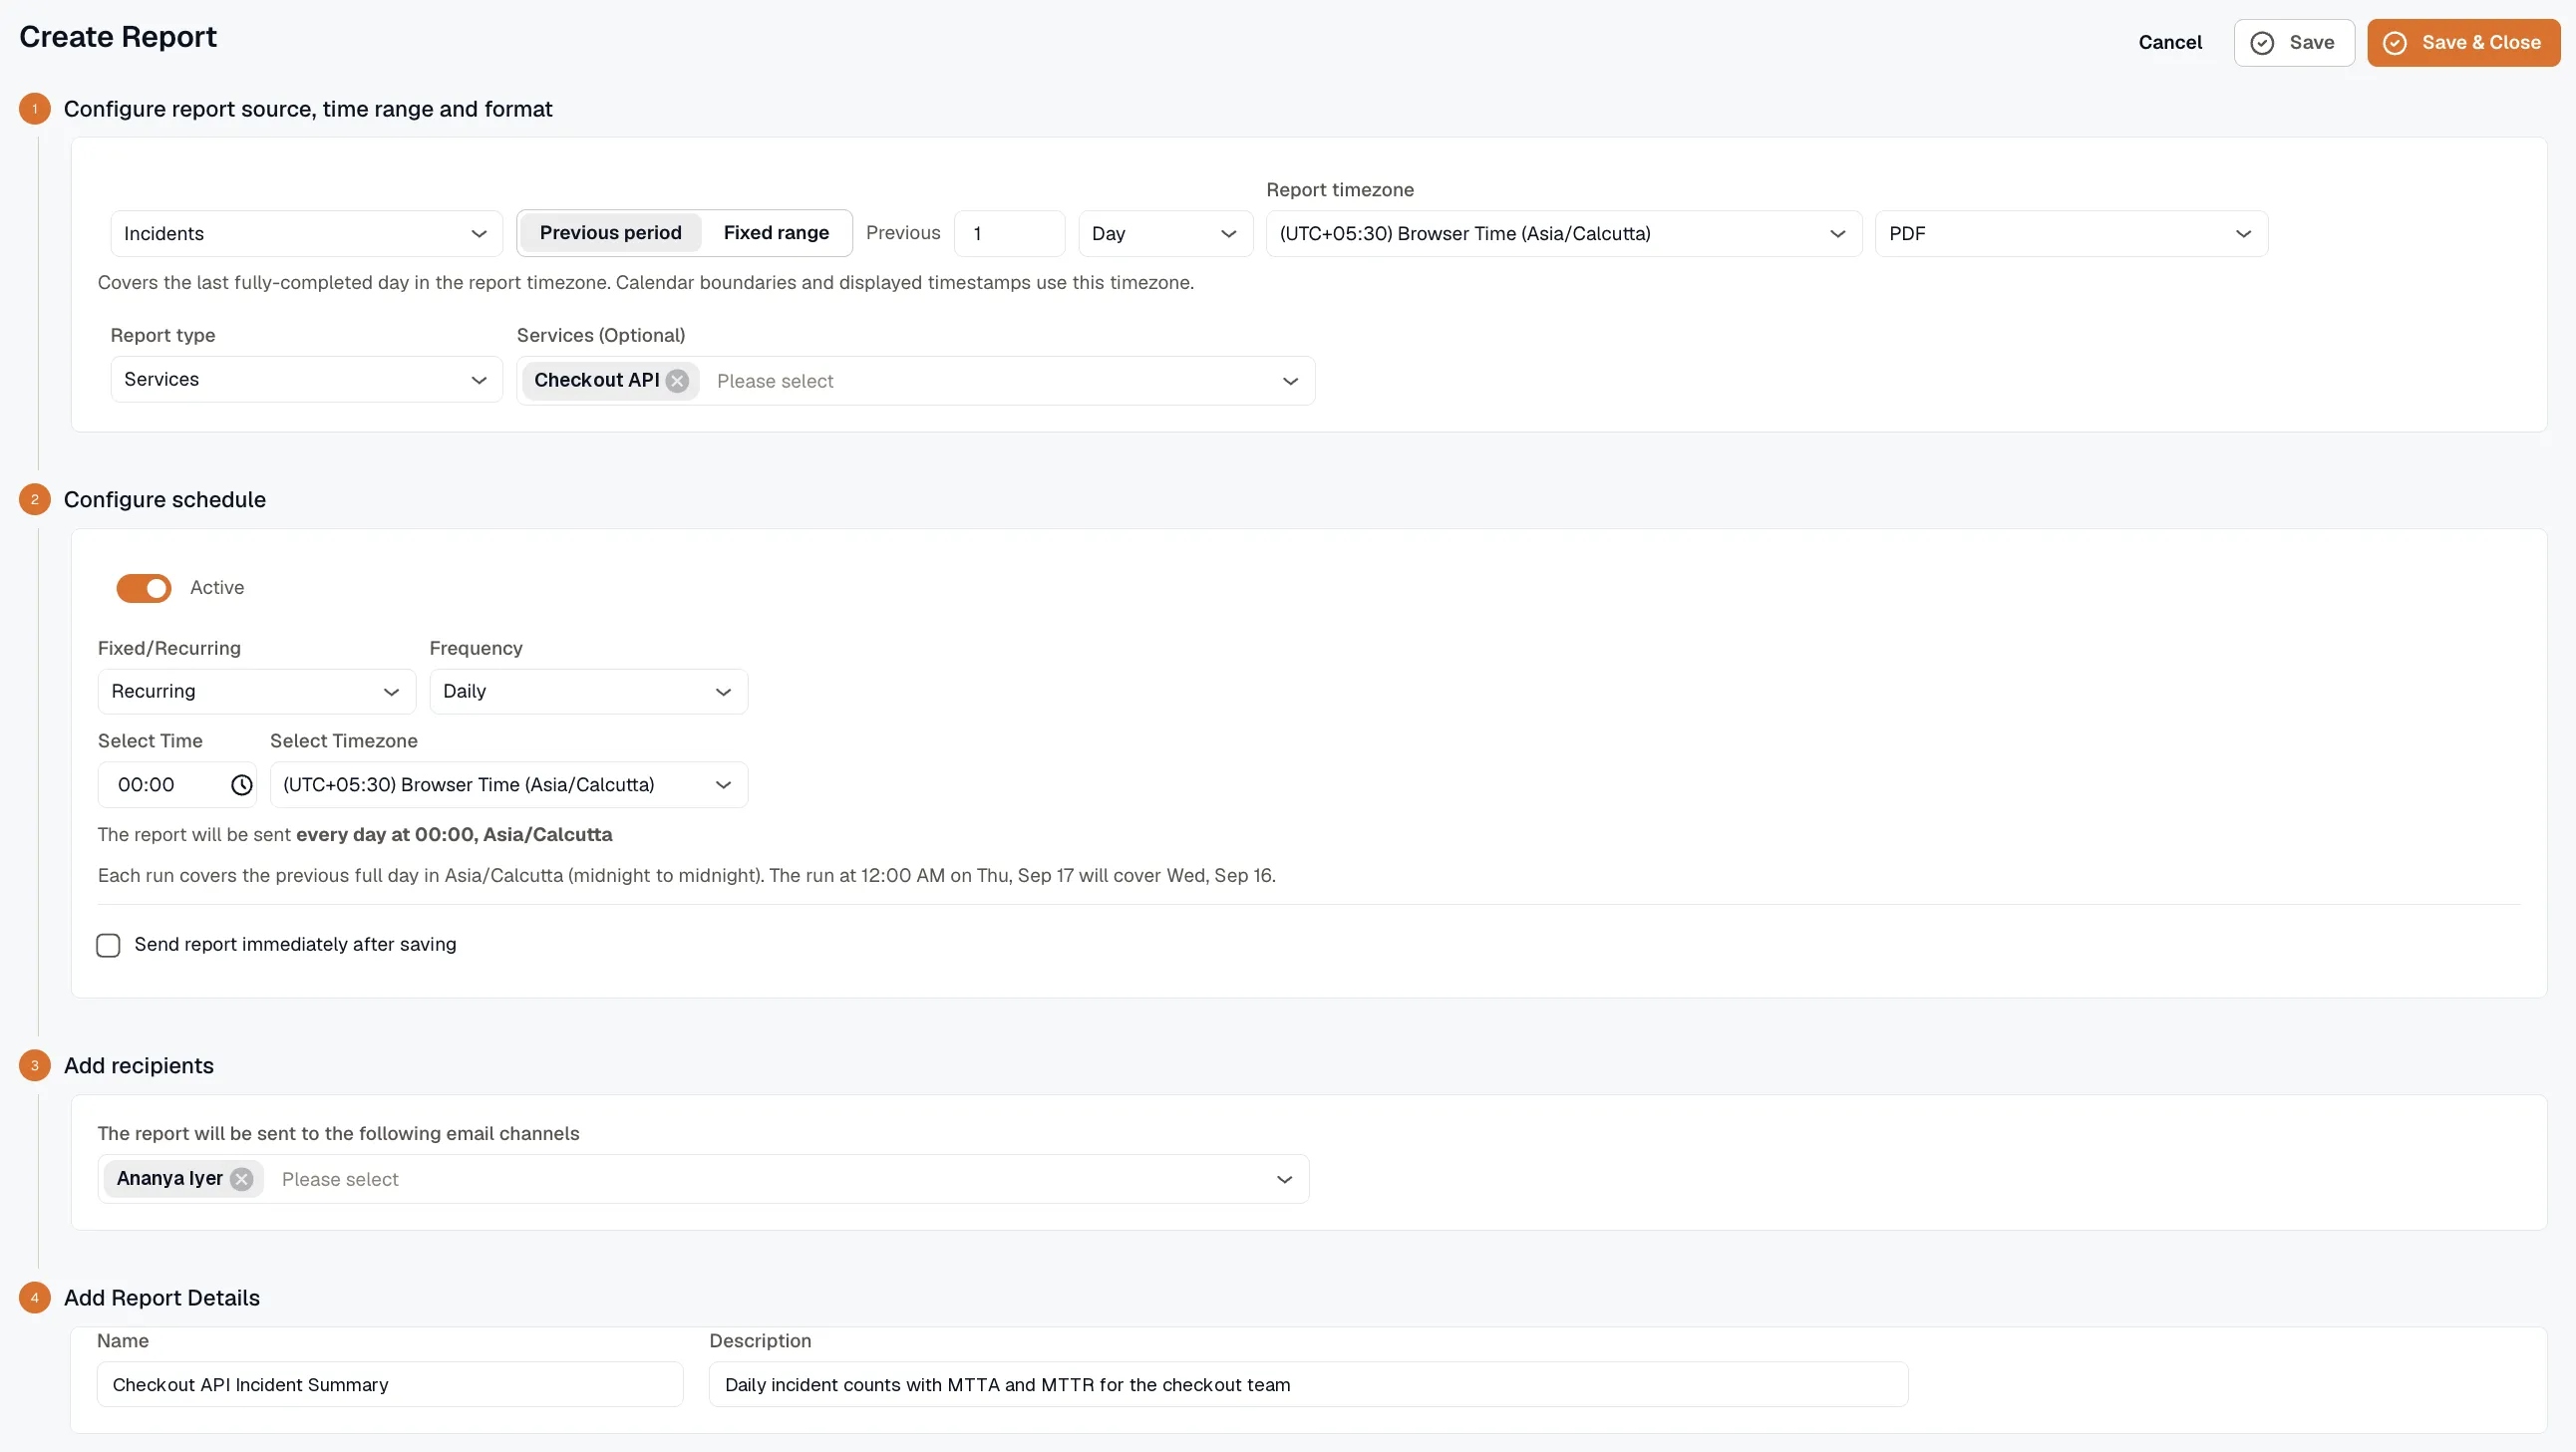
Choose a source
Section titled “Choose a source”Select the source the report pulls from, and fill in the settings for that source.

- Availability: uptime for synthetic monitors or alert rules. Choose a Monitor type:
- Synthetic monitors is the default. To report on specific monitors, pick them in Synthetic monitors (Optional). Leave it empty to include every synthetic monitor.
- Alerts reports on alert rules. Use Match alerts by tags to match the labels on your alert rules, or pick rules in Select Alerts. A rule must carry every tag you list. If you select alerts, the tags are ignored. Leave both empty to include every alert rule.
- Incidents: incident metrics from Incident Management. Choose a Report type of Services, Responders, or Services & Responders. Services (Optional) limits the report to the services you pick, and it applies to both tabs. Responders (Optional) appears when the report type includes responders, and it limits the Responders tab to the people you pick.
- Dashboards: PDF snapshots of dashboards. Pick one or more in Select dashboards, and set variable values for each dashboard that has variables. Select Attach table panels as XLSX to also get table, logs, and spans panels as a spreadsheet.
- SLO Compliance: every enabled SLO in the workspace. This source has no other settings.
For what each report contains, see Availability Report, Incident Report, Dashboard Report, and SLO Compliance report.
Set the period the report covers
Section titled “Set the period the report covers”Choose Previous period or Fixed range.
Previous period covers the most recent complete days, weeks, or months in the Report timezone. Set the number of periods and choose Day, Week, or Month. New reports default to 1 Day. Weeks run Monday through Sunday.
A scheduled run covers the periods that ended before its scheduled time, and a manual send covers the periods that ended before you send it. For example, a report set to 1 Week that runs on a Wednesday covers Monday through Sunday of the previous week. A report set to 1 Month that runs on March 1 covers February.
Fixed range covers a specific start and end date and time, and every run covers those same dates. Use it for a one-time report on a known window, such as the week of a migration.
The report timezone also affects which period a scheduled run covers. See Delivery time and report timezone.
Choose a format
Section titled “Choose a format”Choose PDF or XLSX. Dashboard reports are always PDF. To get a dashboard’s tables as a spreadsheet, select Attach table panels as XLSX.
Schedule delivery
Section titled “Schedule delivery”Turn on Active to send the report on a schedule. Leave it off if you only want to send the report manually.
In Fixed/Recurring, choose Fixed or Recurring.
- Fixed sends the report one time, on the Select Date and Select Time you set.
- Recurring sends the report at a regular interval. Set Frequency to Daily, Weekly, or Monthly, and set Select Time. A weekly report also needs a Day of week, and a monthly report needs a Date of Month.
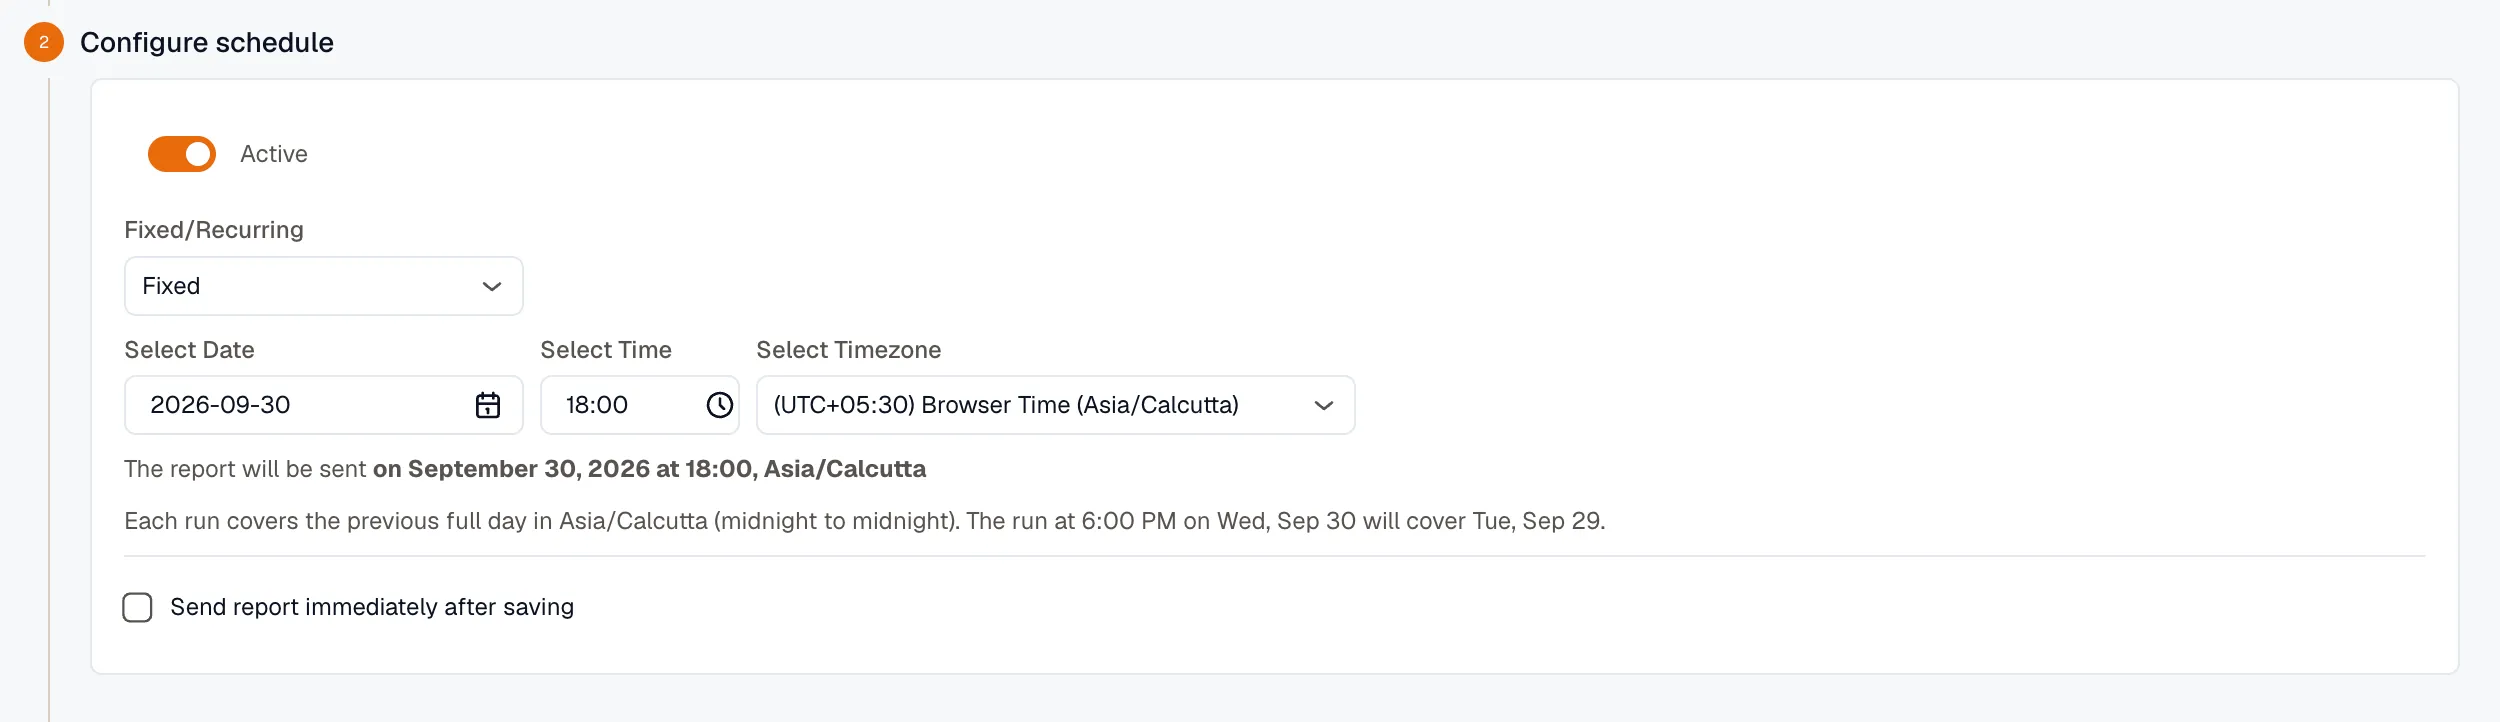
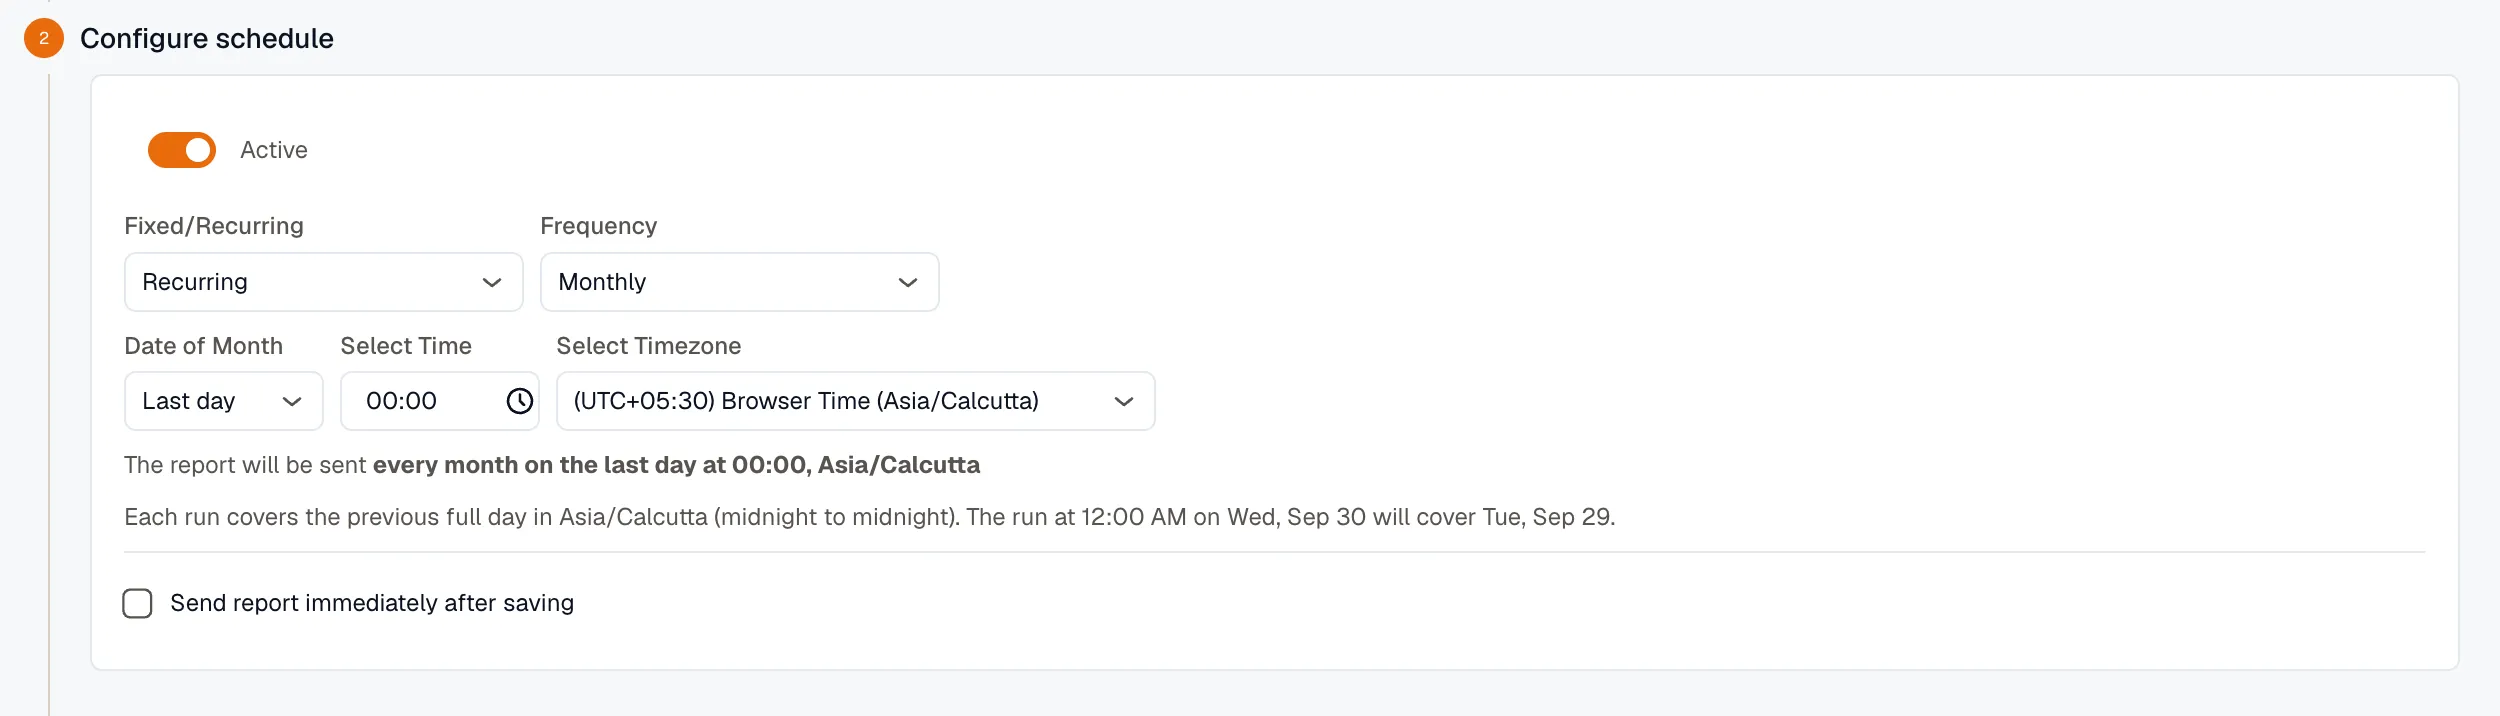
Select Send report immediately after saving to also send the report as soon as you save it.
Delivery time and report timezone
Section titled “Delivery time and report timezone”- Select Timezone sets when the report is delivered. Delivery stays at the same local time when daylight saving time starts or ends.
- Report timezone sets where each day, week, or month starts and ends, and the timezone of the timestamps inside the report. With Fixed range, set the timezone in the date range picker instead.
Both start out as your browser’s timezone.
Each run covers the most recent periods that have fully ended in the report timezone at the time of delivery. When the two timezones match, a daily report covers the previous day, whatever time it’s delivered. When they differ, a run can cover an earlier period than you expect.
For example, suppose you deliver a daily report at 8:00 AM Asia/Tokyo with Report timezone set to UTC. At 8:00 AM in Tokyo, it’s still 11:00 PM the previous day in UTC. That UTC day hasn’t ended yet, so the run covers the day before it. By 9:00 AM in Tokyo, the UTC day has ended, so a delivery at 9:00 AM or later covers it.
With Previous period and an active schedule, the schedule step shows which dates the next run will cover. It also suggests a later delivery time when delivering later the same day would cover a more recent period.
Add recipients
Section titled “Add recipients”Select at least one email channel to receive the report. The list includes the email channels set up in Notification Channels.

Name and save the report
Section titled “Name and save the report”Enter a Name and, optionally, a Description. Both appear in the Reports list.

Click Save to save and keep editing, or Save & Close to save and return to the Reports list.
After you save, you can send the report now with a different period, format, or recipients, without changing the saved report.